Browsing Tag

vegetarian

Recipe

Chicken or Veggie Tikka Masala

Chicken or Veggie Tikka Masala

As we approach the first official day of Fall, I’m beginning to roll up my sleeves to dive into some of my favorite fall dishes. Hearty stews and roasted vegetables rule the season. This Chicken or Veggie Tikka Masala is an excellent stand-alone staple for your recipe book. When I first began making this dish I used this recipe from Bon Appétit. Over the years I’ve modified the recipe to what I’ll share today.

My Veggie Tikka Masala tends to be on the spicier side. As such, feel free to decrease the red chili flakes as needed to suit your tastes. As a general rule, Chicken Tikka Masala should have some kick to it though. If you don’t care about the carbs and choose not to do a cauliflower rice a Basmati rice would be a great traditional option to serve with this dish. You could even put a European twist on it by serving it over mashed potatoes. However, you choose to enjoy this dish, make sure to make enough to share!

Enjoy this Veggie Tikka Masala!

Chicken or Veggie Tikka Masala

Print Recipe
Serves: 6-8 Cooking Time: 1-1.5 hours

Ingredients

  • 3 tbsp. minced garlic, finely grated
  • 3 tsp. finely grated ginger
  • 2 tsp. ground turmeric
  • 2 tsp. garam masala
  • 1 tsp. ground coriander
  • 2 tsp. ground cumin
  • 1½ cups regular yogurt
  • 3 tbsp. salt
  • 2 pounds skinless, boneless chicken breast pieces and/or two heads of cauliflower (one head you'll use for a low-carb rice which will serve about two people. I recommend making new cauliflower rice as opposed to reheating it).
  • 3 tbsp. unsalted butter
  • 1 small onion, thinly sliced
  • 3 large carrots, sliced
  • 1 28-oz. can of garbanzo beans, drained
  • 1/3 cup tomato paste
  • 1 tbsp. crushed red pepper flakes
  • 1 tbsp. curry powder
  • 40 oz. diced canned tomatoes
  • 1 cup heavy cream
  • 1 cup greek yogurt
  • ¾ cup chopped fresh cilantro plus sprigs for garnish

Instructions

1

Mix all of your spices together, omitting the curry powder and leaving 2 tbsp. salt to the side for later. Add your ginger and garlic and mix well.

2

Dump half of your spice mixture into a medium bowl, add the 2 1/2 cups of regular yogurt and mix well.

3

Add your chicken and/ or cauliflower to the marinade, coating both sides. Chill in the fridge for 5 hours. Chill the other half of the spice mixture as well.

4

Heat your butter over medium-high heat, adding the onion slices, carrots, and tomato paste. Stir regularly for 5 minutes.

5

Add the canned tomatoes, the spice mixture from the fridge, your curry powder, and the crushed red pepper flakes. Boil and reduce to a simmer for 5 minutes.

6

Add the garbanzo beans along with the heavy cream, greek yogurt, 2 tbsp. salt, and cilantro. Simmer for 30 minutes.

7

Broil your chicken or cauliflower for 10 minutes. Check regularly or leave the oven light on to make sure you aren't burning the cauliflower.

8

Once done broiling your chicken, cube it and add it to the pot to finish cooking, about 10 more minutes. If you've substituted cauliflower here you can add the florets directly into the pot.

9

Garnish with cilantro and serve over cauliflower rice.

Notes

*This recipe can be made vegetarian by substituting small Cauliflower florets for the chicken.

Lifestyle Recipe

Quick and Easy Vegan Split Pea Soup

vegan split pea soup

These days, meal prep is king. While everyone tries the latest and greatest life hacks for efficiency, few can argue that prepping your week’s meals in advance can save a lot of time and headache. Whether you’re living the single life with three jobs or a stay at home mom, everyone can benefit from prepping some grab-and-go meals to use throughout their week. I’ve done a quite a few one pot recipes in the past to save time on meal prep, but I’d never done a vegan split pea soup until now.

My mom used to cook split pea soup from scratch. I have vivid memories of the aroma of ham and peas wafting through the house to greet me after school. For this recipe, I decided to do a kind of smokey vegan take on mom’s traditional split pea soup. I’ve been craving spicy food like crazy so I implemented some paprika and hot sauce to add some heat to the recipe. I love this vegan split pea soup because it’s really nutritious and high in fiber so it’s filling as a stand-alone entree and can be taken as leftovers for lunch super easily.

Actually, I have this amazing tiny crock pot that I take to work. It holds probably 16 oz. or so and I love it. I just plug it right in when I get to work and by lunch time the contents are hot! I haven’t tried cooking in it but it’s amazing for heating leftovers.

I hope you enjoy this recipe for Vegan Split Pea Soup!

Vegan Split Pea Soup

Print Recipe
Serves: 8 Cooking Time: 1 hour

Ingredients

  • 8 celery stalks, diced
  • 4 medium carrots, diced
  • 1 large onion chopped (yellow or white)
  • 6 cloves of garlic minced (or 2 tbsp, jarred minced)
  • 2 lbs. of split peas (this is usually two bags, don't forget to rinse!)
  • 2 tbsp. paprika (or more to taste)
  • 3 tbsp. of a hot sauce like Tapatio (or more to taste)
  • 7 pints of water (or 14 cups)
  • 8 vegan bouillon cubes
  • *You can substitute a vegetable stock for the water and bouillon cubes if desired
  • Garnish: Paprika, sesame seeds, caramelized onions

Instructions

1

In a large pot sauté your carrots, celery, garlic, and onions until the onions are soft and translucent

2

Add your water and bouillon or vegetable stock, split peas, and any additional starches you intend to use. Bring to a full boil

3

Add your paprika and hot sauce if desired. Reduce heat and simmer for 45 minutes, stirring occasionally

4

Garnish with paprika and sesame seeds or caramelized onions if desired and serve!

Notes

If you have extra starches laying around you can add potatoes (cubed or diced) and rice or other grains like barley at the same time you add the split peas. This will add more bulk and calories but can extend the use of the recipe if you have a large family or are trying to budget extra for meals.

Lifestyle Motherhood Recipe

Beginner’s Guide: Simple Cooking Tips from One New Mom’s Kitchen to Yours

Domestic life. I’m a super-newbie to it. I’ve been married nearly two years and my daughter is 6 months old. I didn’t grow up in the kitchen, and never saw my future self with a kid. But here I am; a stay at home mom who loves making food for her family. Today, I bring you a little something I’ve learned: five simple simple cooking tips for us new moms. 

I’m not claiming to be any sort of connoisseur. My food knowledge is still pretty basic. However, I figure I cant be the only former “definitely never getting married or having kids, so who cares if can cook or not” lady out there. While my rockstar of a husband goes out in the world to bring home the bacon, I’ve learned easy and interesting ways to fry it up (not really, I gave up meat, but thats for another day). In this post, I’m sharing my two cents to keep meals healthier and efficient, and to help other newbies feel a little more confident in their kitchen.

Without further ado…

TIP #1 : VEGETABLES!

simple cooking tips

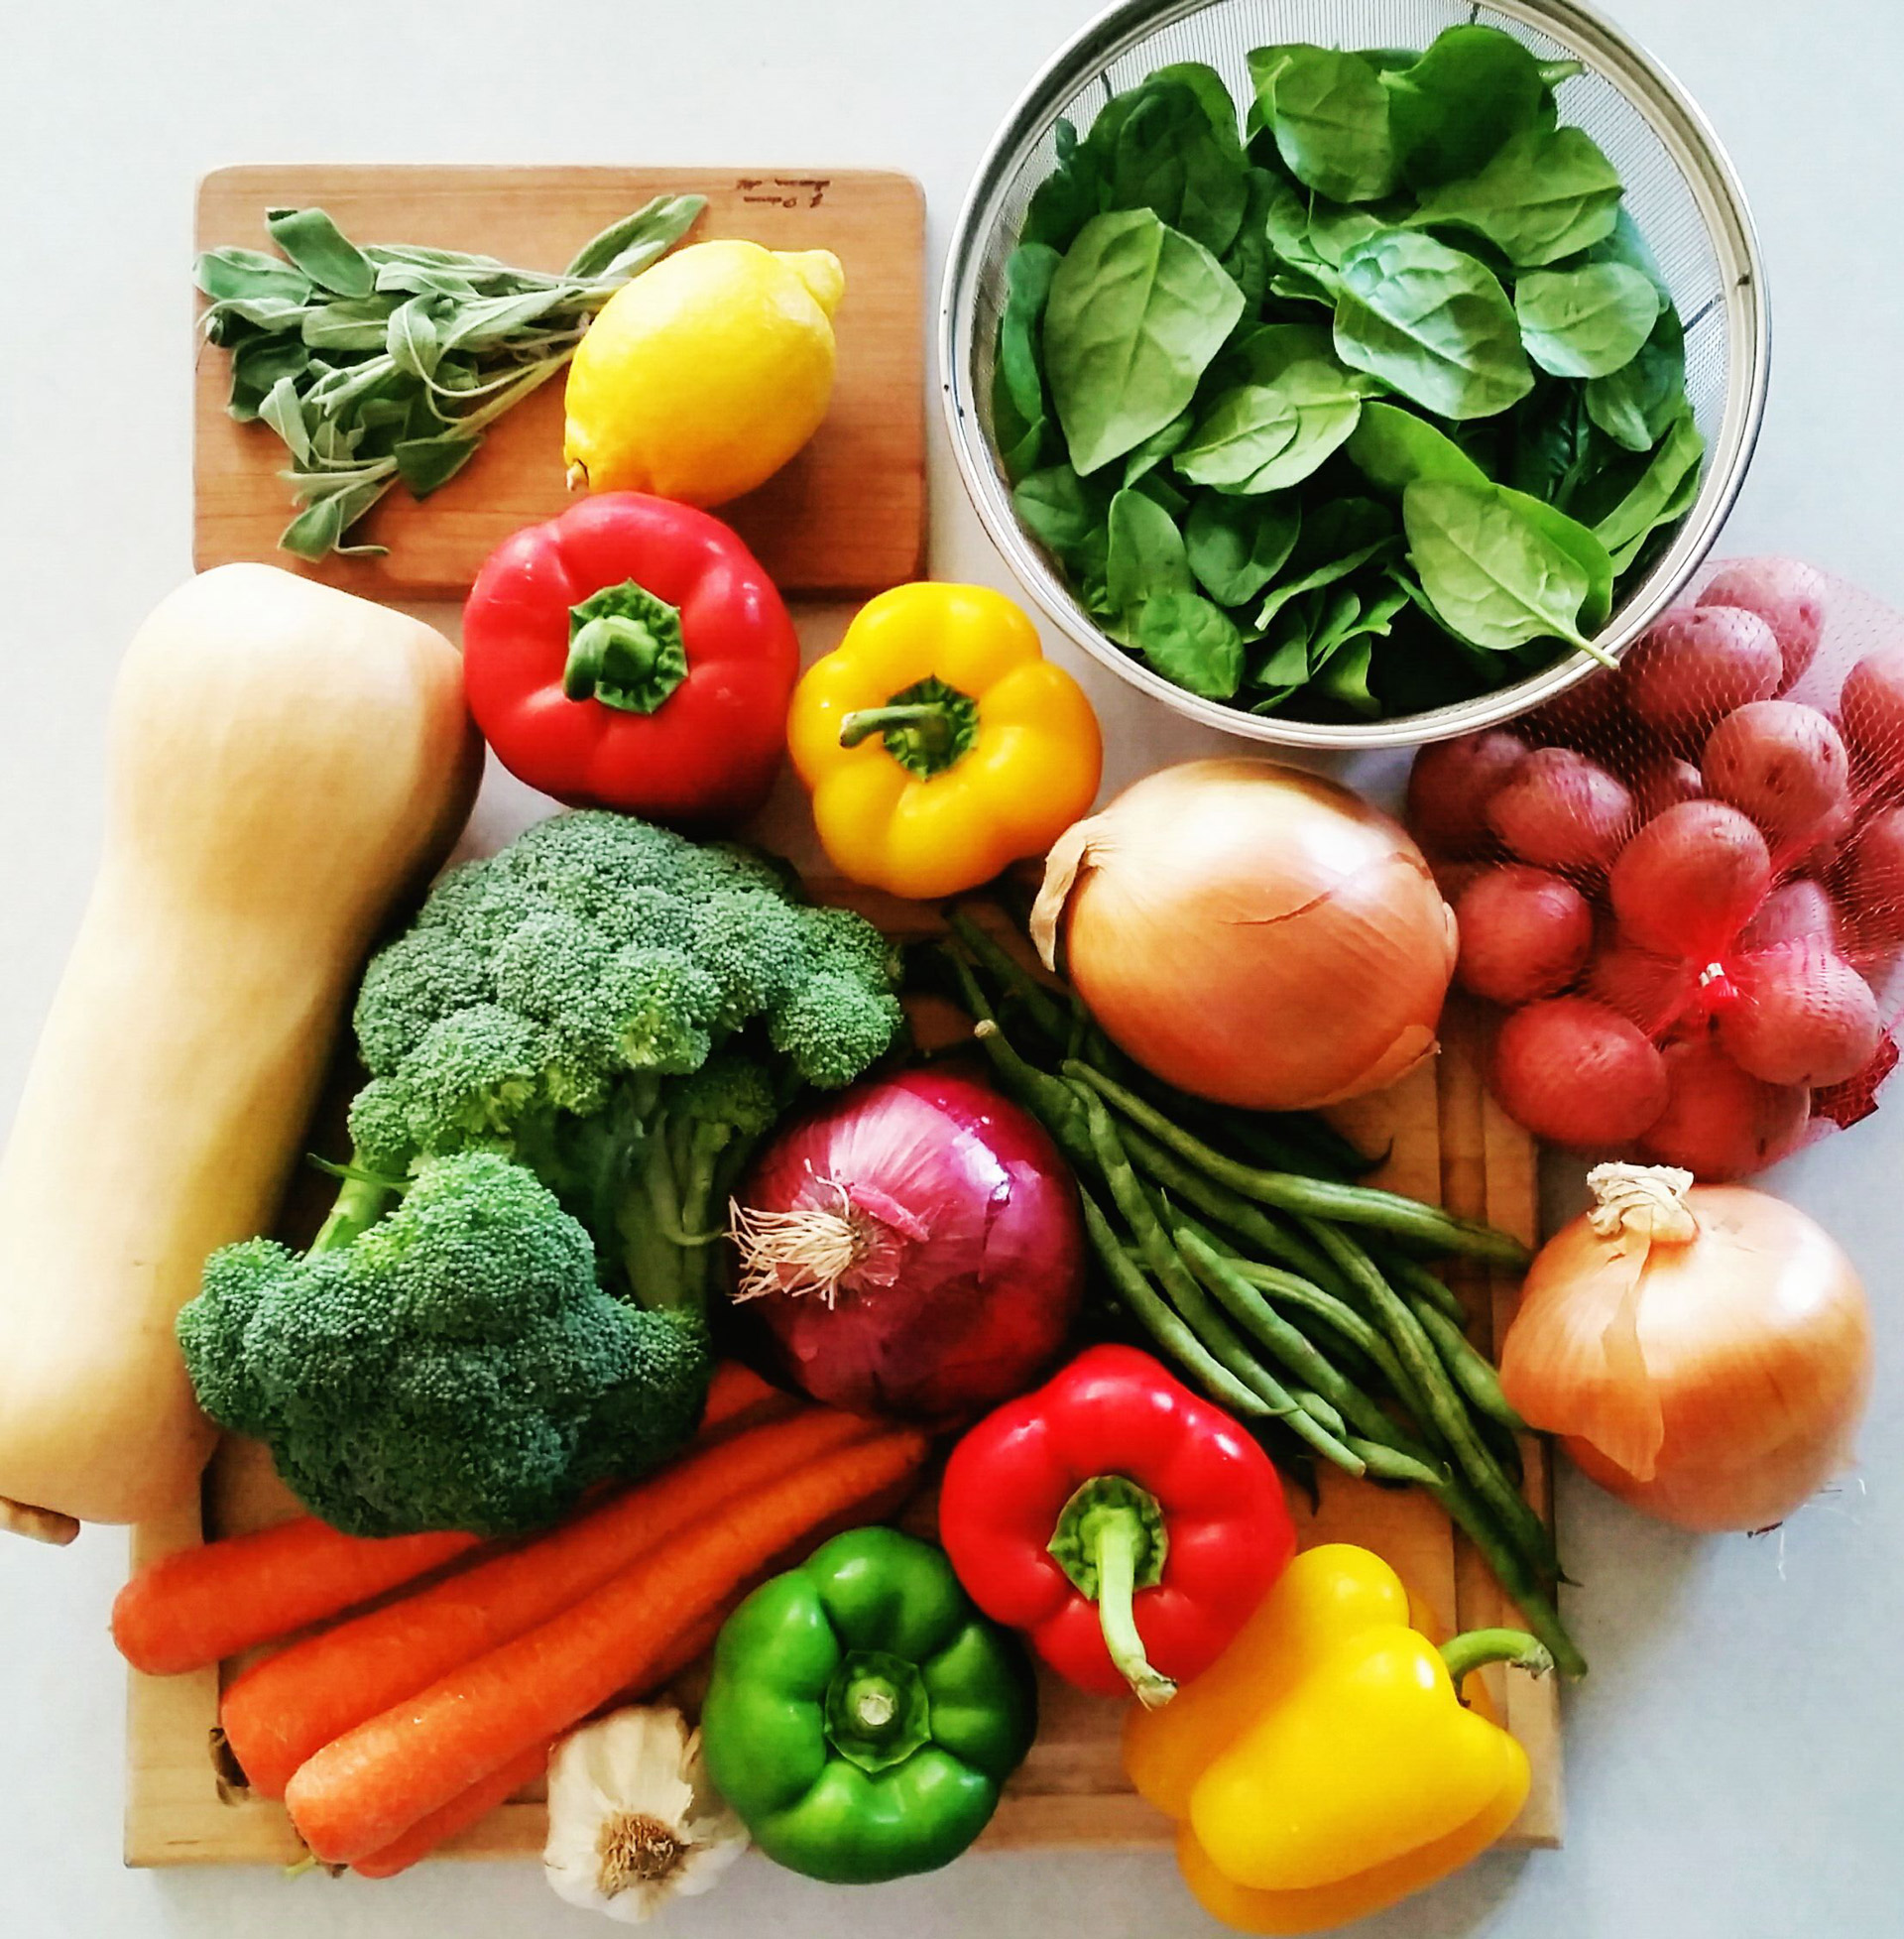
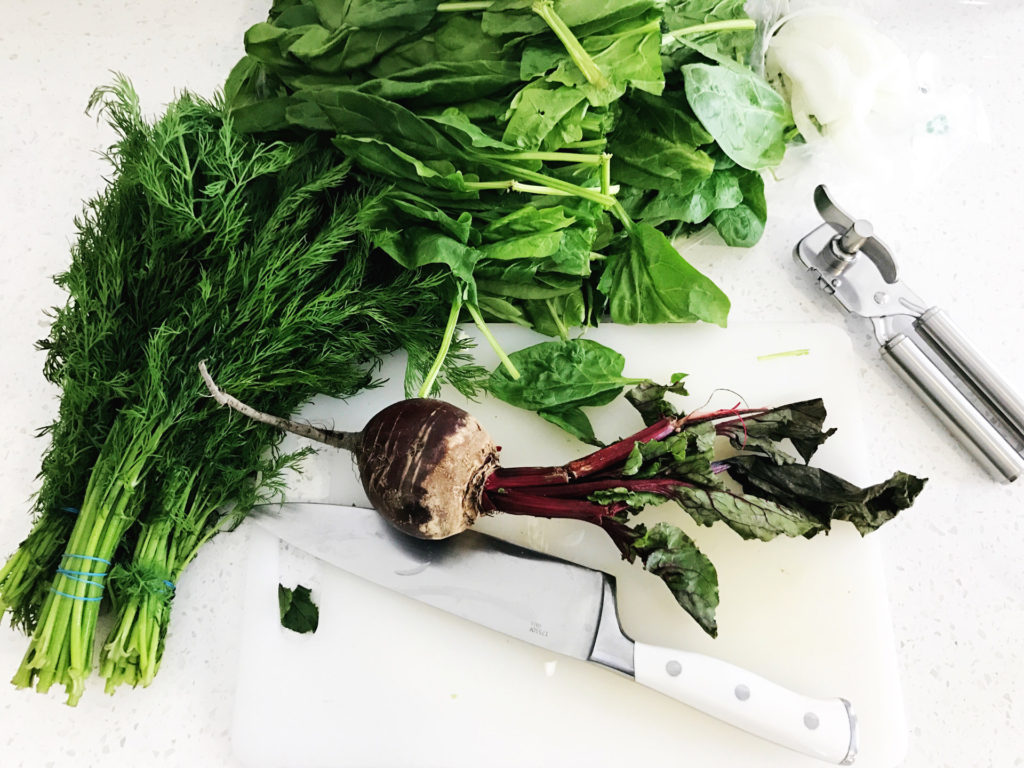
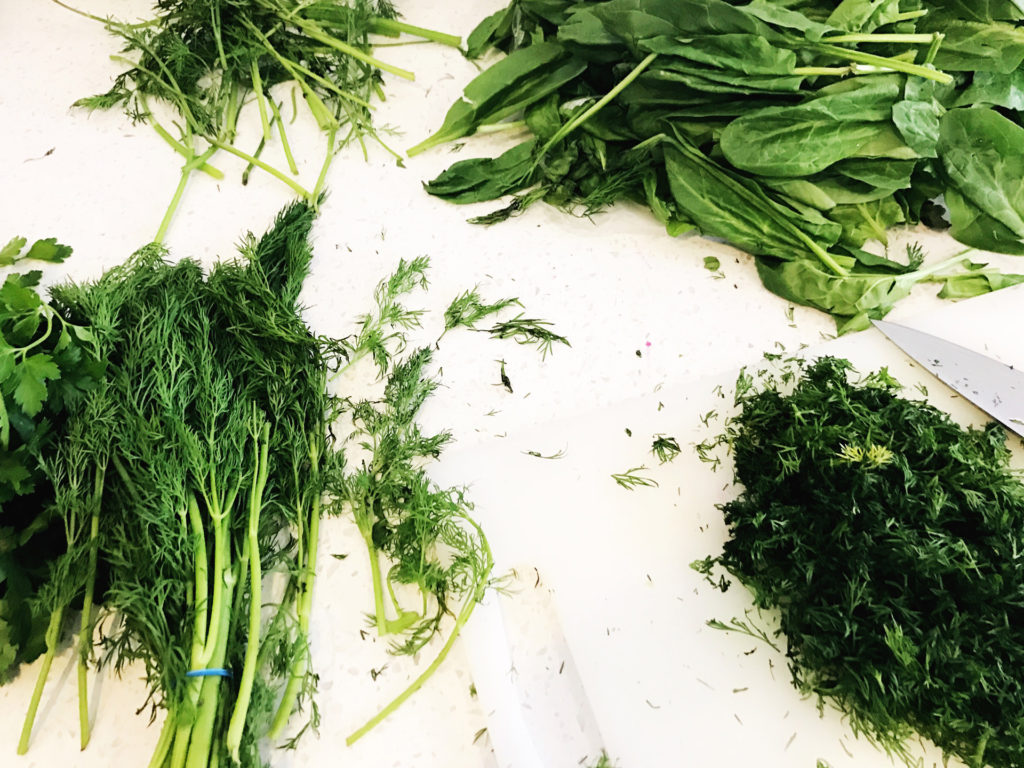
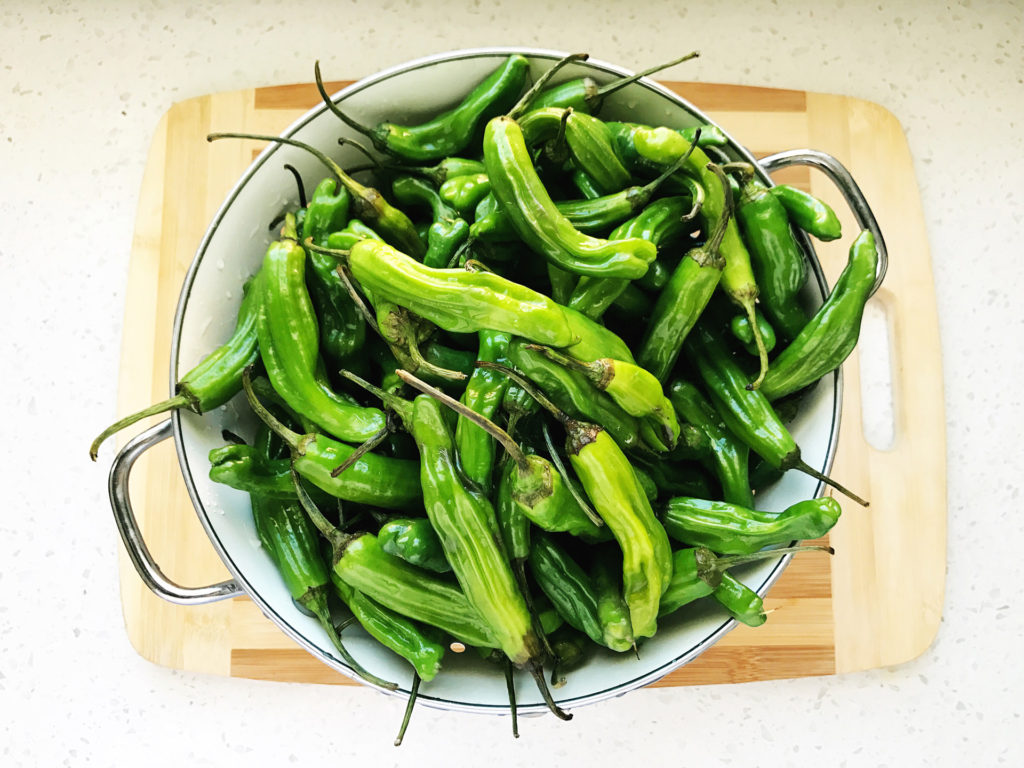
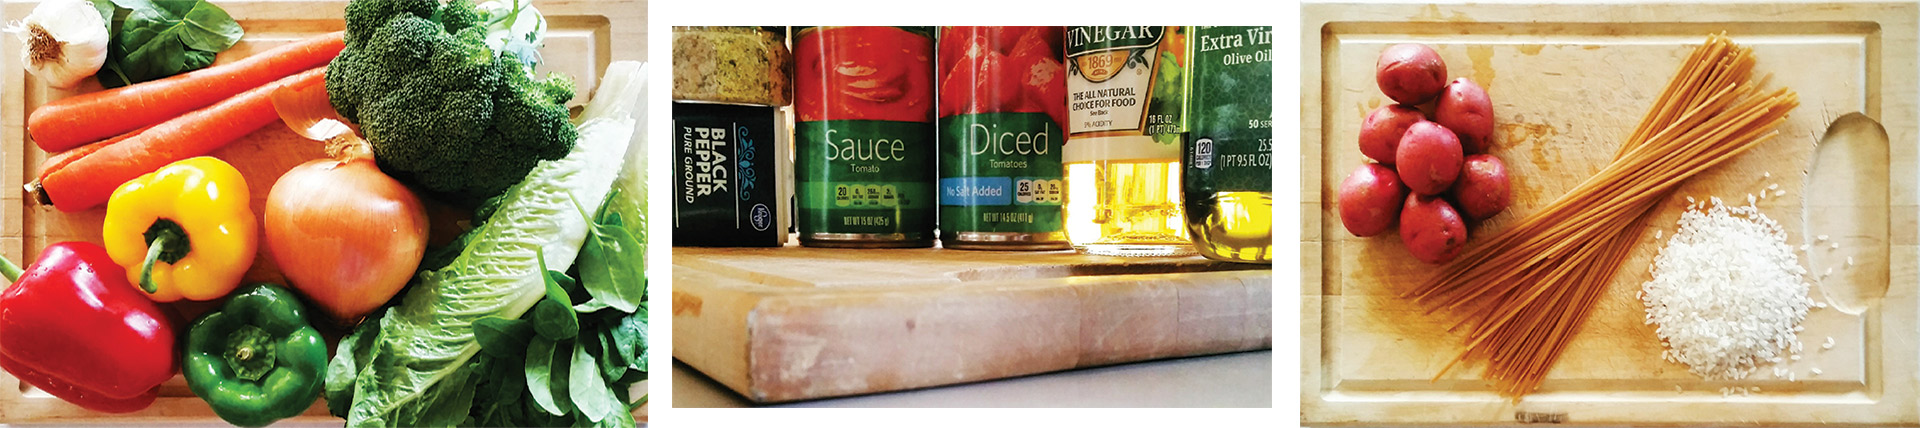
Arguably the most important of my simple cooking tips. This is the veggie haul I brought home from my weekly grocery trip (although to be honest, I’m often there more than once a week). I’ll use all these vegetables in the meals over the next five days. I’m a big fan of plants because they are so healthy for all three of us. Our doctor’s philosophy is “If it’s a plant, its great.” Or something along those lines. Anyway, one of the really great things about vegetables, is how quickly you can prepare them – it can take as little as 10 -15 minutes depending on  your method.simple cooking tips

  • Above, I prepared steamed vegetables two ways: left are plain, washed and cut green beans and carrots (also peeled), and right: a couple lemon slices placed atop, and sprinkled dried oregano to change up the flavor. 2 minutes prep, 10 minutes active cooking time.
  • Share your veggies with your baby once they are at the age to eat solids. You can purée or cook enough to soften for self feeding.
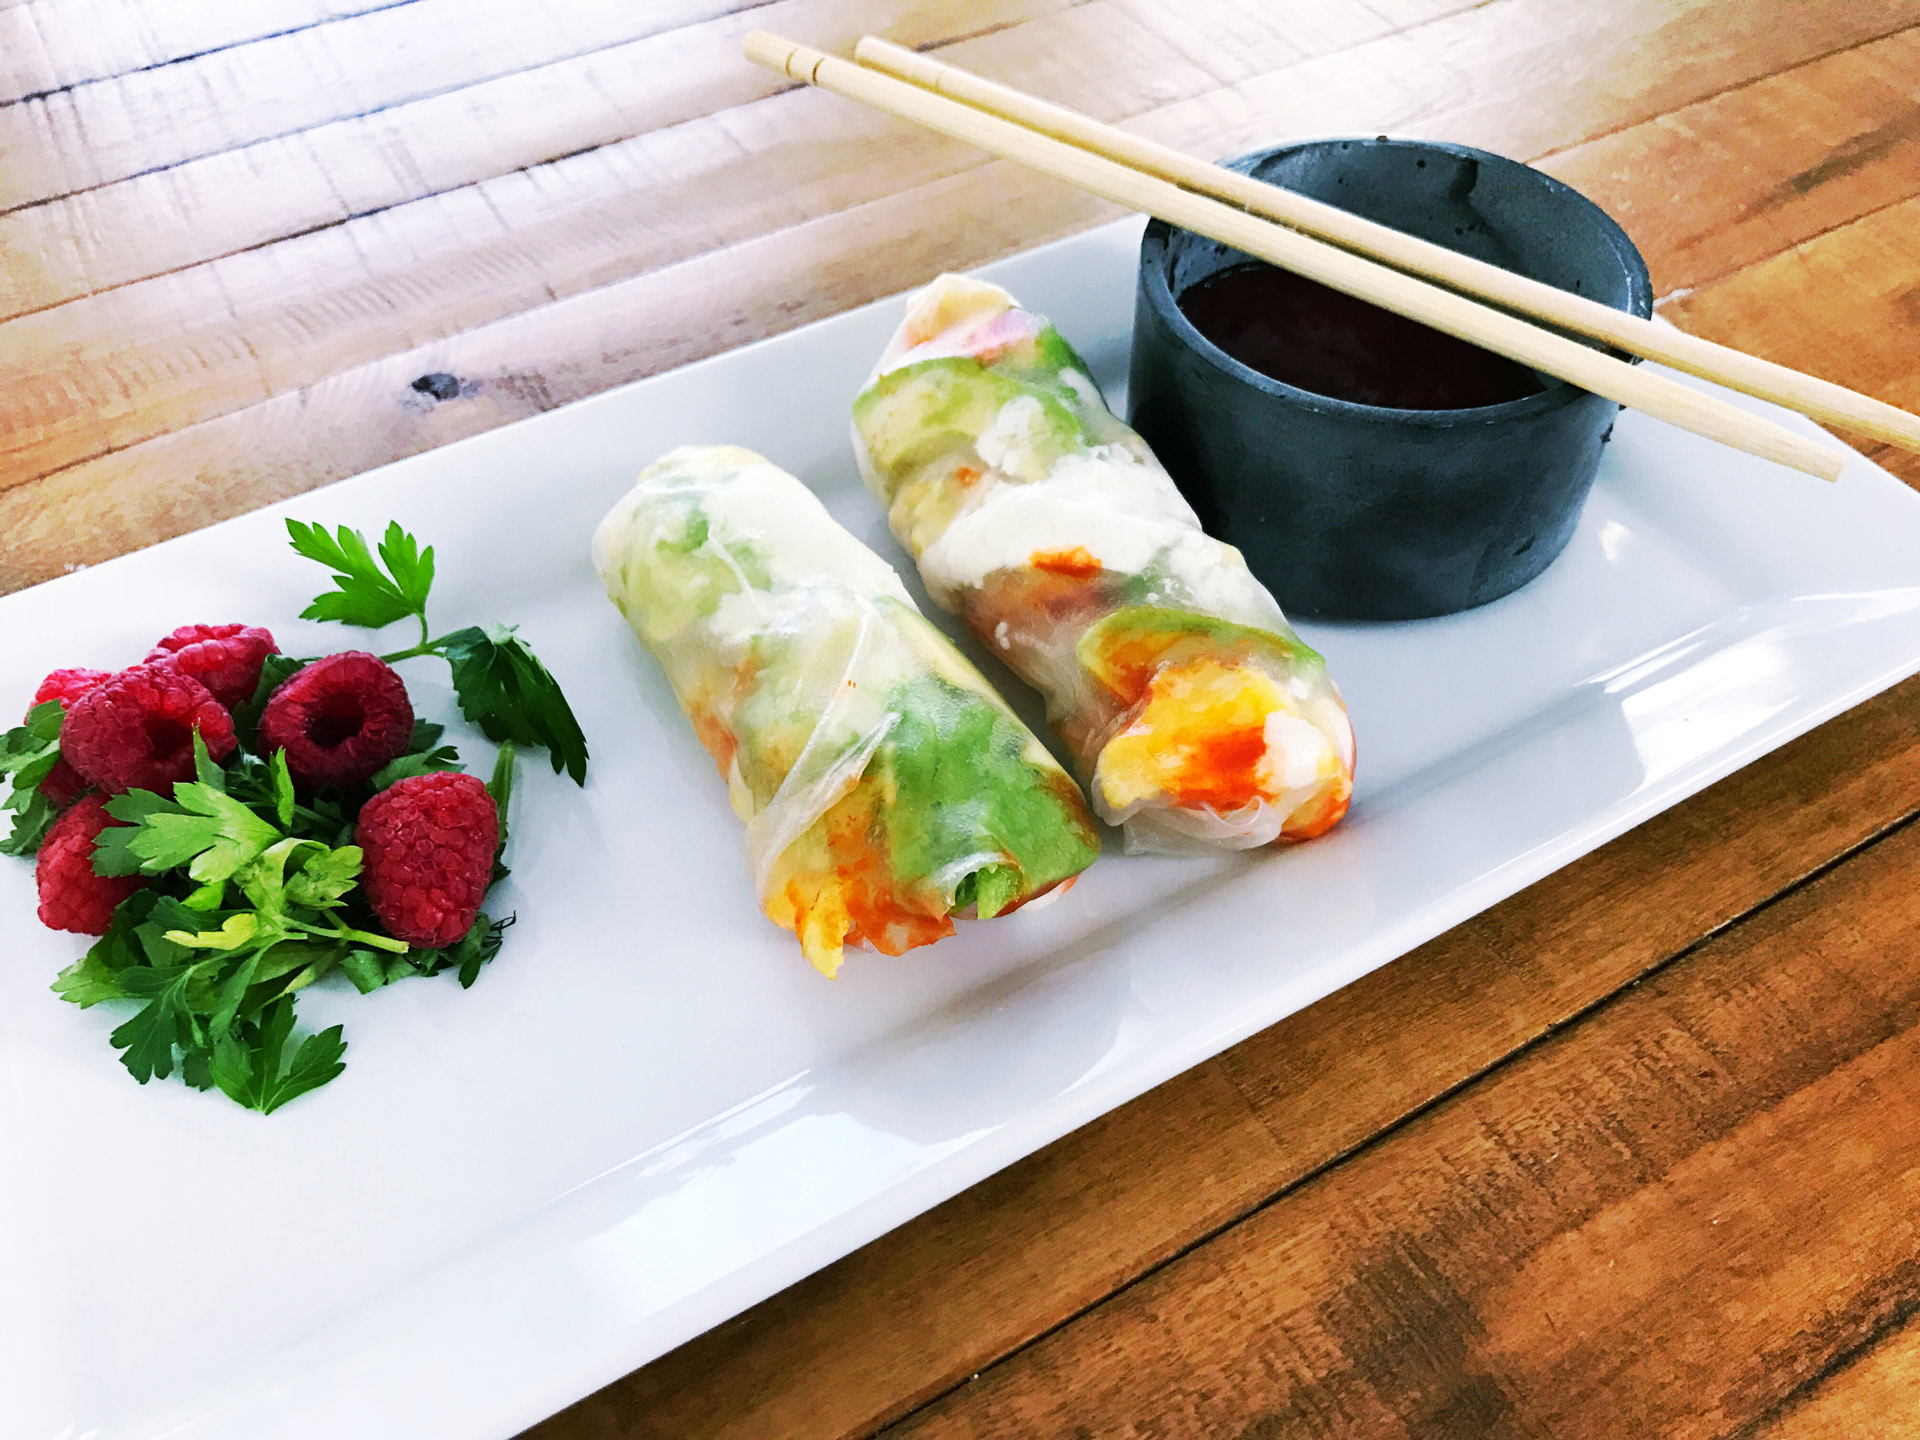
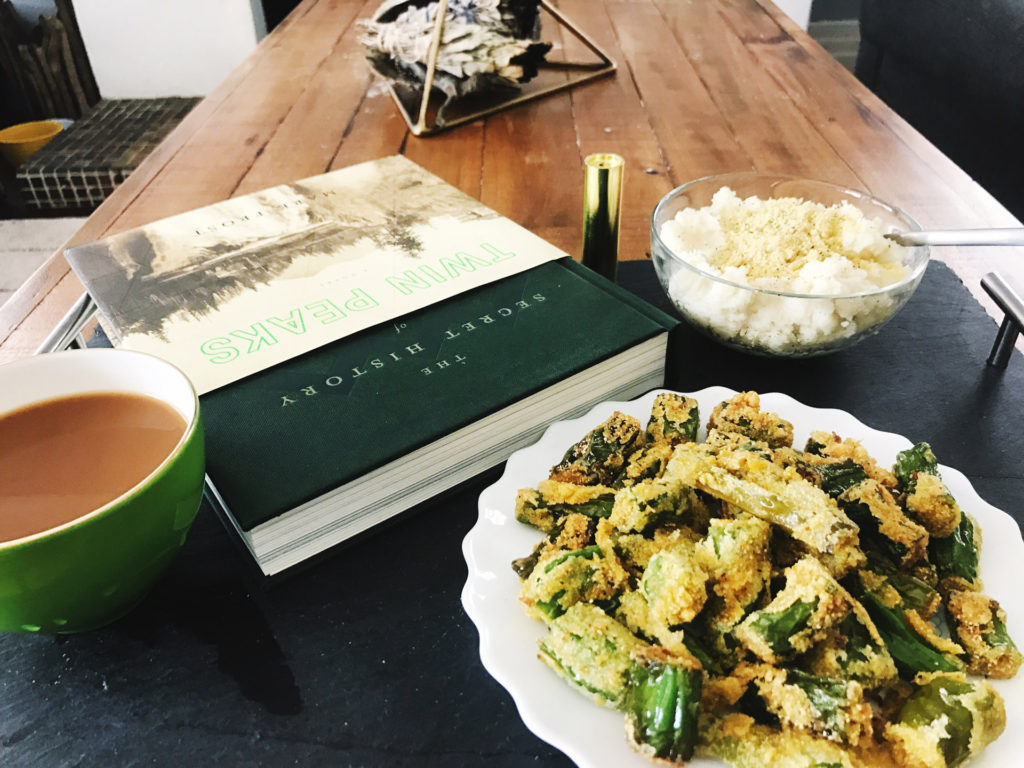
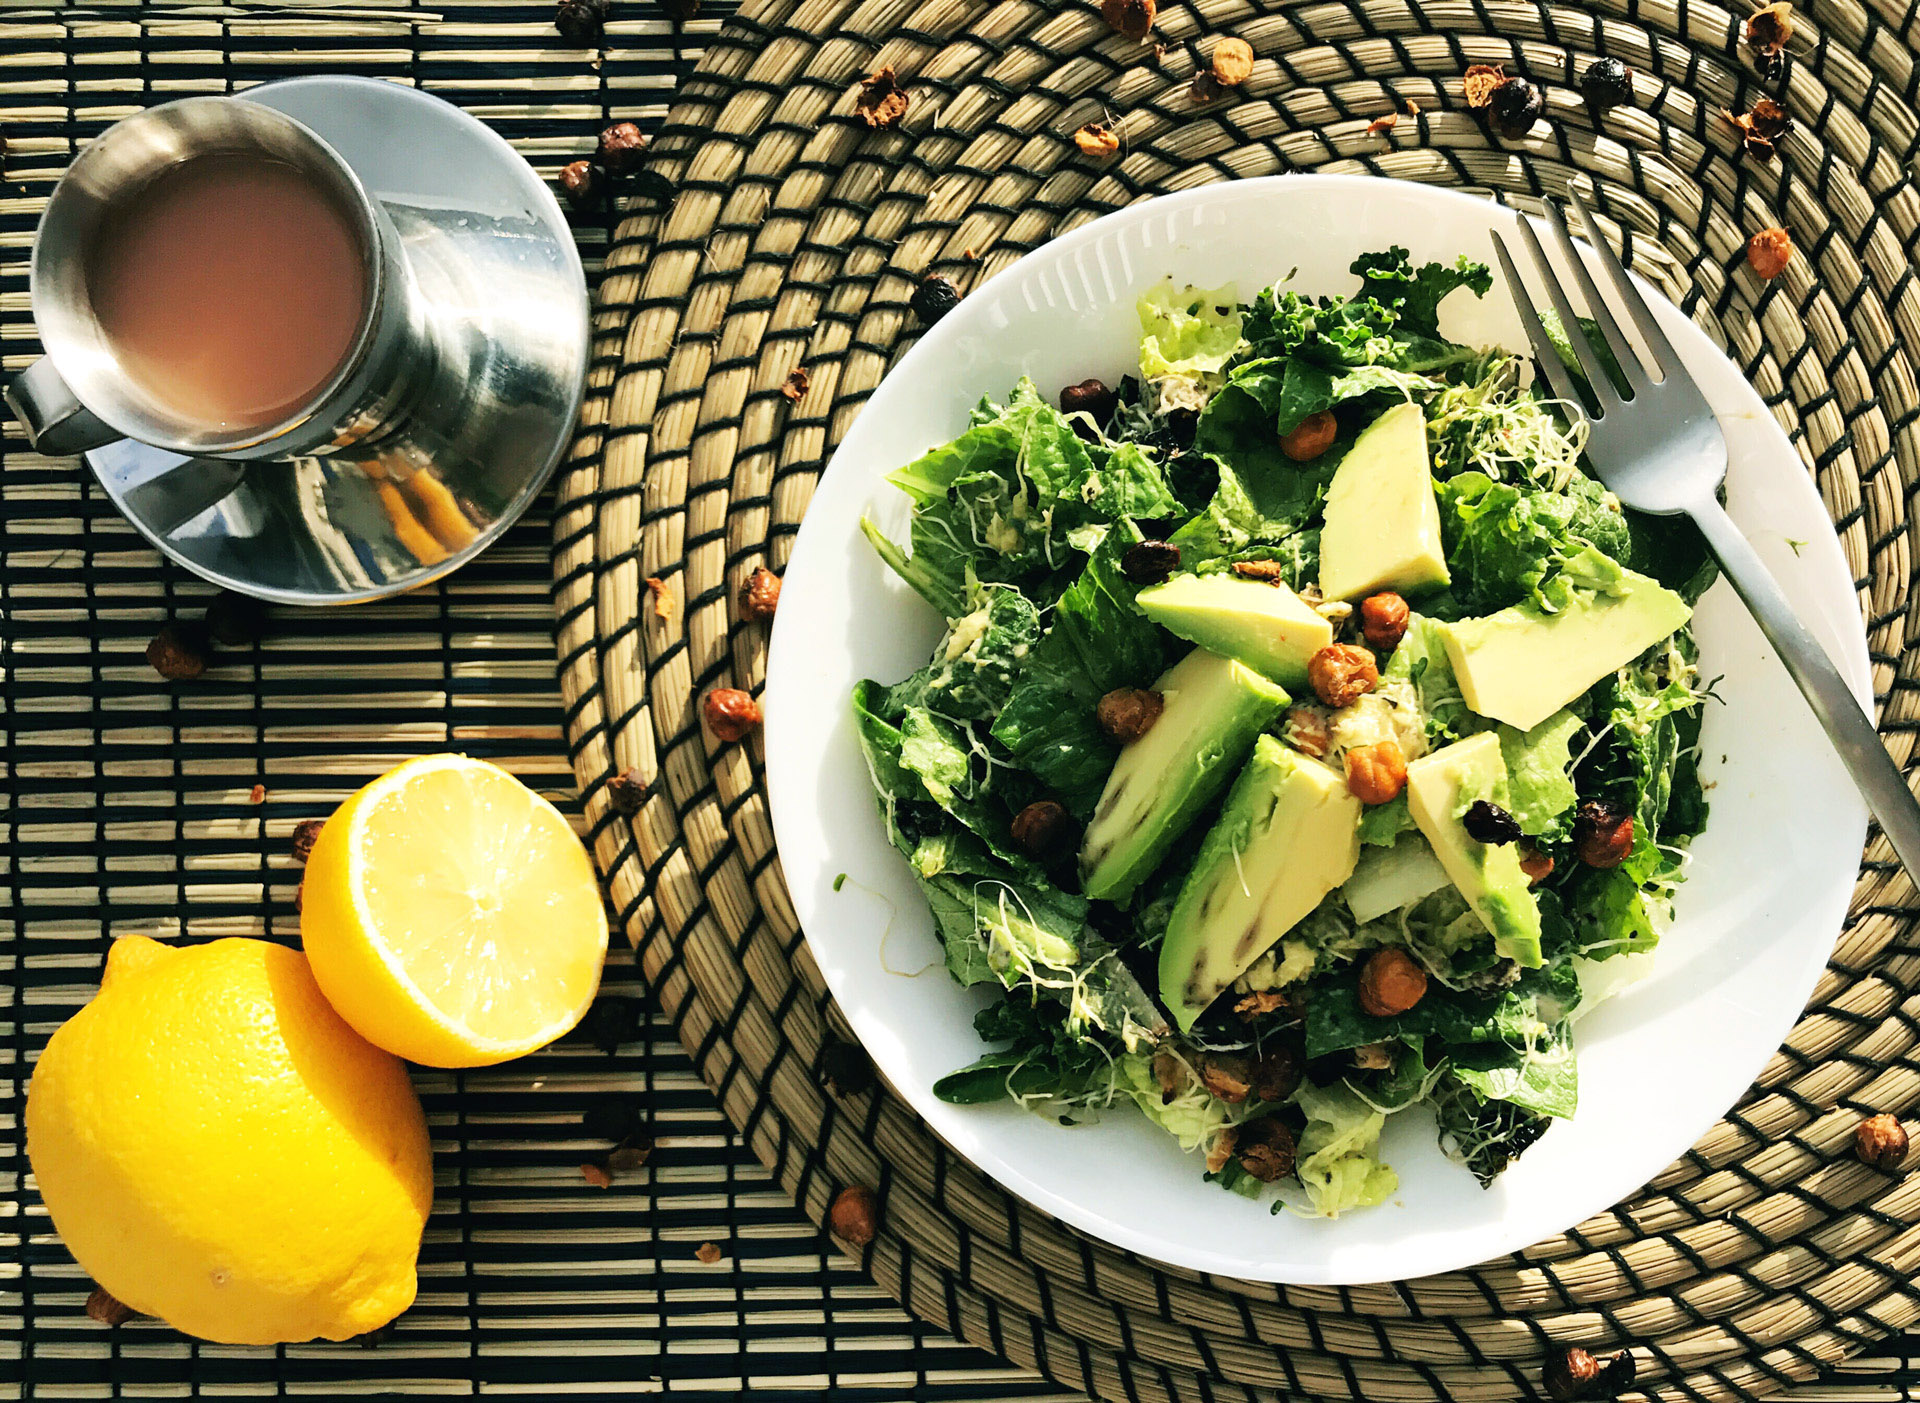
  • Large salads are a fantastic way for mom and dad to up their vegetable intake, and are generally quick to prepare. Throw in some beans (we’re especially fond of garbanzo) or nuts for added protein, sans meat.
  • Make sure your vegetable lot is colorful to ensure your whole family is consuming a variety of nutrients and vitamins!

TIP #2: CROCK POT/ONE POT MEALS

Crock pot Vegetarian Chili

simple cooking tips

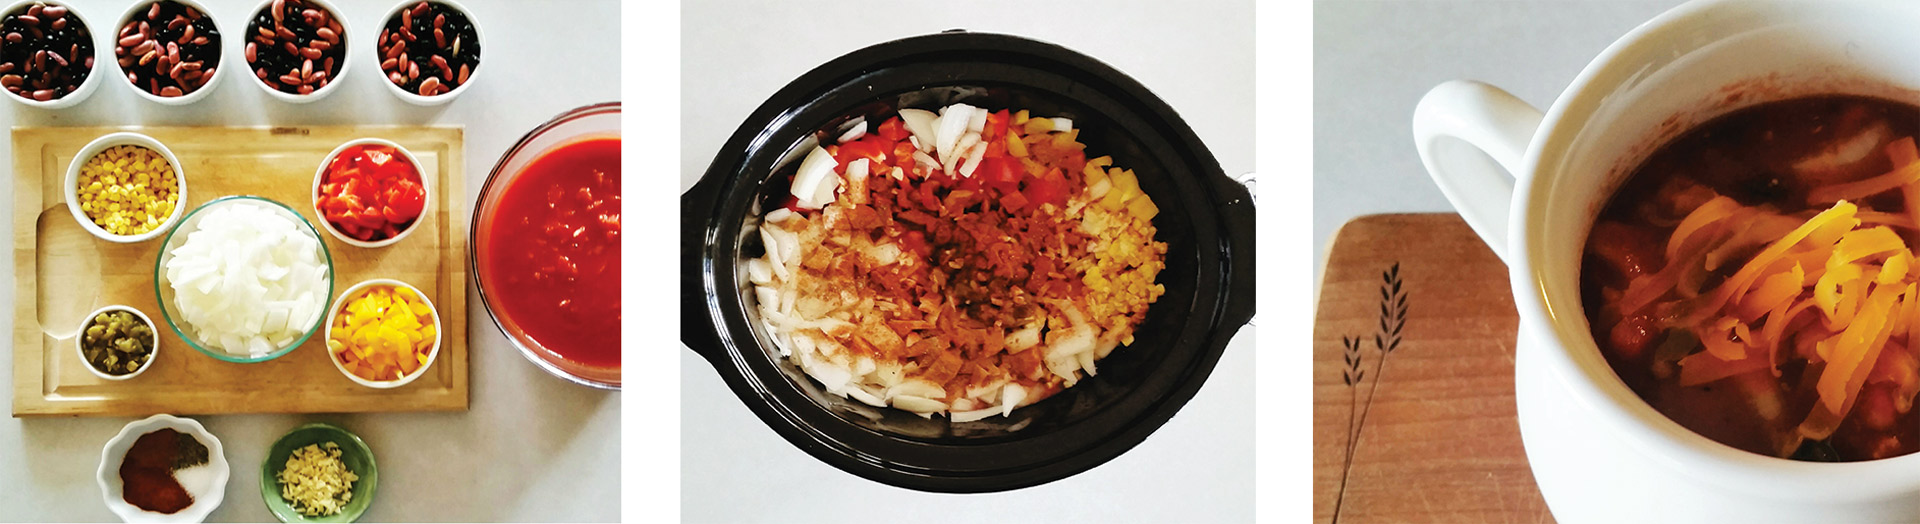
One of the really great things about using a slow cooker, is how little effort you need to put in. As simple cooking tips go, nothing beats an easy meal that tastes great. With a crockpot, once you have all the fixings, you throw it in, and leave it. I can park my daughter in her high chair to hang with me in the kitchen, and usually the prep work takes about 15-20 minutes. This chili cooks at least 6 hours, but preferably 8 hours set on low, so all the flavors settle together. Above is this tasty chili I came across. I’ve changed a couple ingredients to suit it better to our tastes:

  • I leave out the turkey, although when I first found this recipe we kept it in – yummy both ways!
  • I soak the beans myself. This saves on cost and cuts down the added preservatives of beans in the can (eventually I’ll use fresh tomatoes for the base as well). With a slow cooker, theoretically you don’t need to soak the beans, you can throw them in dried; but I found the beans were still a little too firm. 
  • To take out some of the spice, because I’m breastfeeding, I replaced the chili powder with paprika and the jalapeño with 1 small can of mild green peppers.
  • Add garlic powder. I also double down on the spices because I find recipes are always too modest with flavor.

Sidebar: I was in a hurry to take pictures of my prep while my daughter was sleeping, and didn’t pay close enough attention to the spices. I accidentally used cinnamon instead of cumin (lolzzz). I just added another doubling of the CORRECT spices and it tasted great. Maybe it will be my “secret” ingredient. Mistakes are learning experiences!

One-Pot Risotto

simple cooking tips

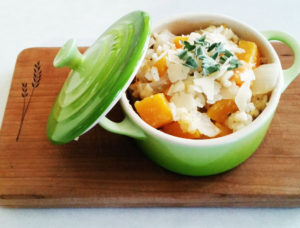
This one-pot butternut squash risotto has become a fan favorite in our house. Its a bit time consuming, so this is definitely a meal I cook when my husband is home so he can hang with the baby. Simple cooking tips aren’t always about total time/effort, but overall efficiency. What’s nice about larger dishes is using the uneaten amount as a side later in the week. More work one day, makes less work the next. Just reheat in the oven (at 250 degrees for about 45 minutes). Plus, with one pot meals, less clean up!


The recipe says it serves 4, but consider those liberal servings. One way to get ideas to tailor dishes to your taste, go through the comment section in online recipes. Then, trial and error. Figure out what you like about the meal, and what you don’t.

  • Used olive oil instead of butter
  • Added a medium sized yellow onion which I throw in same time as the squash.
  • Let the squash cook about 10-15 minutes longer to soften it up more than original recipe calls for.
  • Vegetable stock instead of chicken to make vegetarian friendly.
  • Double the amount of sage.

TIP #3: MEAL PLAN 

My simple cooking tips are designed to make life easier, and new moms love that (or at least, I do). When you’re a newbie, it may seem hard to meal plan. “What do I cook, when I’m not very experienced?” Start off with things you already love, and know how to make. Then, you can start building your personal recipe book. I try to prepare one new recipe a week, so I don’t exhaust meals in my rotation. This also teaches me new skills. Practice makes perfect, after all.

simple cooking tips

I’ve learned to use an ingredient one recipe calls for again in another meal. Utilize what you have. An easy way to do that is with garnishes, herbs, and spices (See TIP #4). On Monday, I made this delicious salmon (download the recipe card here). One of the sides prepared for this meal was the steamed vegetables from Tip #1; the extra lemon from topping the salmon, I added to the steaming pot. I used one bunch of sage from the butternut squash risotto on the salmon as well. This helped me use up more of the fresh herb and not let it go to waste. Since I knew I needed something specific for one meal in the week, I planned another meal to use the same ingredients. Meal planning for the win!

TIP #4: INVEST IN SPICES

simple cooking tips

Investing in a spice rack is the beginner’s best friend of simple cooking tips. Depending on what staples you start with, the upfront money shouldn’t be terribly expensive. What you spend first, you save later because dried herbs and spices will go a long way; they can be just as potent a year after opening (you can check freshness by how strongly they still smell). Reduced sodium is another benefit because you won’t need added salt to make your food pop. 

  • Off the bat, dried oregano is an herb to start using. I add it to pretty much everything.
  • In place of chili powder, I use paprika and cumin for flavor. I miss spicy food (Sriracha forgive me), but its not great for my daughter’s sensitive stomach.
  • Garlic powder is great when you don’t have the time to prepare garlic cloves. 
  • Usually, the ratio for dried herbs to fresh is 1:3 (1 teaspoon of dried herbs to 3 teaspoons of fresh).
  • Add dried herbs toward the start of cooking to allow their flavor enough time to open up.

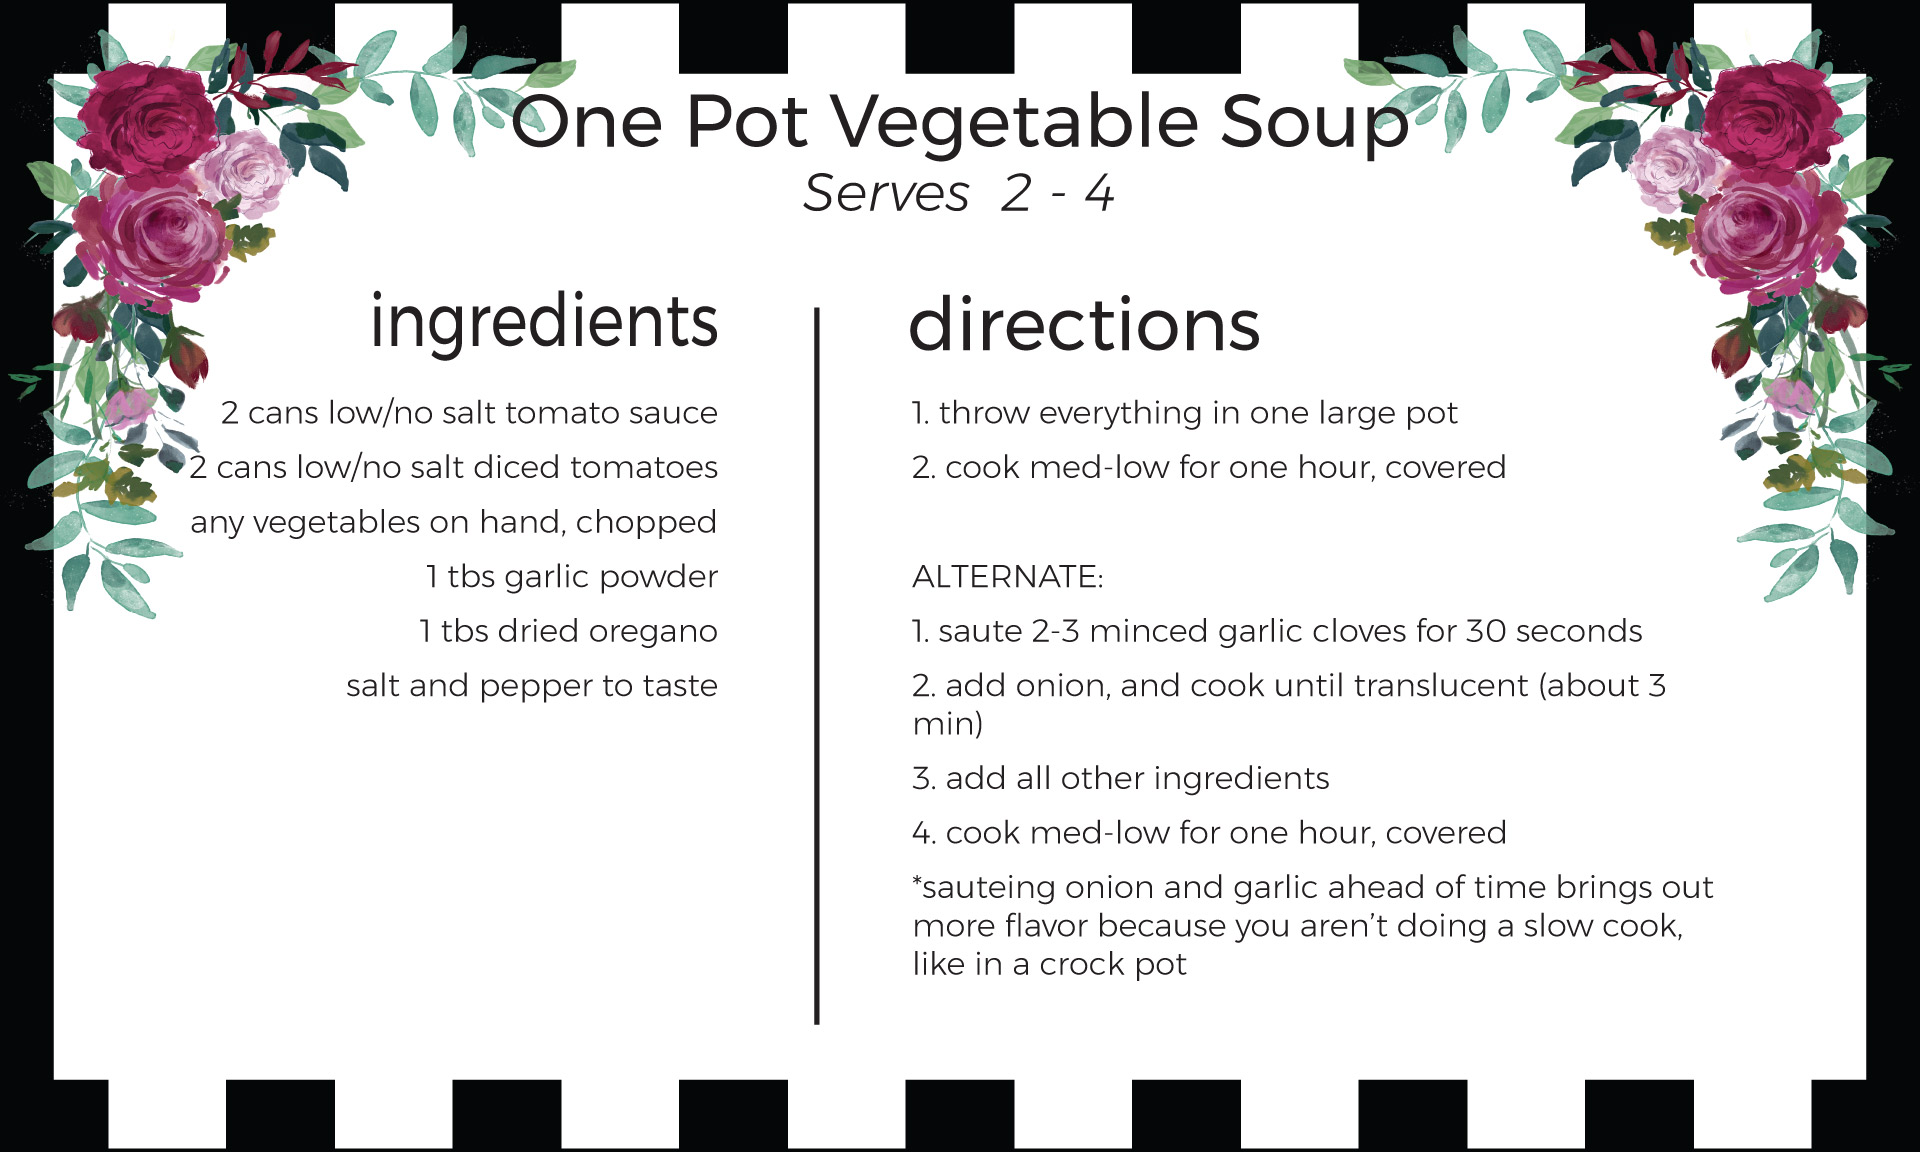
TIP #5: FIGURE OUT YOUR STAPLES  

simple cooking tips

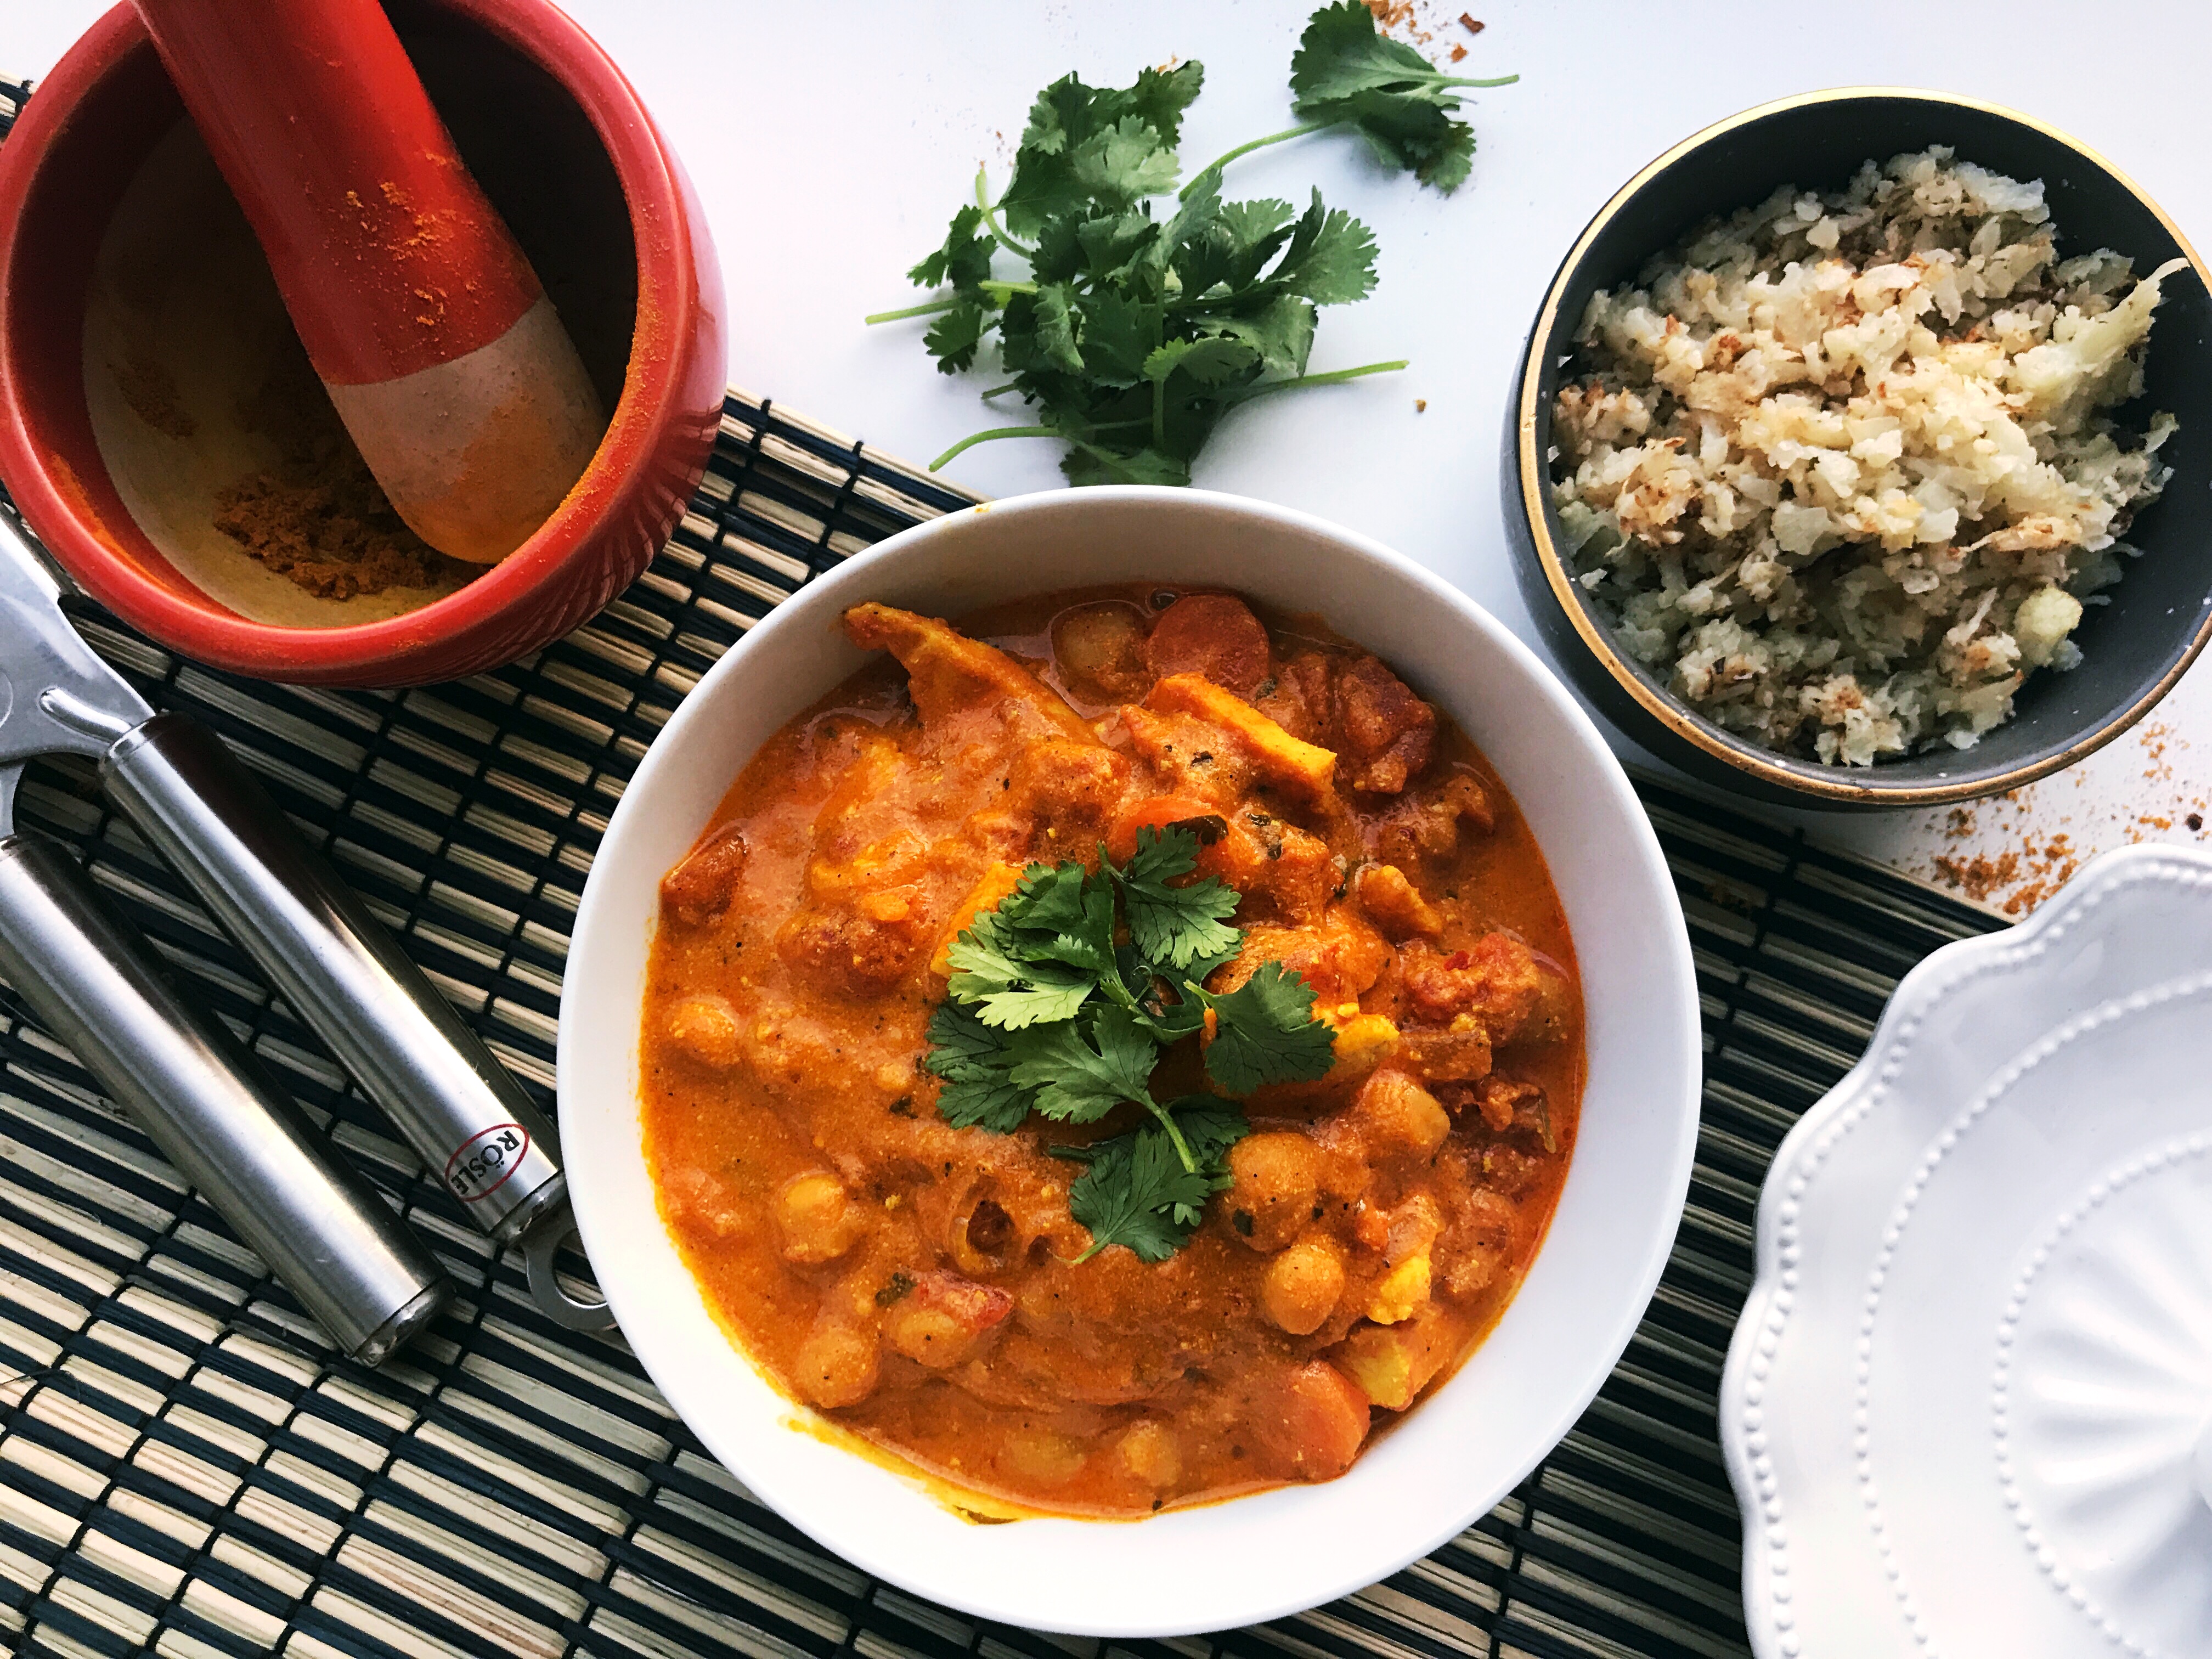
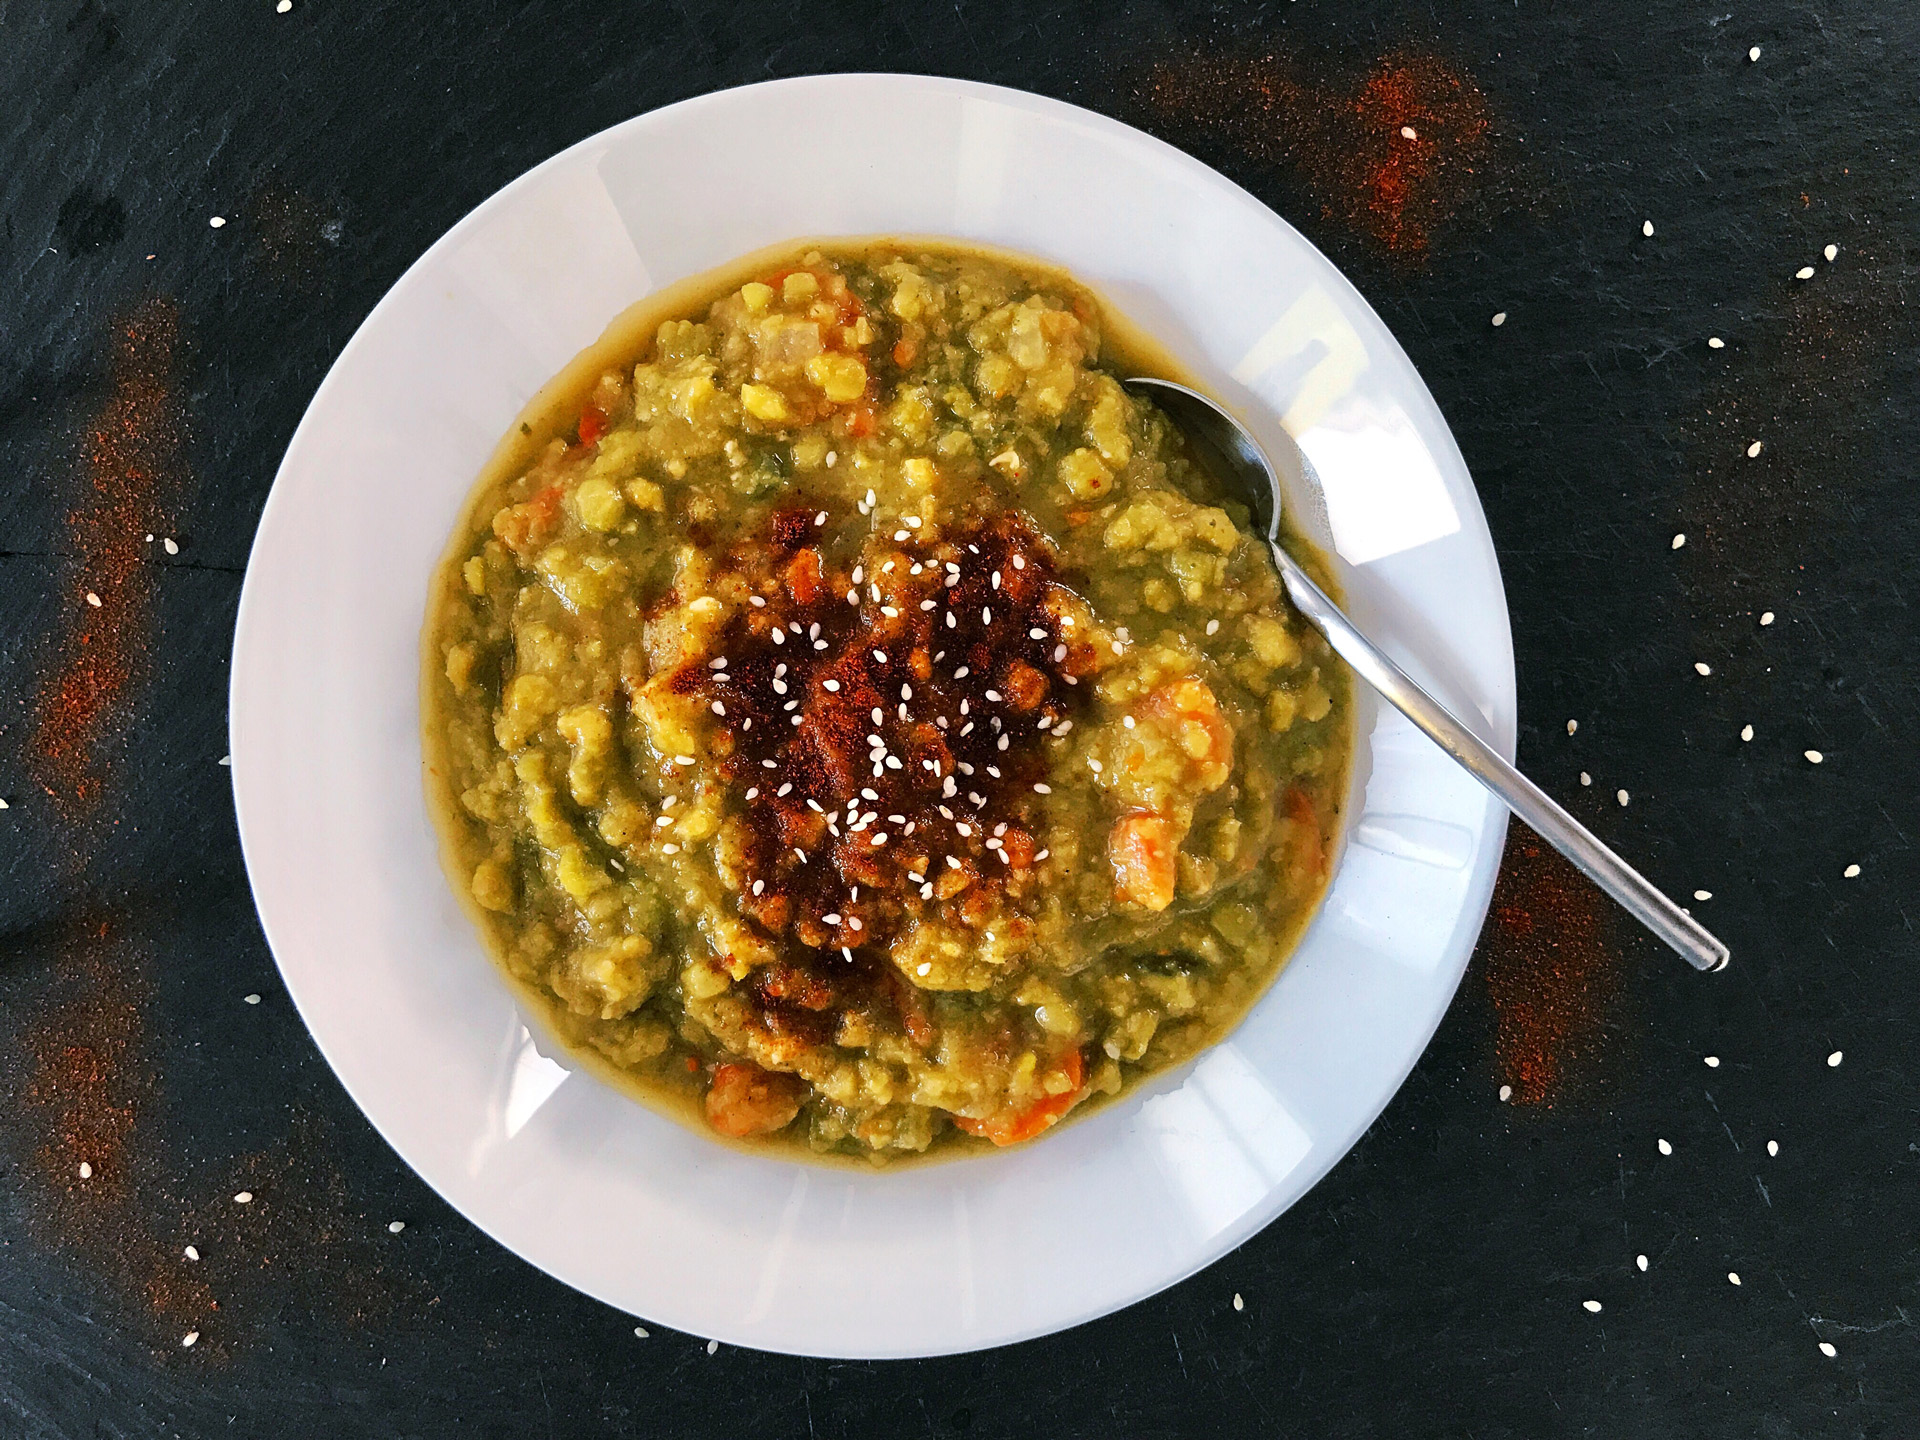
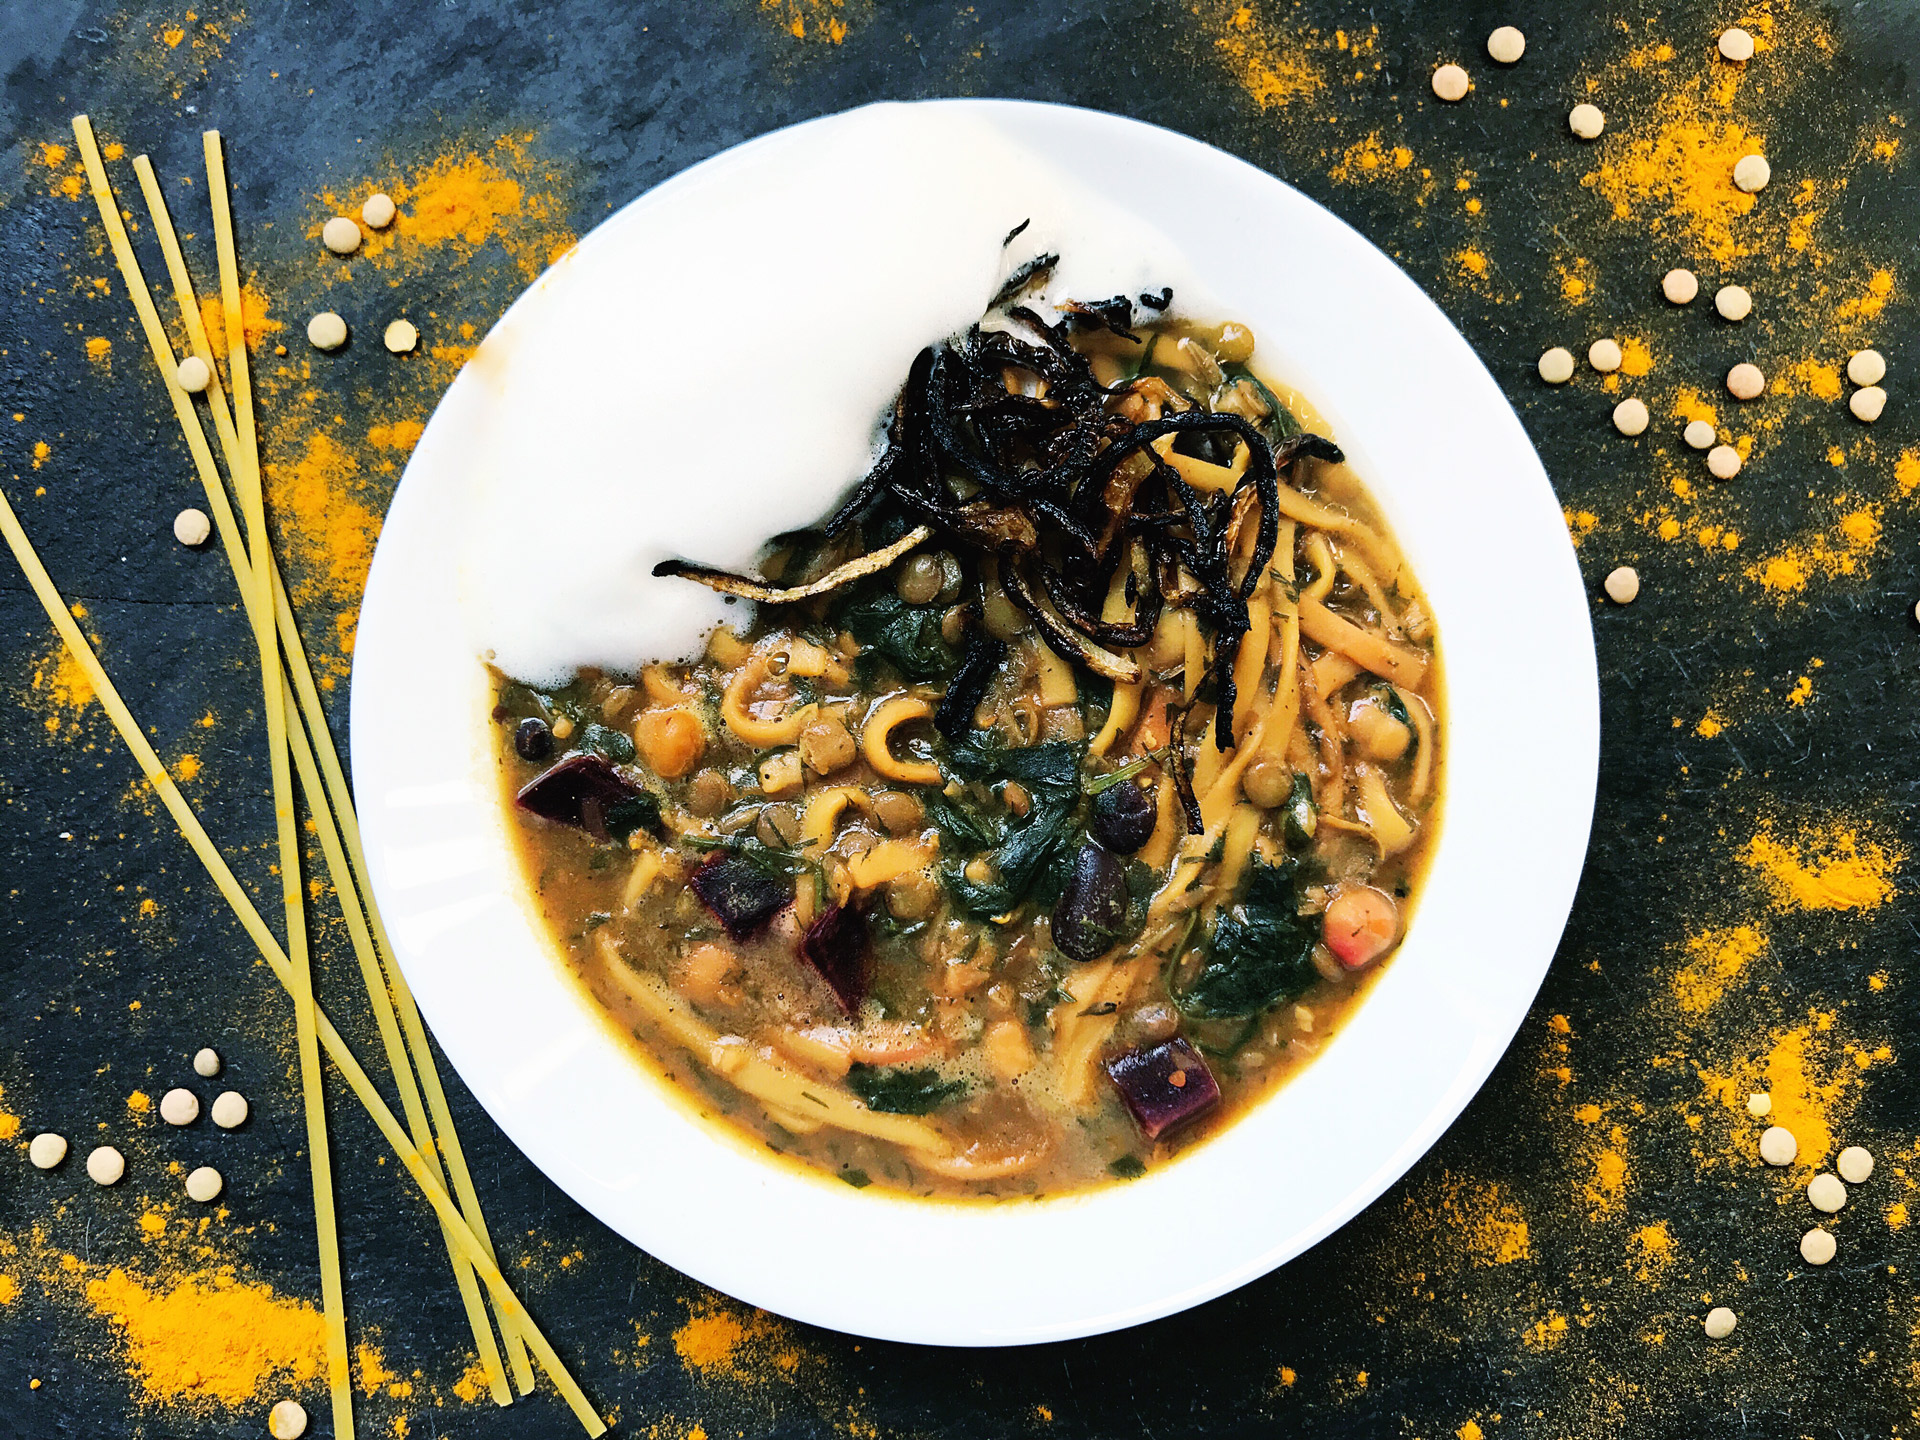
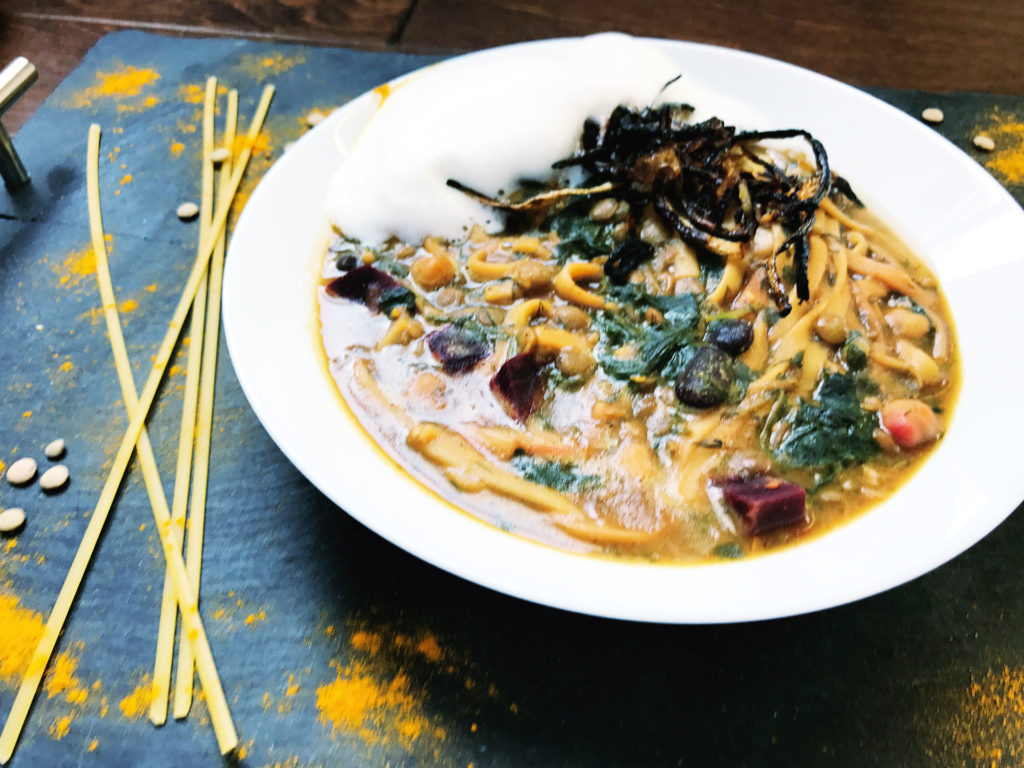
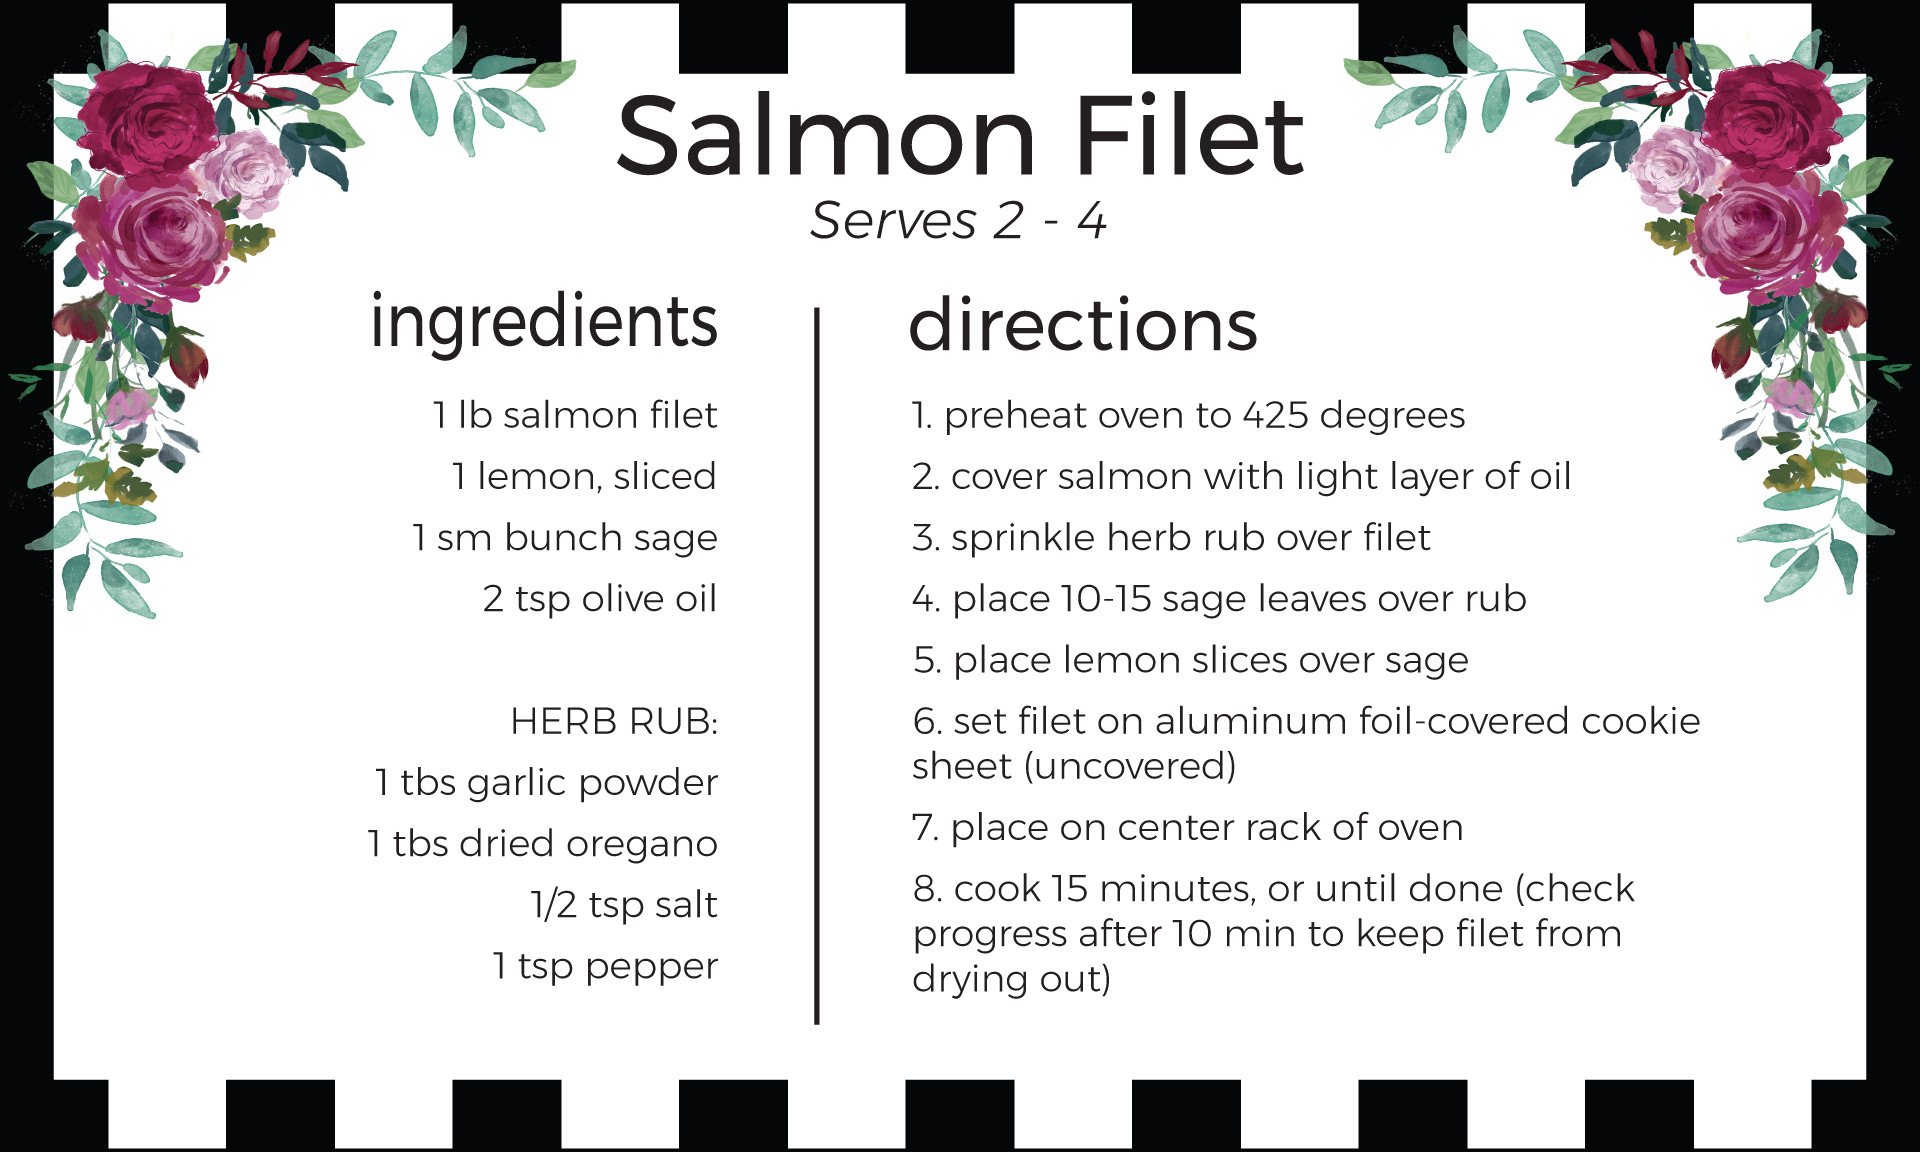
Everyone should get to know their pantry/fridge staples. In general, I’m not a huge fan of grocery shopping. So, when life gets too hectic, this is when simple cooking tips really come in handy. Having go-to items each grocery trip makes the event quick, with less stress. Then on nights I’m not sure what to make, or the day gets away from me, I can whip up a simple one-pot dish by throwing anything I have on hand together (recipe card bottom of post), or use a tried-and-true recipe I (now) know by heart. Usually I’m able to lightly experiment by using a different spice, vegetable, or whatever else I have at my disposal. 

THE MORAL OF MY STORY

My simple cooking tips stem from “aha!” moments in the kitchen. For new moms venturing into cooking, the experience can seem daunting. Jump in, and you’ll soon realize just how easy it can be to learn. Now, I don’t have toddlers or a big family I cook for every night. That’s my eventual goal. Practicing now, ideally, will help me prepare for my first solo Thanksgiving or a random weeknight with many mouths to feed. Like I said at the top, I’m new to all this, but I’ve loved learning, and especially impressing my husband. 

I am generally on my own with an infant while feeding myself during the day, so smoothies and yogurt bowls are a fast, tasty way to add nutrition. There are so many variations of flavors, so mix it up throughout your week. I like to add a handful of spinach to my smoothies for an extra boost of those leafy green vitamins. 

Whether you’re new like me, or a veteran in the kitchen, preparing healthy meals to feed you and your family is necessary for positive energy, in both body and spirit. When we cut down on processed foods, and engage with what we eat, we’re more mindful of what we consume. Never quit eating pizza, eat an apple a day to keep the doctor away, and put love into everything you make.

Happy Cooking! 

What do you think? Are any of these tips helpful? What suggestions can you add to my simple cooking tips?


simple cooking tips

Click the image to download and print the recipe card!


simple cooking tips

Click the image to download and print the recipe card!


DIY Recipe

How To Make Your Own Granola

Make Your Own Granola

For breakfast, I’ve always loved granola. As a kid, I had an Uncle who kept granola in his pantry at all times. My home was usually stocked with Grape Nuts and skim milk, so granola with yogurt was a huge treat! Since then, I’ve almost always kept granola stocked in my kitchen as well. However, I can’t believe I’ve been paying for it all this time when it’s soooo simple to make your own granola! For the most part, granola only requires ingredients that you’ll already find in your kitchen cupboards. So, I decided to learn (and teach you) how to make your own! Get ready to level up your smoothie bowl and breakfast recipes!

Recipes for granola all are very versatile because the main component is rolled oats! I read that you won’t want to use quick oats because they don’t hold up as well after baking. This recipe is a great activity to do with family or friends and—perhaps even more so—it’s a quick and easy option to impress some early (or entirely unexpected) guests! Let’s not forget it as a budget option either since granola works as a meal or as a simple grab and go snack.

To make your own granola requires as little or as many ingredients as you’d like and only takes about an hour to make from start to finish.

For my granola, I wanted something that was tropical and kind of sweet. I knew I’d be putting it over plain Greek yogurt and wanted to include what I already had too much of in my pantry.

In this recipe, I added an egg white for added protein. However, granola only needs a ratio of around 1:6 wet to dry. You can make a simple syrup or use honey/agave, egg whites, and oil for your wet ingredients like I did. If you’re adding dried fruits like raisins, goji, apricots, etc., you’ll want to wait to add those until the mix is baked through and transferred to a bowl.

Make Your Own GranolaMake Your Own Granola

Make Your Own Granola

Print Recipe
Serves: 10 Cooking Time: 1 hour

Ingredients

  • 2 cups rolled oats
  • 1 cup of extra-finely shredded coconut
  • 1/2 cup of pepitas
  • 1/2 cup of crushed almonds
  • 3 tbsp. bee pollen
  • 1/3 cup honey/ agave
  • 1/3 cup warmed coconut oil
  • 1 egg white
  • 1 tbsp. vanilla extract
  • 1 tsp. salt
  • dash of cardamom
  • dash of cinnamon
  • 1/3 cup green raisins
  • 1/4 cup goji berries
  • 1 packet of Mango Açaí fruit snacks

Instructions

1

Pre-heat your oven to 300°F

2

Mix the oats, seeds, nuts, and other dry ingredients in a bowl

3

Add your spices and salt to the dry mix and combine thoroughly

4

Stir in your wet mixture until all the ingredients and coated

5

Spread your mix on a parchment lined baking sheet

6

Bake for 40-60 minutes, stirring every 10 minutes

7

Transfer your mix to a bowl and add your berries and dried fruits

8

Serve!

I hope you enjoyed learning how to make your own granola! Check back often for more recipes and kitchen tips Xo.

Recipe

Breakfast Burrito With Rice Paper

burrito with rice paper, Breakfast Burrito with Rice Paper

I order spring rolls pretty much every time my husband and I go out to Thai food. I love the chewy texture and vibrant colors that peak through the veil of rice paper. I’m a big fan of mochi and rice noodles as well! After one of my recent visits to a sushi place, an idea struck me: What if I made a breakfast burrito with rice paper??! Holy shit, am I some breakfast genius?

I did some googling, and it turns out a breakfast burrito with rice paper has been done before.

However, it’s received way less attention than I would think. I’ve seen fruit and floral spring rolls trending on Instagram lately, which I still want to try. This time, however, it was a matter of what was available to me, so I was inspired to create a colorful breakfast burrito with rice paper.

The great thing about this recipe is how versatile it is. Rice paper is naturally gluten free, which is a huge plus! That opens the possibilities to an even larger and more diverse group. I’m always on the lookout for easy and quick meal options for my husband, as well as any guests that grace our doorstep.

You could incorporate fried tofu, sweet potato, hash browns, cheese, veggies, or nearly anything else that belongs with breakfast. I’d love to try both a tofu scramble and breakfast oats in some rice paper soon.

For the sake of simplicity—and what I had in my fridge—I used egg, avo, and goat cheese for my recipe today. I also purchased rice paper on Amazon ahead of time in preparation.

I hope you enjoy this recipe for a Breakfast Burrito With Rice Paper!

Breakfast Burrito With Rice Paper

Print Recipe
Serves: 1 Cooking Time: 5 minutes

Ingredients

  • 2 eggs scrambled (or 1 cup of cubed tofu, scrambled)
  • 1/2 small avocado
  • 2 oz. goat cheese
  • 2 sheets of rice paper
  • Sriracha

Instructions

1

Scramble eggs until fluffy

2

Cut and cube avocado

3

Soak each sheet of rice paper in warm water for 5 seconds (or per manufacturer instructions) and place on a plate

4

Put all ingredients on the rice papers, distributing evenly, and roll.

5

Serve with ketchup, hollandaise, hot sauce, or whatever!

Recipe

Sweet Potato Black Bean Burger

sweet potato black bean burger

This Sweet Potato Black Bean Burger exists because a good veggie burger is hard to come by. The store bought kinds are typically bland in flavor and trying to front like some fake meat, which is gross if you ask me. What if you could fulfill your veggie burger desires in your very own kitchen? Well, you can!

Being a Lacto-Ovo vegetarian—as well as a reasonably active person—I’m always looking for new recipes and ideas to get enough protein in my diet. As many of you know, it can be increasingly difficult to fulfill your protein goals as a vegetarian. It’s not that it’s too hard, and the average person doesn’t need too much protein. As an athlete, though, it just takes more precise math and dedication to tracking your nutrition. I’ve tried a lot of veggie burgers over the years. Black bean is my favorite variation, but I had quite a bit of trouble with the quinoa & black bean burgers. They always seemed to crumble apart, which might be a user error but was annoying nonetheless. These small kitchen mishaps inspired me to look at other ingredient options. I was triumphal with this Sweet Potato Black Bean Burger.

My friends and family have been raving about this sweet potato black bean burger since I first served it with my Mango Radish Coleslaw. The sweet potato gives the burger a great consistency. Not to mention, the little bit of sweetness enhances the other spices and ingredients. I put an egg in mine for the extra protein nudge, but you could totally use vegan egg replacer or even a little Greek yogurt if you eat dairy but not eggs.

Serve this Sweet Potato Black Bean Burger with any spring or summer side. Praise and happy faces will surround you, ain’t nothing wrong with that!

sweet potato black bean burger

Sweet Potato Black Bean Burger

Print Recipe
Serves: 4-6 Cooking Time: 20 minutes

Ingredients

  • 2 sweet potatoes (peeled, cooked, mashed)
  • 1 can black beans (drained and rinsed)
  • 1 egg (you can sub greek yogurt for vegetarians and avocado or egg replacer to make it vegan)
  • 3/4 cup Panko (try a gluten free option, quinoa, or brown rice as an alternative)
  • 1 1/2+ tbsp. of coconut oil
  • 1/2 white onion, diced
  • 1/2 tsp. Eye of Newt (lol, it's ground mustard seed, Muggles!)
  • 1 tbsp. paprika
  • 1 tsp. ground cumin
  • 1/2+ tsp. salt
  • Pepper to taste

Instructions

1

Heat 1 1/2 tbsp. of oil in a pan over medium heat

2

Mix all ingredients except for oil together until you can form patties with it

3

Cook the patties in in oil for about 3 minutes each side or until golden brown.

4

Plate and serve!

Notes

You can cover the pan while the burgers cook on a slightly lower temp if you're worried about the egg getting hot enough.

Recipe

Vegan Ash-e Reshteh (Persian New Year Soup)

vegan ash-e reshteh

With Nowruz (Persian New Year, the Spring Equinox) right around the corner, I thought I’d post a recipe for a Vegan Ash-e Reshteh! There are many kinds of Ash you can make, but Ash-e Reshteh seems to be the most popular. It’s made throughout the year on my husband’s side of the family, and it’s always made for Nowruz.

I first learned to make Ash-e Reshteh shortly after my engagement to my husband. His mother had gifted me a Persian cookbook. Her quiet way of both welcoming me to the family and validating my suspicion that the key to keeping her son’s heart was through food. No doubt, I happily got to practicing my Ash and Beef Koobideh recipes, all while secretly plotting to find ways to make some of it vegan.

vegan ash-e reshteh

Ash-e Reshteh is a thick soup. It’s typically made with onion, beans, noodles, lentils, garlic, beet, spinach, herbs, spices, and beef broth. I’ve always substituted vegetable broth in the past and made a vegetarian version. Furthermore, the other non-vegan friendly ingredient is the kashk. Kashk is basically whey that’s stirred in at the end and added as a garnish. Oh, and the noodles are thought to bring luck into the New Year!

vegan ash-e reshteh

I’ve always wanted to make a Vegan Ash-e Reshteh! I thought this would be a great opportunity to try and finally make a vegan version using a recipe for garbanzo bean whipped cream I’d seen floating around.

I’m happy to share my recipe for Vegan Ash-e Reshteh.

vegan ash-e reshteh

Vegan Ash-e Reshteh

Print Recipe
Serves: 8+ Cooking Time: 1 hour

Ingredients

  • 3 tbsp. coconut oil
  • 2 large onion
  • 2 cans drained garbanzo beans
  • 1 can cannellini beans
  • 1 can red kidney beans
  • 1 heaping tbsp. garlic
  • 1 tbsp. turmeric
  • 1 heaping tsp. salt
  • 1 tsp. pepper
  • 9 cups of water (if using dried, soaked beans)
  • 10 cups veggie broth
  • 2 cups lentils
  • 1 pound linguini or Persian noodles
  • 2 tbsp. flour
  • 2 cups fresh dill
  • 3 cups fresh parsley
  • 12 cups of spinach
  • 1 beet
  • Liquid from garbanzo beans and some cream of tartar for "cream"
  • Garnish: Vegan cream and crispy caramelized onions (they're mandatory!)

Instructions

1

In a large pot heat your coconut oil over medium-high heat. Add your minced garlic and thinly sliced onion, saving some onion on the side for the garnish later. Stir fry until the onions are soft and beginning to brown

2

Add the beans, turmeric, salt and pepper and stir-fry for two minutes. If you used canned beans (I did) then you can skip Step 3

3

Add 9 cups of water and bring to a boil, reduce heat and continue cooking for 15 minutes

4

Add your veggie broth and lentils, continue cooking for 15 minutes

5

Add your noodles and slowly sift in your flour while stirring the pot. Allow the soup to cook, covered and on low, for another 15 minutes

6

Add your spinach, dill, parsley, and beet. Continue cooking another 10-15 minutes or until the noodles and lentils are both soft

7

*Add your vegan cream and stir in, saving some for the garnish.

8

Garnish with crispy caramelized onions and a dollop of "cream"

Notes

* Vegan cream: Simply combine the liquid from two cans garbanzo beans with 1/8 tsp. of cream of tartar and mix on high for 10-15 minutes or until stable and cream-like. **You can also just omit the cream entirely if you don't have a Kitchenaid or hand mixer. The soup is delicious anyway. ***The "cream" can collapse quickly and in a hot pot, it almost completely dissolves. I still liked it for the recipe because I felt it gave the soup a slightly creamier look.

Recipe

Vibrant Roasted Red Beet Hummus

Roasted Red Beet Hummus

The first time I had roasted red beet hummus, I was a total stranger to all things beets. As a teenager, I worked at a Round Table Pizza (if you don’t know what that is, you aren’t missing much). I had to work the salad bar basically every shift. These duties included refilling the various toppings. One of them—you guessed it—was beets. I’m sure the beets were canned or something, but the smell of 3 gallons of beets in juice was enough to make my stomach turn.

It took me exactly fifteen years to get over my repulsion, and it was roasted red beet hummus that did the trick!

The gorgeous color of this mysterious dip captivated me the first time I had it at a party. Once I learned it was beet hummus, I was disgusted (of course) but I didn’t want to be rude, so I tried it. It was delicious! The essence of beet was still there, but it was leveled out by the chickpeas and garlic. I was in love! This led to me eventually trying beet in my juices and now I really love it.

This roasted red beet hummus is a beautiful addition to any table. Hummus is already a healthy dish. Beets enhance it as a great source of folate (vitamin B9), fiber, manganese, vitamin C, potassium, and iron.

Roasted Red Beet Hummus

Print Recipe

Ingredients

  • 2 medium sized beets, roasted
  • 1 can of chickpeas (drained and rinsed)
  • 2 heaping tbsp. of tahini
  • Juice of 2 lemons
  • Zest of 1 lemon
  • 3 cloves of garlic
  • 1/2 tsp. salt
  • 1/4-1/3 cup of olive oil

Instructions

1

Preheat your oven to 425 degrees F

2

Rub beets with a little olive oil and wrap individually in foil, place on a baking sheet and roast for 1-1.5 hours

3

Allow beets to cool, then cut them into 1" cubes for blending

4

Place all ingredients into a blender and blend until smooth. Add water if you need to thin it out

5

Refrigerate at least 2 hours before serving (I just like cold hummus)

Recipe

Vegan Fried Shishito Pepper / Okra Dish

Vegan Fried Shishito Pepper

*This was originally posted as Vegan Fried Okra, but apparently it’s Shishito Peppers! Lol I’m an idiot. The recipe is great for either, though, so carry on!

Southern cooking has my heart. All the delicious, buttery comfort food gives me the warm and fuzzies. I’m a huge fan of The Pioneer Women, Ree. After getting her cookbook a few years ago, I immediately began cooking anything and everything Southern. Just ask my husband or brother, for a while they’d come home to a new pie every day. I felt like a Disney Princess, whistling around my kitchen, in hopes that a group of birds would come in and help with the dishes. One of my favorite southern dishes is Fried Okra! Now that I’m blogging with more of an emphasis on Vegan/ Veg food, I thought I’d give you a Vegan Fried Okra Shishito Pepper dish to try for yourself! I’d never made it before, so this was a great opportunity to learn something new!

As much as I love Sothern Cooking, my waistline doesn’t. This Vegan Fried Shishito Pepper dish is one of the rare unhealthy things that you’ll see me post. It’s deep fried, covered in corn meal and flour goodness, and guaranteed to please. Just maybe walk around a bit after you eat it 😝

For thisVegan Fried Shishito Pepper/ Okra dish, I made a few modifications to try to get the best consistency possible. I used unsweetened almond milk instead of the buttermilk the traditional recipe calls for, and after the first batch, I thickened the almond milk up a little by adding 1/2 teaspoon of Xanthan Gum. Xanthan gum is a “natural” thickener, and it’s great to use in smoothies, dressings, and soups as well. I was turned on to it during my raw vegan days. It gets some flack because it’s unclear if it’s bad for you or not, but I figured if I’m deep-frying my dinner, who tf cares?? You judge for yourself, I’m not yo momma!

Additionally, for this Vegan Fried Shishito Pepper recipe, I tried using Panko (bread crumbs) in addition to the corn meal and flour mix. This combination didn’t work as well as I’d thought because the almond milk was still a bit runny. If I had been using a recipe with egg or butter, it might have worked better. In the end, I found that the corn meal and flour mix did the best job of (kind of) keeping the breading on the okra.

Okay, here we go with Vegan Fried Shishito Pepper!

  1. Gather and rinse your Shishito Peppers/ okraVegan Fried Okra
  2. Cut off the stem and bottom of your Shishito Peppers/ okra, then slice into 1″ pieces Vegan Fried Okra
  3. Mix your dry ingredients (cornmeal, flour, salt, pepper, seasoning), and mix your almond milk with your xanthan gum in a separate bowl, and put your oil in a deep frying/ sauté pan and warm it over medium heatVegan Fried Okra
  4. Set up a little assembly line for yourself next to your stove. Dunk your shishito peppers/ okra morsels into the almond milk to coat it, then cover it with the dry mix, so it’s completely covered Vegan Fried Okra
  5. Gently—so you don’t burn yourself—drop the shishito peppers/ okra into the hot oil. Sorry, no picture of steps five and six because I was trying to not set myself aflame!
  6. You may have to do it in batches, when the okra is a nice golden brown, transfer it onto a cookie sheet with a layer of paper towels on it, to help soak up and drain some of the oil
  7. Serve with your favorite other southern dishes; I chose mashed potatoes! Vegan Fried Okra


Vegan Fried Okra

Print Recipe
Serves: 4 Cooking Time: 20 minutes

Ingredients

  • 1 lb. of Okra, rinsed and cut
  • 3-6 cups of oil depending on the depth of your pan. You want the okra to be able to fully submerge, but the pan half full or less
  • 1/2 cup corn meal
  • 1 cup of flour
  • 1/2 tsp. xanthan gum
  • 1 cup of almond milk
  • 1/4 tsp. of paprika
  • 1/4 tsp. cayenne pepper
  • 1/2 cup of seasoning salt
  • 1/4 cup black pepper
  • 1/8 cup of garlic powder (or 1/4 if you don't have seasoning salt) LESS IS MORE

Instructions

1

Gather and rinse your okra

2

Cut off the stem and bottom of your okra, then slice into 1" pieces

3

Mix your dry ingredients (cornmeal, flour, salt, pepper, seasoning), and mix your almond milk with your xanthan gum in a separate bowl

4

Put your oil in a deep frying/ sauté pan and warm it over medium heat

5

Set up a little assembly line for yourself next to your stove. Dunk your okra morsels into the almond milk to coat it, then cover it with the dry mix, so it's completely covered

6

Gently—so you don't burn yourself—drop the okra into the hot oil

7

You may have to do it in batches, when the okra is a nice golden brown, transfer it onto a cookie sheet with a layer of paper towels on it, to help soak up and drain some of the oil

8

Serve with your favorite other southern dishes; I chose mashed potatoes!

Recipe

Luscious Vegan Caesar Salad

Vegan Caesar Salad

Once, I had a vegan caesar salad at the Springs LA. It changed my liiiife! I wasn’t even vegan at the time (I’m still not), but I became obsessed with the salad. Of course, they don’t just give out their recipes, but I was ambitious and made a few attempts to recreate their masterpiece.

A good Caesar is hard to come by as an omnivore but as a vegan or vegetarian? Forget about it.

The ever elusive “good” vegan caesar salad only surfaces every once in a blue moon. You better believe when it does, many vegans pounce on it! The thing that’s best about this Vegan Caesar Salad recipe is that you have a significant opportunity here to offer something substantial, delicious, and vegan at your next dinner party.

I remember while planning my wedding my husband and I lamented over what to offer our vegan guests. The fare was traditional American BBQ. Since they were to be surrounded by the smell of meats all weekend, I strongly felt like we needed to offer the vegans and vegetarians something amazing. I hope the guests were satisfied with their choices—I think veggie kabobs, salad, veggie burgers, and couscous?— but had I developed this recipe for Vegan Caesar Salad then, I would have definitely passed it along to our caterers.

Personally, what I fell in love with about this Vegan Caesar Salad is that it has seaweed in it. The seaweed gives it that oceany flavor without harming any little fish.

I’m proud to bring you my version of a Vegan Caesar Salad! I hope you love it as much as I do.

Luscious Vegan Caesar Salad

Print Recipe
Serves: 4 Cooking Time: 10 minutes

Ingredients

  • DRESSING
  • 1/2 cup hummus (if you don't like hummus, don't have any, or you can't eat it you can sub in 1/2 pre-soaked cashews, 1 tsp. of capers, and 1 tsp of Worcestershire sauce)
  • 1 1/2 tbsp. spicy mustard
  • 1 tbsp. evoo
  • 3 cloves of garlic (this makes it kind of garlicky spicy, so use less if you aren't a huge fan)
  • 1 tsp. lemon zest
  • 1/3 cup lemon juice
  • 1 pack dried seaweed snack
  • 1/2 tsp. sea-salt
  • SALAD
  • 2 loosely packed cups of Spring Mix Lettuce's
  • 2 cups of chopped romaine
  • 1 1/2 cups of loosely packed massaged kale (to massage kale, you literally massage it. I threw on about a tablespoon of EVOO and massaged it with my hands, kind of like washing your hair)
  • 1/2 cups of alfalfa sprouts
  • 2-3 packs of snack dried and salted seaweed, sliced lengthwise into strips
  • 1 cup Garbanzo Bean Croutons
  • 3/4 cup of Vegan Caesar Dressing
  • 2 avocados, sliced
  • Optional: Pepitas

Instructions

1

Throw all of your dressing ingredients into the blender and blend it until smooth and creamy. I like to blend everything except the evoo first, and then throw in the evoo for one last whirl

2

Chop your lettuces and massage your kale (chop your kale and put a tbsp. of evoo on it. Massage it around like you're washing your hair or kneading dough until it becomes softer. Super easy and makes a big diff!)

3

Throw it in a bowl

4

Top with the alfalfa sprouts, seaweed strips, and pepitas

5

Toss with the dressing

6

Garnish with avocado

7

Serve!

Notes

Using GF Worcestershire Sauce should make this meal 100% GF, if you have a serious aversion, though, please check all your labels. Grey Poupon doesn't contain gluten ingredients but could have cross contamination. Beware celiacs!