When it comes to planning a wedding, details are king. This fact is even more pronounced when you’re planning a wedding on a budget. Each couple is as unique as the message they want to convey on their wedding day. Regardless of your budget, there are a few things you can do to help take the pressure off the process and streamline your finances. After throwing a wedding for my best friend and beginning to plan my own wedding a short six months later, I learned a lot about what it takes to execute such an important event. I’ll use my friend’s wedding as an example since it was planned in less than a week after her venue had to cancel last minute! Through this process, I learned some of the key tips for planning a wedding on a budget (and a time crunch!)
The first thing you should do when planning a wedding on a budget is sit down with your partner and really think, “what kind of wedding do we want to have?”
This is huuuuge. What kind of people are you? You might like the aesthetic of a NY Museum wedding but if you’re backyard barbecue people then there’s a conflict of interests there. On the contrary, maybe you are a Museum person but most of your guests have small children they’re bringing and the family is on the older side—then lots of stairs or breakable things are out of the question. Will you want the ceremony and reception at the same location? Really narrow down what kind of venue will be appropriate for the size, duration, and vibe of your wedding day.
Next, you should consider your priorities for the wedding.
Here, we really mean for the decor and the party. The ceremony requires very little overall other than the officiant. Maybe for you, a priority is that there’s an open bar and your partner really wants to save money of flowers. To start you should each choose three things that you couldn’t see getting married without i.e. photobooth, arch at the altar, style of chairs, style of centerpieces, passed hors d’oeuvres, etc… Having these “asks” down on paper can really help you prioritize and organize your time, money, and overall efforts towards the things that will have a big impact.
Finally, before you get down to actual planning and selection of vendors, etc, Decide On A Budget.
How much will you each be able to put towards the wedding between now and the big day? How much of that is available now/ upfront (keep in mind most vendors will have to secure down payments for their services prior to confirming your dates). Set a realistic goal. Add 10% to that for contingencies, or if you’re capped, take 10% off and plan for that so the contingency fund is already handled. Also look at some sample budgets and wedding calculators online that are up to date for the year you’re planning. Even better if it’s regionally inclusive.
Now it’s time to go back to those lists of priorities.
Rank big ticket items from most to least important and then itemize those sections. For example, if the decor is #1 for you then you might choose to rent more expensive items in lieu of entertainment like music or an open bar. When you’re planning a wedding on a budget, some sacrifices will be made, but you wont feel that it’s lacking.
In each section list the things that are most non-negotiable (NN).
So for decor, it might look like this:
- Arch (NN)
- Tables with white linens (NN)
- Aisle (runner or Shepard hooks or…)
- Chairs (impartial if linens and centerpieces are solid)
- Stage area (not important to me)
For food it might look like this:
- Amazing Dessert table (NN)
- Passed hors d’oeuvres (NN)
- Buffet style? (Yes)
- Pizza, tacos, or BBQ? Potluck maybe?
The NN (non-negotiable) items are what you’ll be spending your hard earned dollars on. As a general rule, cast a favor net far and wide months before your big day. Maybe everyone you know owns a 6 ft banquet table! That could save you a TON of money—and you never know until you ask. Perhaps a guest has an antique piece of furniture or a dessert stand you’ve admired? You’d be surprised the lengths your loved ones will go to make your big day successful, even if that means disrupting some of their personal home decor for a weekend.
Planning a wedding on a budget for my friend meant calling in favors left and right! Luckily one of our friends is an Art Director and was able to loot her set dressing and props department for some gorgeous greenery and arches:
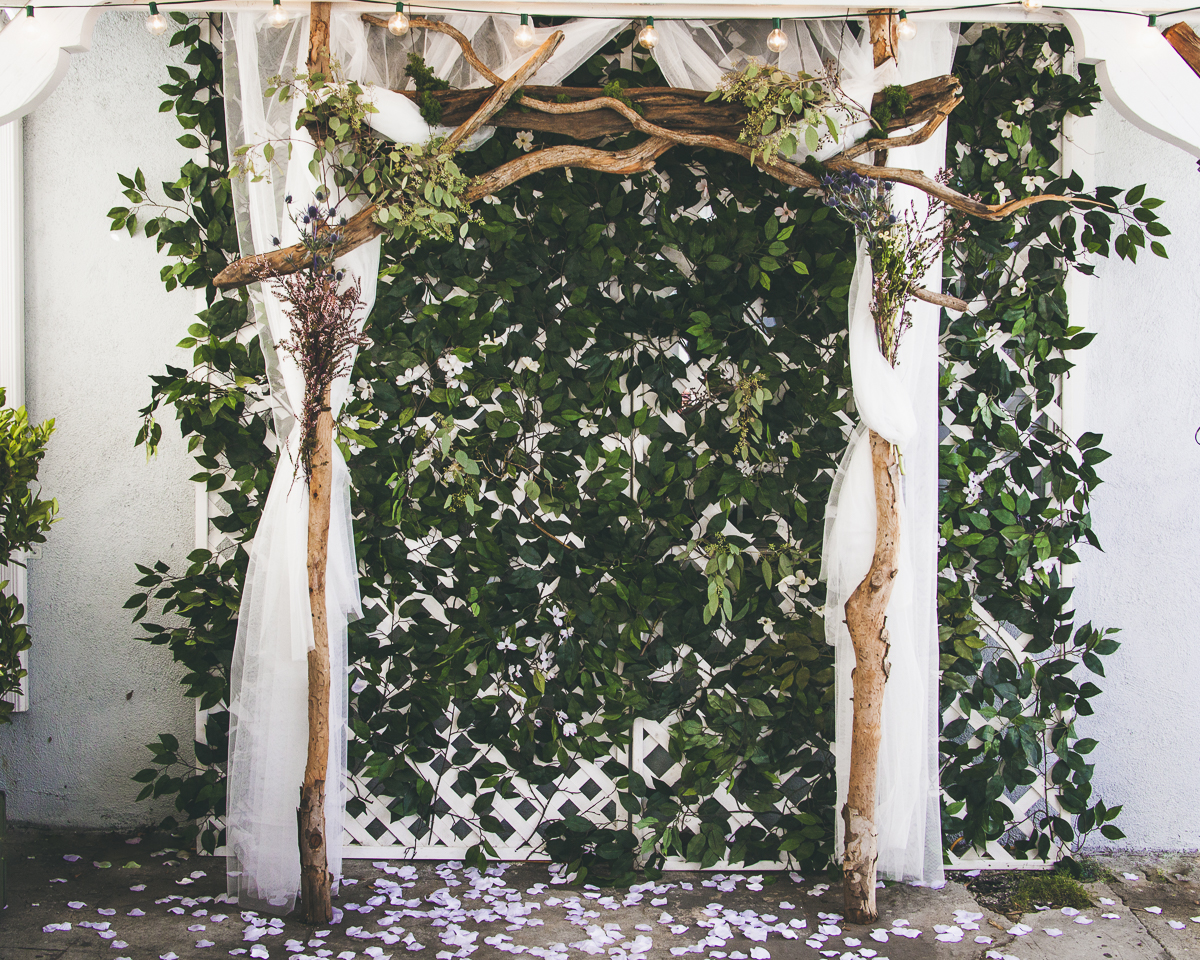
© Callie Biggerstaff
Food On A Budget
This would be the time to call in favors from your restaurant and bar friends. Can they get you a catering deal? I was managing a restaurant at the time of my friends’ wedding so it was a great way to supplement the catered things with some dishes that I made myself.
If you are going with an actual venue that’s “inclusive” you might experience some pushback when it comes to using your own caterer. If they give you shit about only being able to use theirs, pull the religion or culture card! I.e. “Oh, actually in our faith/ culture we have to serve certain food…is that going to be a problem?” They’ll be quick to not want to insult you and usually make an exception.
We convinced a local ice cream truck to come by our house around 8pm after we knew the speeches would be done. It was a super unique, cute, and affordable way to serve dessert! We just handled the tab when everyone was done. The bride and groom even got to board the truck for a photo-op inside!
If you do decide to do a brunch the next day, do a picnic! Grab a bunch of pastries from Costco or your local bakery, ingredients from mimosas, and a few flats of eggs. You can use the grill at a park to cook eggs and have a super fun and low-key brunch. This could also be a potluck where part of your bridal party or family is asked to contribute by picking up muffins, croissants, etc… teamwork truly makes the dream work!
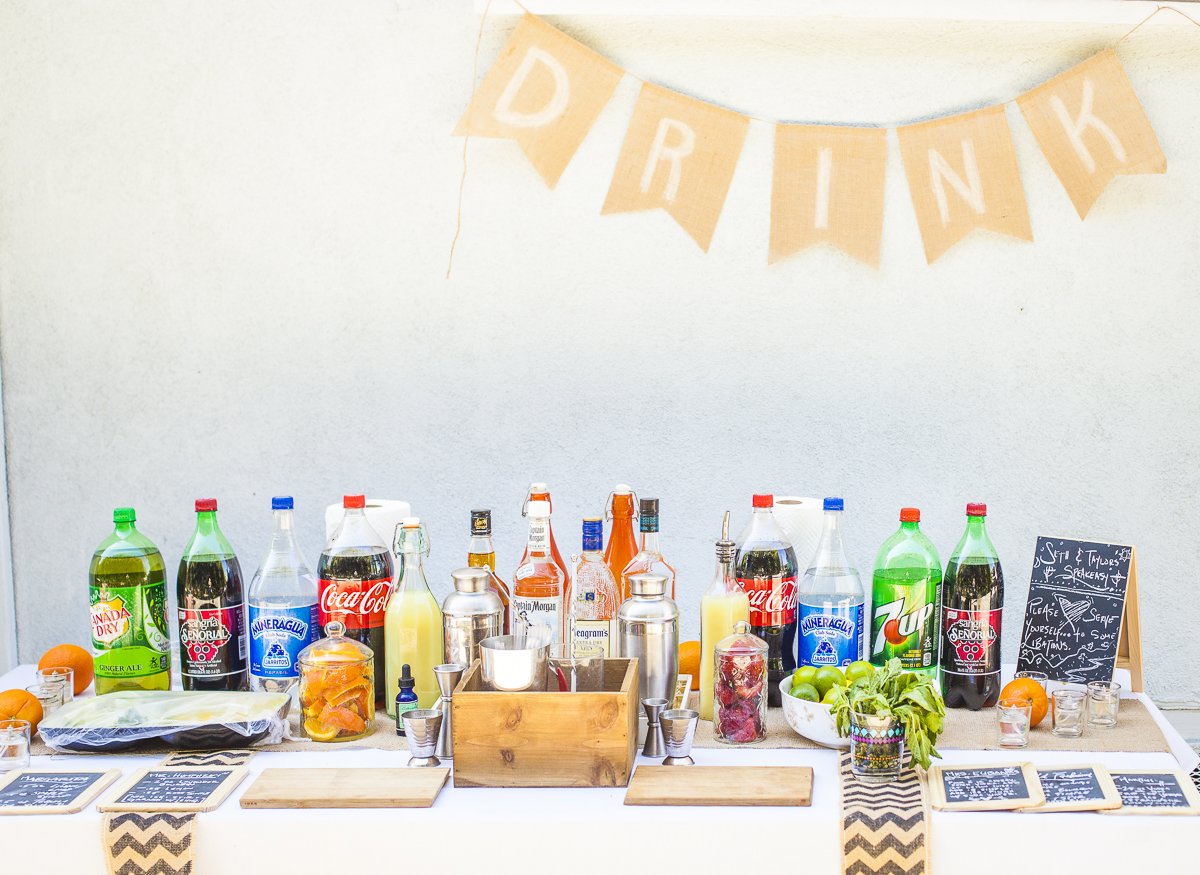
Booze On A Budget
For alcohol, you have a big choice to make. Are your guests paying or are you? If they’re paying you might still have to supply everything and essentially “front” the liquor. This is where parents might be able to help by fronting the big bucks for the night. You can always return bottles you don’t use.
Remember that even though everyone loves an open bar, no one will hold it against you if you forgo it. People are soooo accommodating during weddings—you’re basically a celebrity—so milk the good vibes and set it to BYOB or wine only, etc. You call the shots here, no one else! For my friend’s backyard wedding at our house, we set up a super cute DIY drinks table. There were chalkboards with instructions on how to make a “brides drinks” or a “grooms drink” along with plenty of non-alcoholic mixers and some wine.
Another idea to save money on booze/ open bar is to cut your wedding short.
It’s trendy and fun to do wedding weekends, but if you have a wedding on a budget it’s a stupid choice. Much better to have an elegant ceremony and 2-3 hour reception than a super long and drawn out thing, especially when some vendor charge by the hour! This way the people that stay for the duration of the weekend are only close friends and family.
Photography On A Budget
EVERYONE knows a professional photographer, right? When planning a wedding on a budget it’s super pragmatic to request that friend to shoot the ceremony! Offer them what you can in terms of money (you could even negotiate to pay them a week or two after the wedding so you have time to financially recoup). More than likely though, they’ll extend their services as a wedding gift, especially if it’s just the ceremony you want to be handled professionally.
In addition, for the reception request that;
1.) Everyone bring one disposable if it’s not in the budget to supply a bunch yourselves or hire an official photographer.
OR
2.) Use a wedding hashtag and group Dropbox for party pics! Using your RSVP software you can schedule an email to everyone the day after the wedding with a Dropbox link for all wedding pics, done and done! Plus candid shots are better anyway.
Officiant On A Budget
It’s getting more and more popular to have a friend officiate, especially for a wedding on a budget. If customs, religion, or culture doesn’t require anything specific of you, it’s a great way to go! Otherwise—if you don’t go the “ordained friend” route—you can spend anywhere from $150-$1000+ on an officiant so it really depends on your expectation. I’ve seen beautiful and simple ceremonies that took no more than ten minutes from the bridal march to the smooch.
Centerpieces On A Budget
Dollarstore anyone? This is the time to get creative! Scour Pinterest for the aesthetic you’re drawn to and make a list isolating the key elements. For my friends’ wedding, I liked old books, candles, and moss (I literally didn’t give her a say because it was such short notice so I surprised her. A HUGE leap of faith on her part!).
Once I’d decided on the look, I knew with those three things I could do a simple and elegant centerpiece. I looted all my local Goodwill stores for old looking books, bought some bagged moss on Amazon, and used some dollar store candle holders. They turned out beautiful!


Again, the key is to really figure out:
1.) what’s most important to you as a couple
2.) what will have the biggest impact for a low cost; A great example of a this would be to use cheap paper lanterns to help light a path. This gives an illusion of a lot of landscaping and thought even though it’s simple.
Another great example would be the uniformity of tables/ etc. I used a white base for all the linens and chairs in both mine and my friends’ wedding to add some elegance. Here’s a photo of my friends:
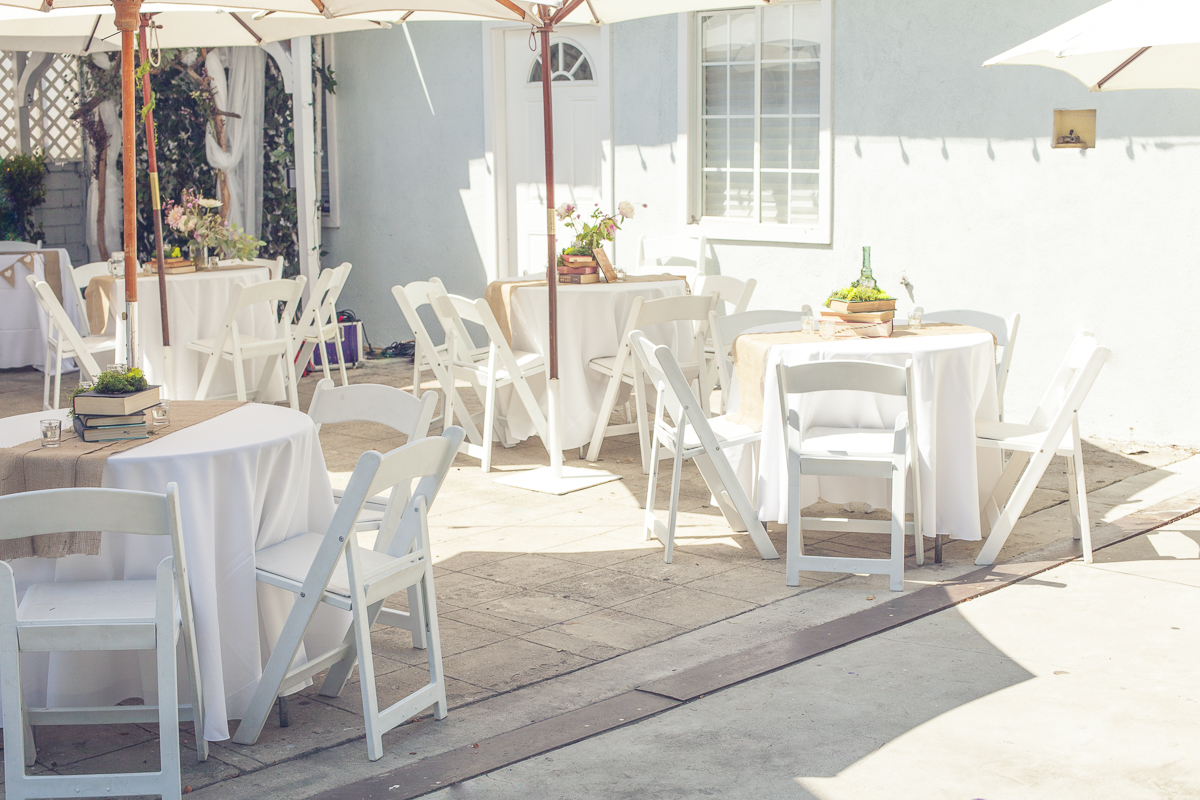
© Callie Biggerstaff
A coordinator/ MC On A Budget
Okay, so your average 30-50 guest backyard wedding might not require a coordinator, but it never hurts! Put that bossy (I mean assertive) family member in charge of the schedule. This can be an MC like a MOH or BM, or an aunt or uncle that means business. You’ll be happy later not having to worry about letting people know the cake is being served or that it’s time for a send-off.
DO A SEND-OFF
Even if you just go to the bar down the street for a breather, and loop back after. It’s nice to have a moment alone! Plus it’ll help expedite getting everyone the fuck out of your parent’s house/ the venue.
Weddings can be stressful as it is. Your relationship will be tested in the months leading up to your wedding. But it won’t break you and it shouldn’t break the bank either. My final word of advice is this (actually a friend of ours suggested this to us while we were in the trenches of planning): Around 2-3 months out, you’re going to be panicking. Your invitations haven’t gone out yet and you feel like a general shit-show. Grab your partner and go out for a beer. Bring a notepad and a couple of pens. Over the next hour, drink and ask each other, “Okay, if the wedding was tomorrow/ this week, what would we do?” Fill in the blanks for food, booze, officiant, music, dessert, traditions—and you’re good! Don’t stress, cuz at the end of the day, you got this!
Xo.
Let me know what I missed or any tips your have for planning a wedding on a budget!


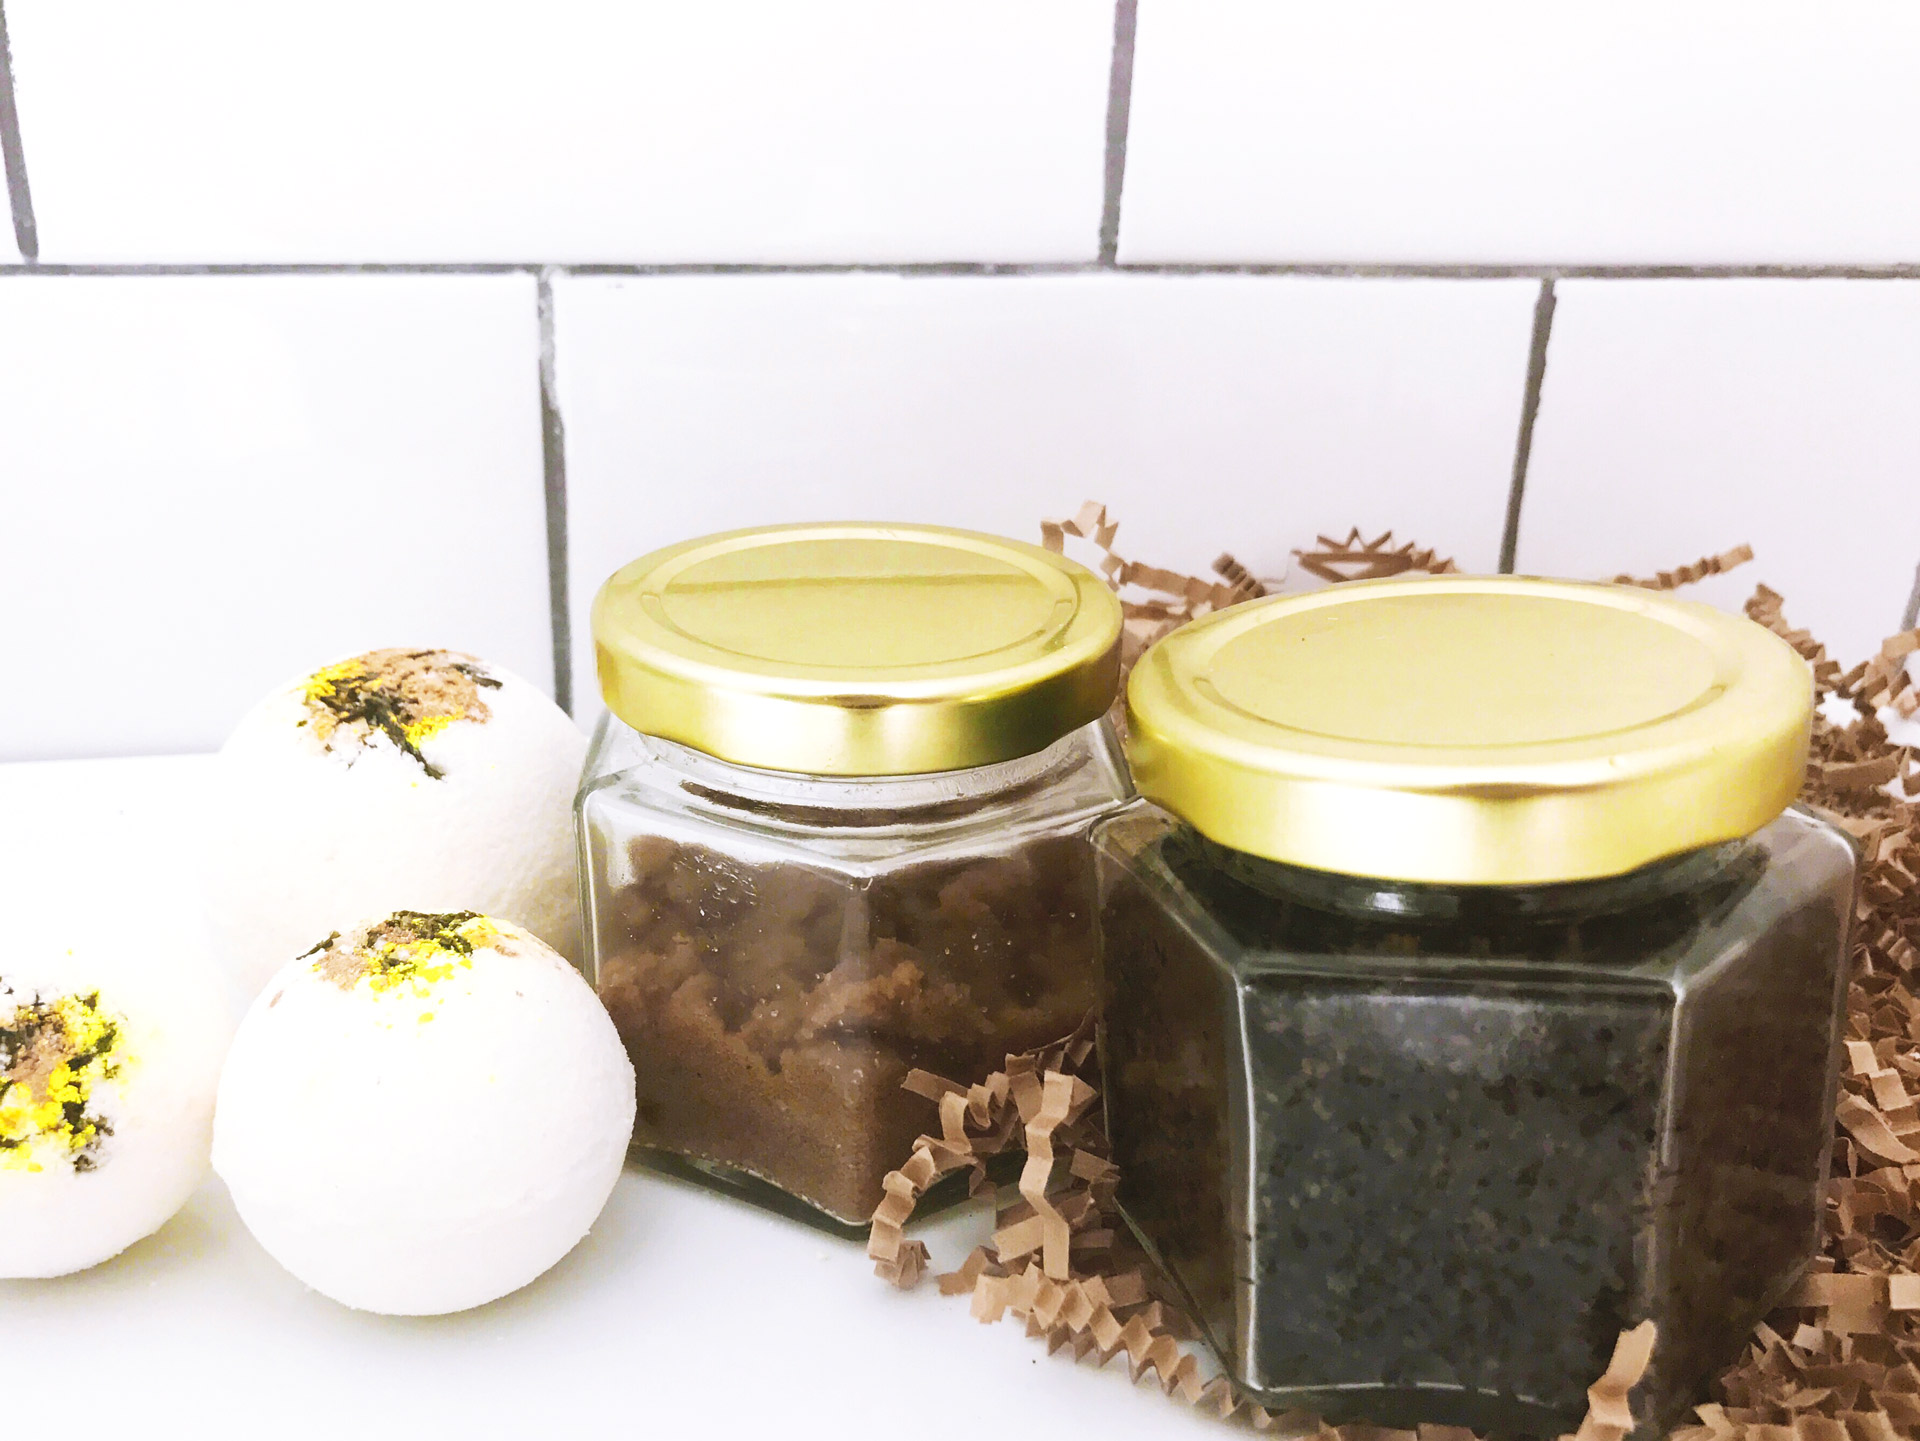
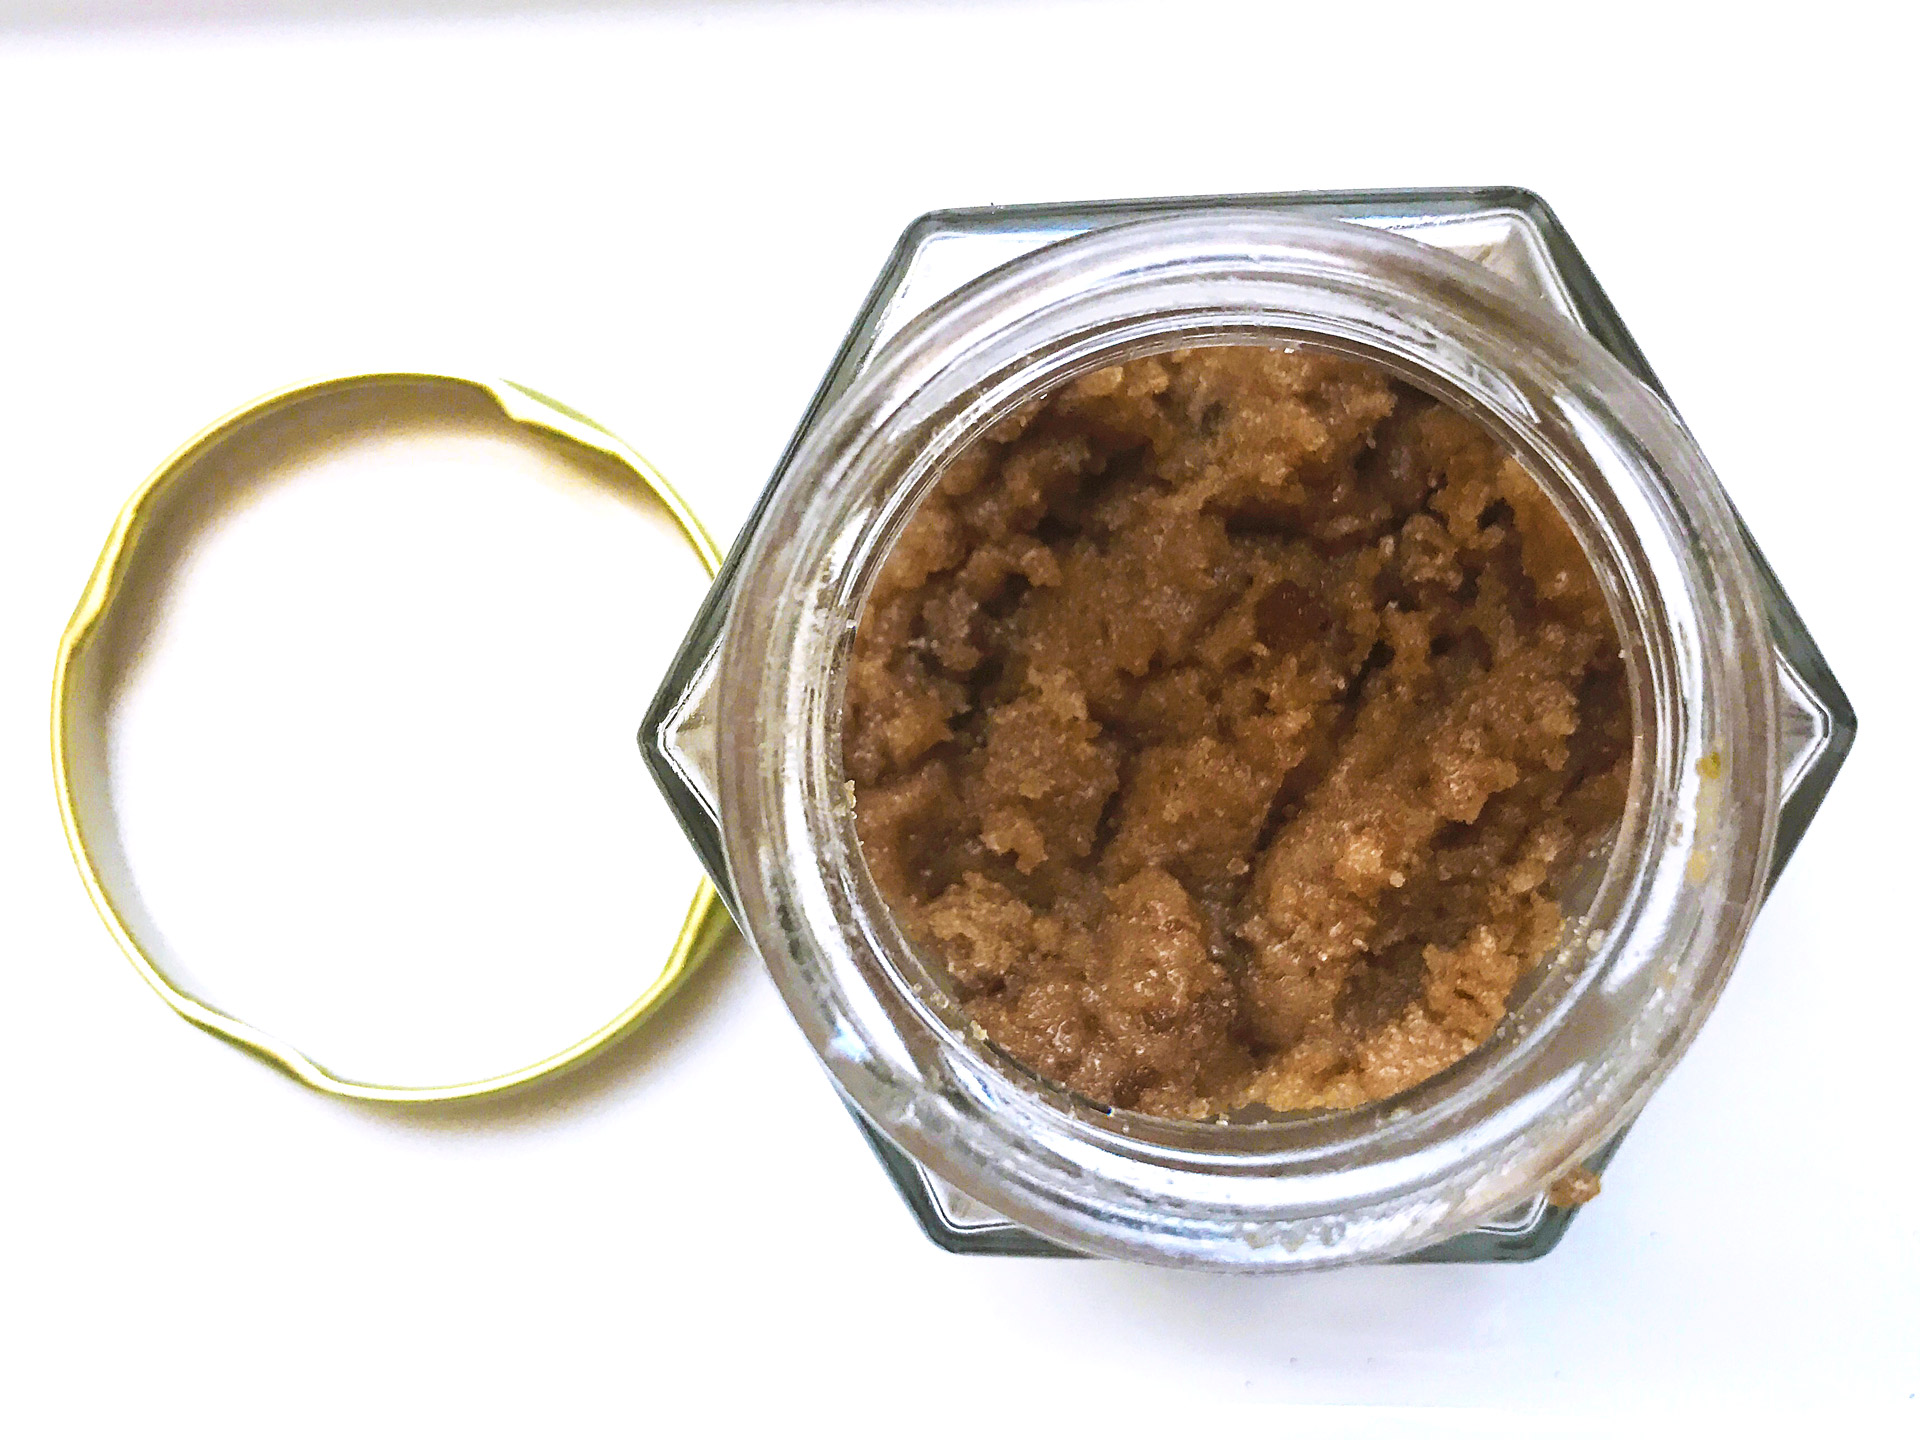
 Face and Body Scrub


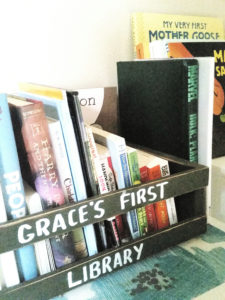
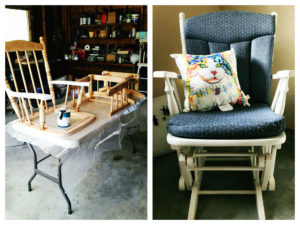
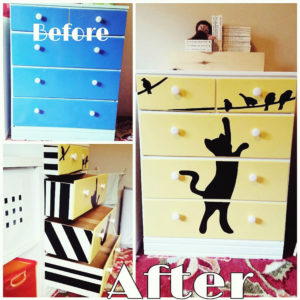 I saved on cost by buying used and fixing up. This is the before/after of the dresser I bought on craigslist for $40. I only have this photo from my Instagram of the “original” blue. It took FOREVER to finish this 3-foot tall dresser. Or felt like forever because I was working in a hot garage at the end of summer while 8 months pregnant. Unfortunately, I never took progress pictures. So I’ll give a description of my work:
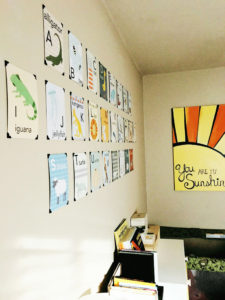 In the photo on the left, I fixed the alphabet to the wall with adhesive photo corners from a local craft store. They didn’t stay stuck, though. After a couple of days, the cards began falling off. So, I got some sticky tac, and they’ve been up without issue since. I really like the finished look of the photo corners, which saved on cost. It gives the illusion of framing, without the expense of actually framing.