In our home, we have a problem that my husband affectionately calls “pillow hell.” I do purchase an excessive amount of throw pillows…but there’s a method to my madness! When it comes to decorating, like many people, I like a strong neutral base. Having a gray couch instead of a green one allows me to use pillows and various other decor to set the tone. When I get sick of it, I can just swap it out for what’s in style or season. Which brings me to my inspiration for doing this Envelope Style Pillow DIY!
The other day I saw a tutorial for a Cactus Pillow Outline DIY on A Beautiful Mess and a lightbulb went off. I’d been going about this all wrong! Instead of being a weirdo pillow hoarder I can just make different pillow covers to switch out, saving space and lots of cash!
Lucky for me, I’m also a fabric hoarder. Whenever I’m at a fabric store downtown like Michael Levine, I always pick up a yard of a few Ikats and styles that speak to me. These types of fabric can get really pricey (like $18 a yard, that’s pricey, right?) so I love the option to pick up a little bit to use as a chair cushion cover, purse, or as part of a handmade gift. My textile obsession definitely paid off when I went to create my Envelope Style Pillow DIY. I had quite a few Ikats and other fabrics to choose from. In the end, I chose a beautiful earth and jewel toned Ikat and a bright orange cotton duck for my Envelope Style Pillow DIY.
I already had a pillow (as evidenced from my pillow hoarding), this one came with a comforter set from Ross that I’d just been clinging on to. It’s been traveling aimlessly around our bedroom floor forever and I thought it deserved a better life.
Let’s go, Envelope Style Pillow DIY!
You’ll need:
- A pillow you hate
- Fabric, I used two kinds one for the front, one for the back
- Scissors
- Pins
- A sewing machine (or the patience for hand sewing)

Step 1:
Mark the fabric for the back/ envelope side of the pillow for cutting. Gave an extra 1″ on each side of the pillow to allow for the height/ stuffing. I just eyed it, it isn’t rocket science.

I used a white fabric pencil to mark my cuts.

Step 2:
Once you cut out the fabric square for the back, cut it in half just a little off center.

Step 3:
Repeat the process of marking and cutting the front piece of fabric. You can use the back piece as a guide for the height, but the width will be uniform (since you won’t be doing an fabric overlap in front).

Step 4:
You can see that the front piece is less wide than the back piece.
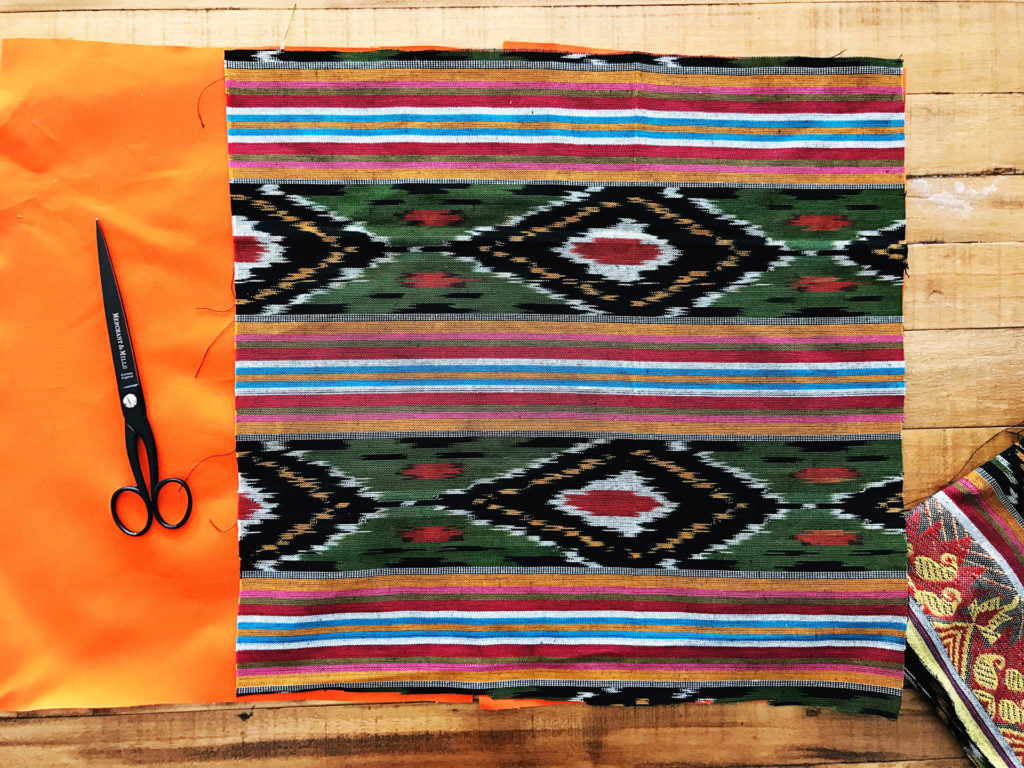
Step 5:
Pin your back pieces for a hem where they’ll “meet” (if you’re doing a hem).
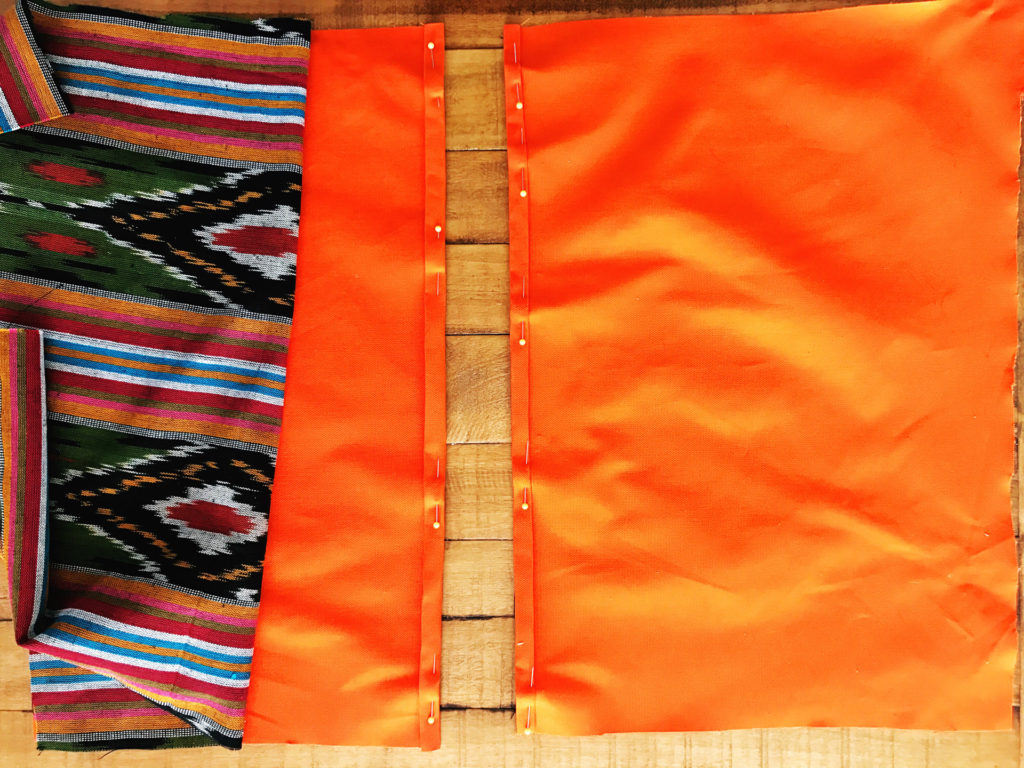
Step 6:
Sew your hem. You can match the thread color if you’re OCD, but I don’t care and my husband won’t notice, so I just used what was in my machine. Pin the fabrics with the right side of the fabrics facing each other and with the fabric for the back of your pillow overlapped as shown. Sew around the exterior border with a 1/2″ seam allowance.
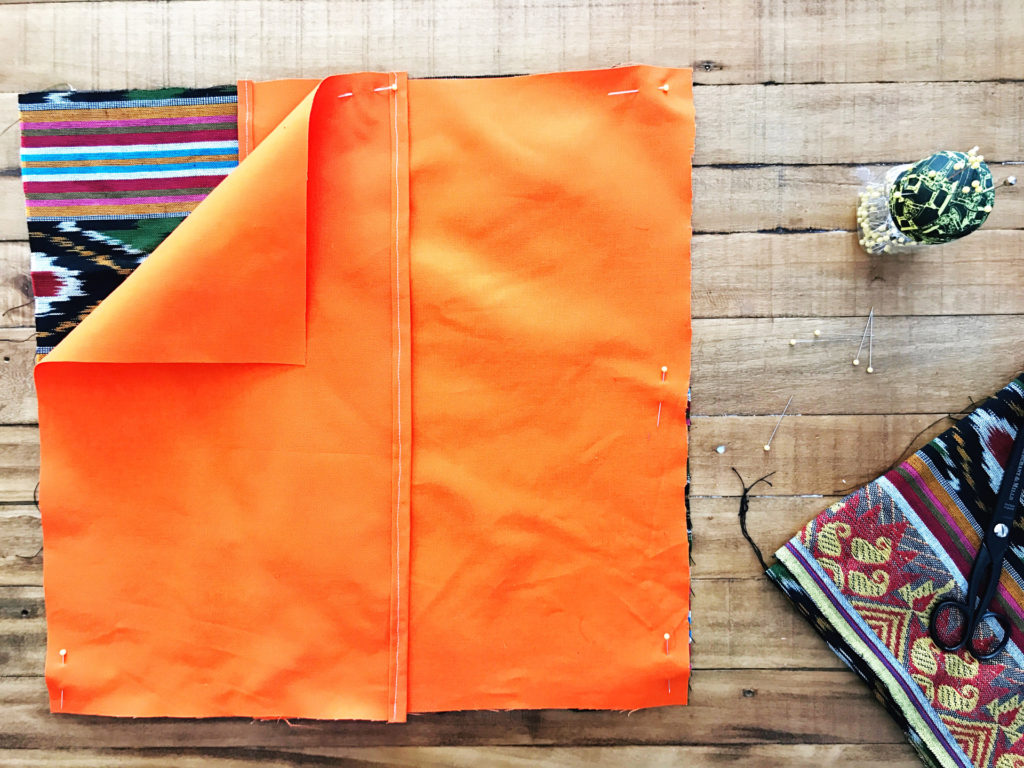
Step 7:
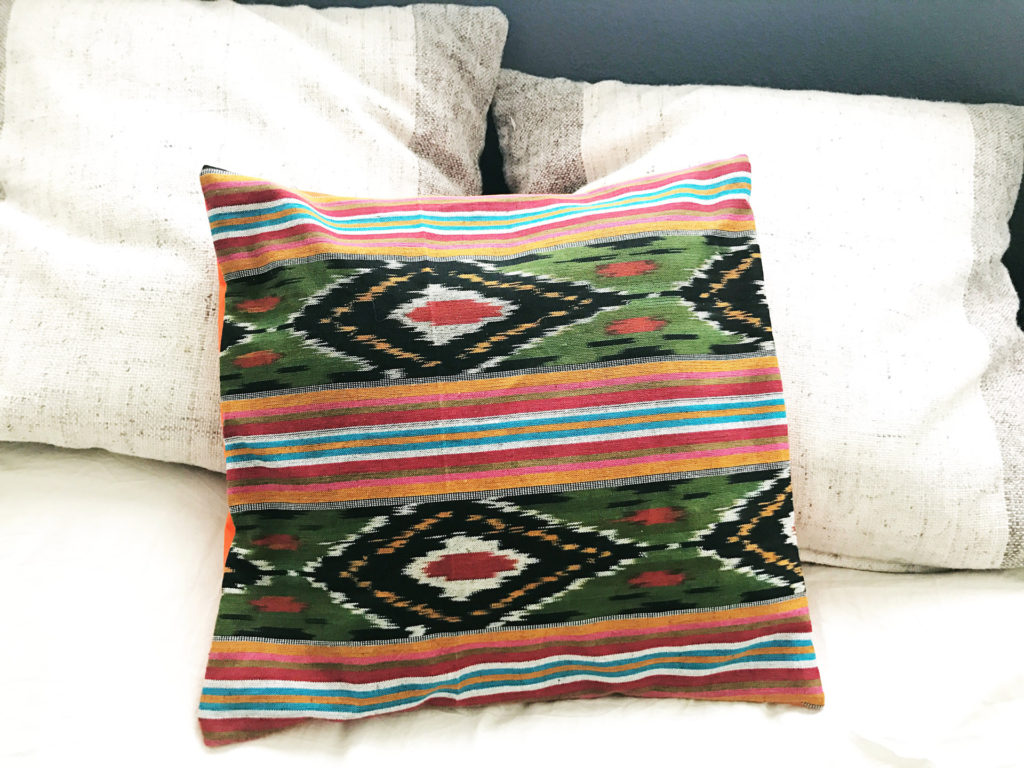
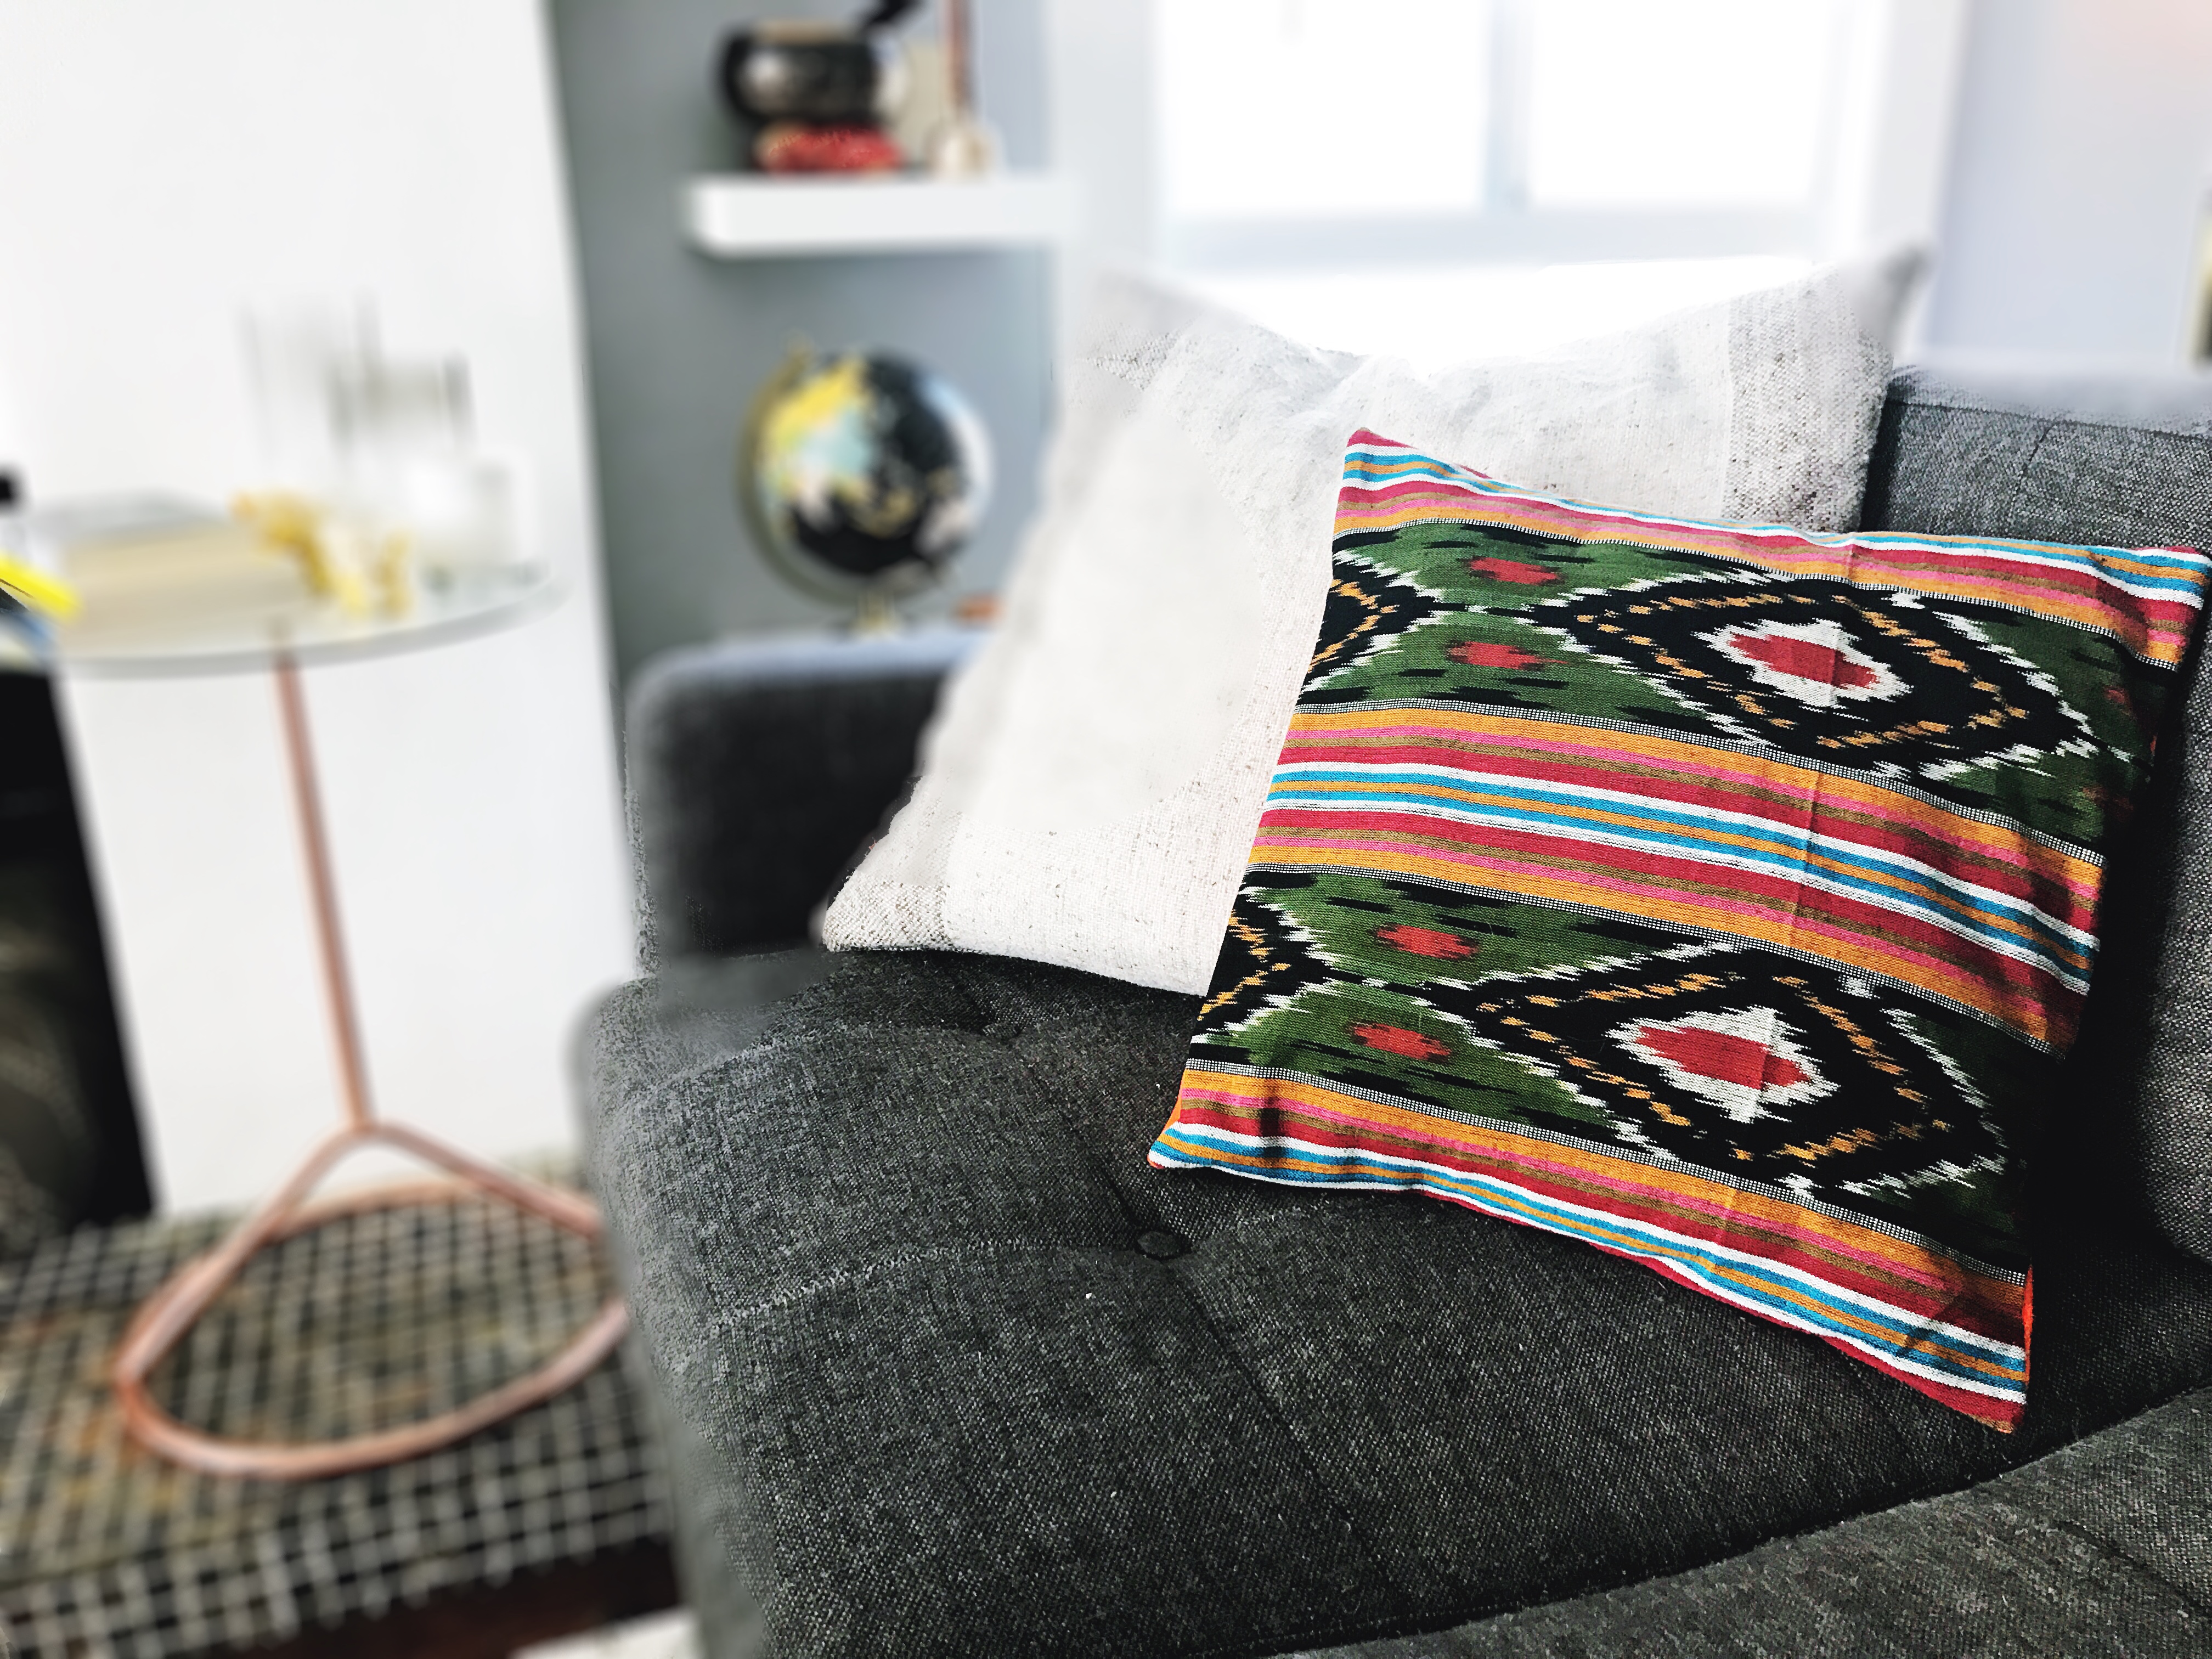
Look, you completed my Envelope Style Pillow DIY!
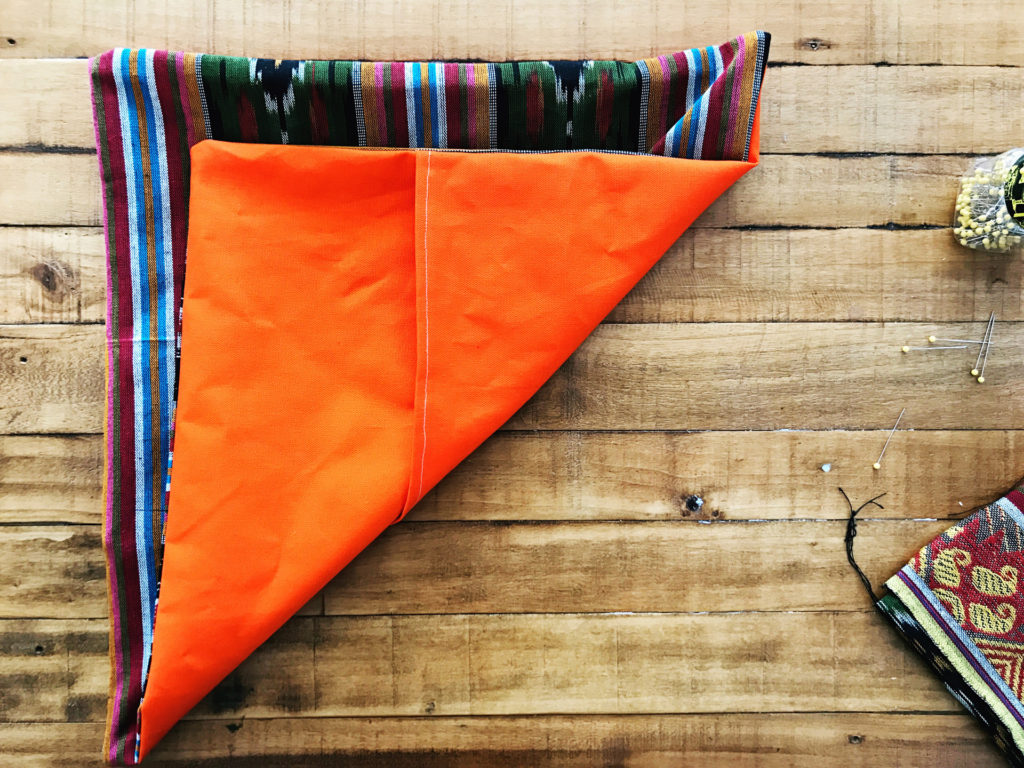
Step 8:
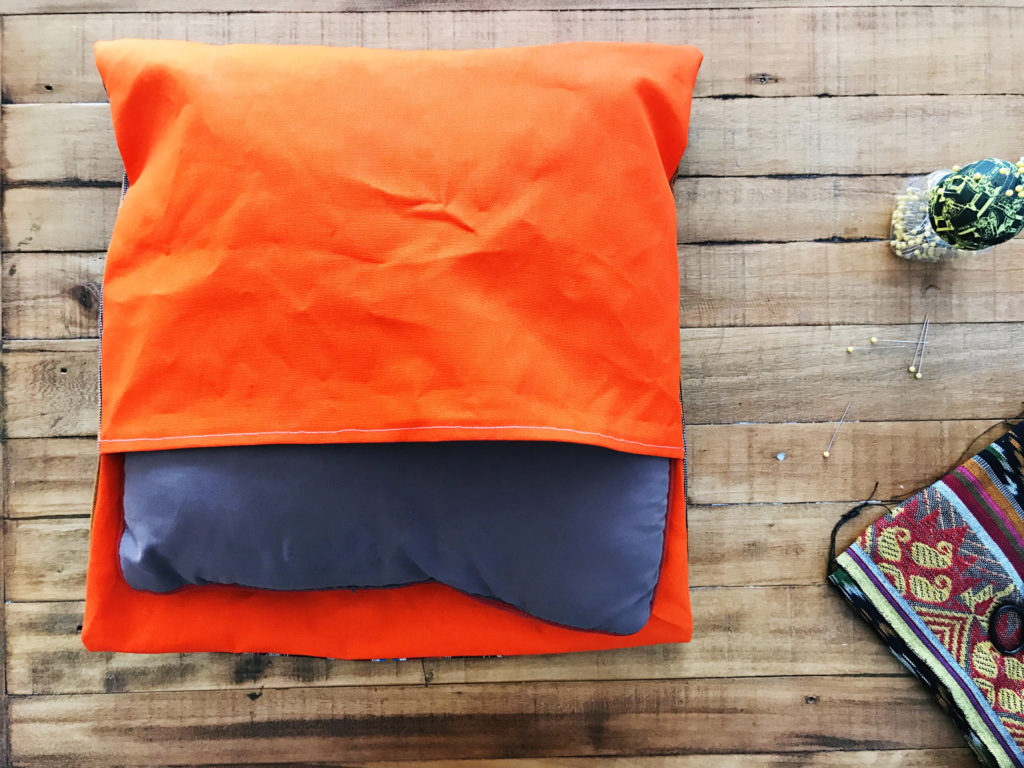
Stuff your pillow in your new Envelope Style Pillow Cover.
Let me know in the comments if you liked this Envelope Style Pillow DIY tutorial!



4 Comments
Taylor Eubanks
March 1, 2017 at 10:22 amI love this pillow! What a great idea recycling unwanted decor to make it snazzy. I’m a big fan of using what you already own.
Sionann
March 1, 2017 at 10:29 amTotally! I’m learning more and more that a fresh coat of paint/ fabric/ etc can give most things a new lease on life. I’m so excited to start downsizing my pillow hell for a more manageable pillowcase hell
Susan
March 3, 2017 at 4:29 pmWhat a clever idea! I shall embrace the concept of “repurpose”. I love your website! And you’re amazing….
Sionann
March 3, 2017 at 8:35 pmAwww thank you, Mama! ✨❤