Browsing Tag

handmade

Lifestyle

Made With Harts: Ikatee Pattern—Helsinki

I’ll tell you what, as my daughter grows the need for versitile play clothes becomes ever the more important.

We juggle activities throughout the day, often coming from the playground or park and headed straight to a family dinner or activity. Sometimes it’s a huge benefit to have a garment that’s easy to play in AND presentable for grandmas to see.

I love the Helsinki pattern by Ikatee for those reasons. I chose the Nohara knit by Japanese designer Hitomi Osumi for Cotton + Steel paired with an Eggshell stretch denim from Harts selection. I just loved the whimsy of the knit print, soooo soft and cute 🥰

The pairing is great for allowing comfort and stretch while also guaranteeing a bit of durability with the denim on bottom.

The difference in fabric weight gives almost a hoop skirt affect which is just adorable on a baby (toddler 😭) Goldie’s age.

The pattern was relatively easy to work with and well explained. They had clear step by step instructions as well as the instructions for the optional alterations (like sleeveless or pocketless).

I found the sizing to run on the large side, but honestly that’s kind of to Ikatee’s benefit since kids grow like weeds!

I can’t wait to try more of their patterns!

This post is my honest opinion using fabric and a pattern I received free of charge from Harts Fabric as part of their Harts Fabric Street Team.

DIY Sewing

Made With Harts: Ikatee Pattern—Stockholm

I was so excited to be able to create this precious Ikatee Stockholm dress with Embrace Solid Double Gauze Cobalt. Read on to hear more about my experience working with this fabric and the PDF Ikatee patterns for the first time.


Lately I’ve been diving back into sewing garments for myself and I’ve found a ton of joy and purpose in being able to create quality, custom items for myself and my daughter. I’ve sewn for most of my life, but lately I’ve been trying to make conscious and deliberate choices with the items I create. I’m making meaningful swaps in my household in an attempt to waste less and keep more. A large part of that is reducing my families clothing waste. From avoiding fast fashion, to cutting up my husband’s old button up shirts for quilting, to thrifting, and to creatively cutting fabrics to get more use out the each textile, I’m doing it.

Ikatee pattern

I’d been eyeing the Ikatee patterns for a while but was still going through a lot of free patterns I had stockpiled on Pinterest and my iBooks for years. Finally, the opportunity arrived to try the patterns through Harts and I jumped at it.

Ikatee pattern

My experience with sewing was mostly alterations (I’m 5’11”), pegging clothes and sewing patches cuz punk’s not dead, and creating weird one of a kind items to wear to various parties and functions in my teens and twenties. I’d never had an organic style personally and so I’d never ever worked with a fabric as light and delicate as this double gauze. I love the deeply saturated cobalt color and chose it for my daughter because I thought it would just really compliment her coloring as well as the Ikatee pattern.

Ikatee pattern

As expected, I struggled at first. The fabric stretched and frayed in ways I didn’t expect; found myself having to work more slowly than my regular pace. The Ikatee patterns are originally en Français so there were parts of the instructions that I had to go over a few times to make sure I understood. I wouldn’t say things got lost in translation so much as I probably should have read the instructions completely before I started to save myself some time.

Ikatee pattern

In the end the project turned out sooooo cute I could just die. I tried some embroidery for the first time as well and I think the end result is just precious. The running stitch and monogram really add the handmade touch that compliments the whimsy of classic children’s garments such as the Stockholm Ikatee pattern!

Ikatee pattern

This post is my honest opinion using fabric and a pattern I received free of charge from Harts Fabric.

DIY

Coconut Lime Cardamom Lip and Body Scrub DIY

Lip and Body Scrub DIY

I’ve wanted to do a tutorial on a lip scrub for a while. It wasn’t until around five years ago that I realized lip scrubs existed. I suffer from bizarrely chapped lips, even products that are meant to moisturize can turn my lips peeling and puckered. For that reason, I don’t use lipstick too much because it just ends up looking like shit within an hour or two. Because of my bad luck in beauty, I’ve been diligent over the past couple of years about finding beauty products and solutions that work for my skin, budget, and lifestyle. This lip and body scrub DIY will demonstrate to you the basics of creating a delicious, fragrant, and natural beauty product for your friends and family.

Lip and Body Scrub DIY

Lip and Body Scrub DIY

Lip and Body Scrub DIY

Exfoliating Lip Scrub

I’m absolutely in love with the sweet citrus and cardamom notes that come from both of these scrubs.  When I used the lip scrub for the first time, I was immediately transported back to Bali in my mind. There’s something about the combination of fragrances and flavors that are truly tropical and luxurious. I’m obsessed with this lip and body scrub DIY—I might even develop a lip balm for my upcoming online shop.

INGREDIENTS

  • 1/4 cup brown sugar (or sugar in the raw)
  • 1+ tbsp. coconut oil or honey/ agave
  • 5 drops lime essential oil
  • 1-2 drops vanilla oil or extract
  • A pinch of cardamom spice
  1. Combine your sugar with your oil or honey/ agave. Combine well until the mixture is a paste
  2. Add the essential oils and spices to the mix. Mix well
  3. Bottle your delicious lip scrub in a glass or plastic container. If you’re trying the recipe as a gift option, you can get cute bottles in bulk on Amazon.

This lip scrub is so delicious and edible! To use: apply a small amount to lips, rubbing around to exfoliate, and lick away excess.


Lip and Body Scrub DIYFace and Body Scrub

One of my favorite parts about this face and body scrub is that it reuses used coffee grounds. This is an excellent way to repurpose household items to make sure you’re less wasteful, and you’ll get a luxury product out of it that smells divine! Used coffee grounds already have so many practical uses in and around the home, but bath and beauty products are great! The coffee helps to wake you up as it invigorates your senses while the lime oil energizes as it’s astringent qualities cleanse.

**I don’t recommend using your used coffee grounds if you have low-quality coffee in the house (the worst part of waking up is a bad cup of coffee and the breakout it caused your face after using it in a scrub recipe).

INGREDIENTS

  • 1/2 cup used coffee grounds, pressed to get rid of excess moisture
  • 2 tbsp. coconut oil
  • 10 drops lime essential oil
  • 1/4 tsp. cardamom
  1. Combine your used coffee grounds with your coconut oil. Work together until a paste begins to form
  2. Add your essential oils and spices while stirring together
  3. Bottle your scrub and gift/ use accordingly


I hope you enjoyed this tutorial for Lip and Body Scrub DIY!

DIY Lifestyle Motherhood

Building a Nursery: How I Saved on Cost and Space

Building a Nursery

What do babies need? I asked this as my husband and I set upon preparing and building a nursery for our first child.

Car seat, definitely. A crib? Or basinet? The nursery is small. Oh, it turns out we both want to share a bed with the baby, that solves it. High chair, but not for a while, right? When do we start solid food, again? What about a changing table? I think they are unnecessary; he likes the idea of a diaper station. Bottles, pacifiers, toys, socks. We need to get socks.

So, I began compiling lists. You might not think it, but babies need a lot of stuff. Or so we’re told by advertisements and baby stores. Children’s furniture is shockingly expensive, especially considering the size. Tiny people require tiny things, but eventually, all too quickly, they outgrow the tiny things. It seemed absurd to spend hundreds of dollars on any one thing that might last a couple of years or even a couple months. I started researching and asking advice from other parents. What we needed versus what we wanted. What was a life saver, and what we could do without. Slowly, items were being crossed off my lists.

We began making room. As my due date approached, we brought out the gear, clothes, furniture, and all things baby related we’d been collecting. I nested. I cleaned, organized, and folded tiny socks. We bought paint.

I began building a nursery.

Building a Nursery

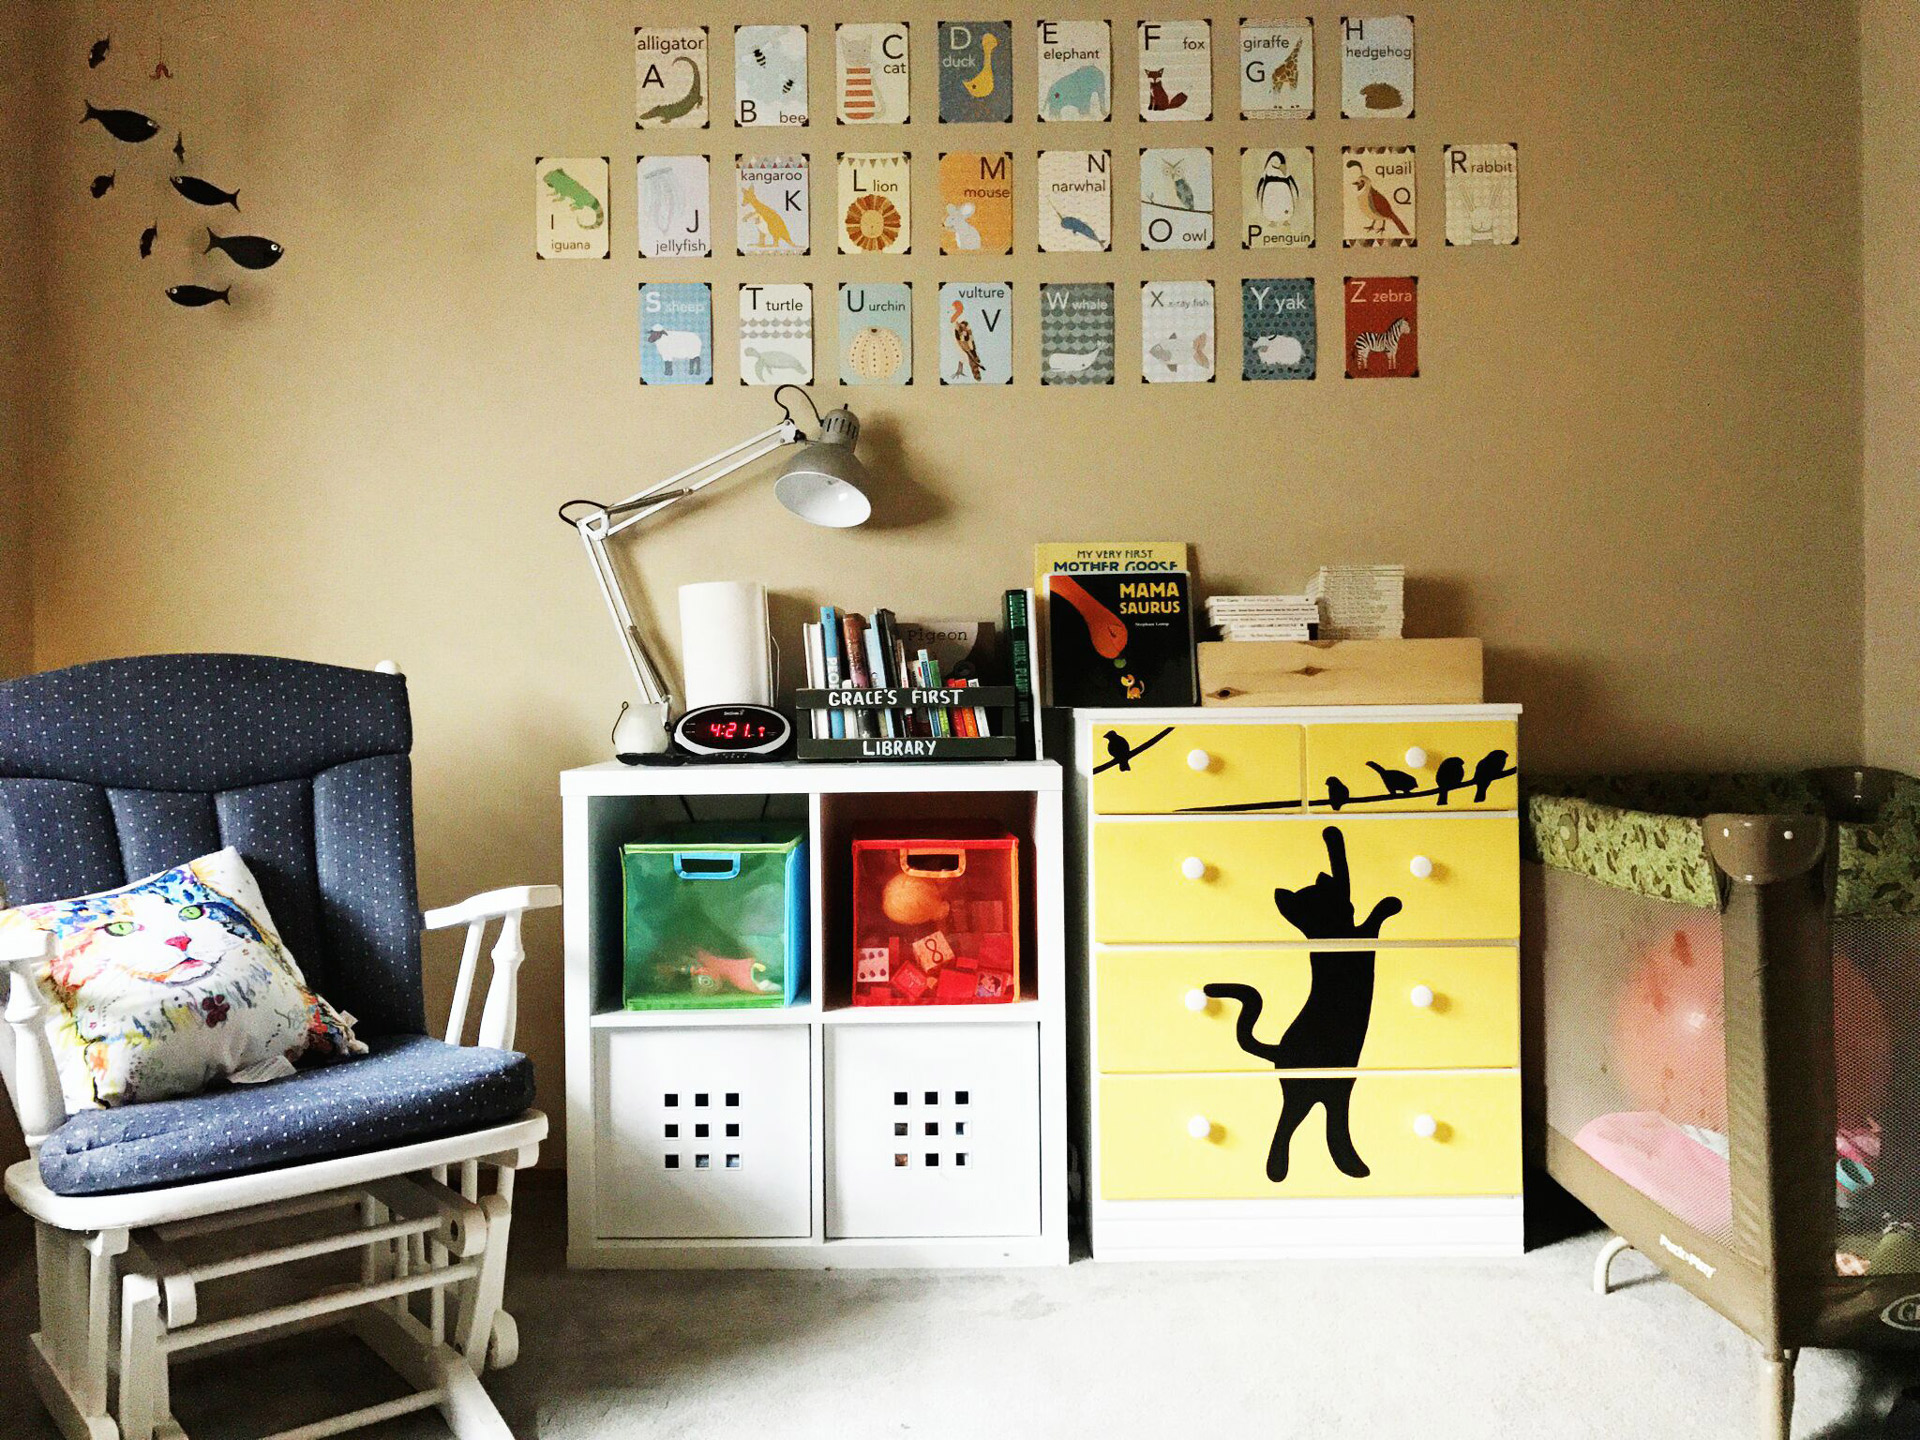
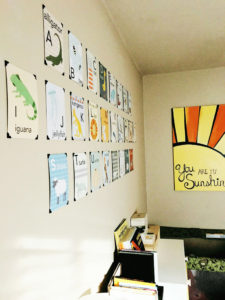
This is what you see when you first walk in the room. The end result came after several rearrangements, adding/taking away accent pieces and furniture. I’m sure it will continue to evolve as my daughter grows.

  • One of my favorite parts about the nursery is this Alphabet I found on Etsy. I love the illustrations, and the set only cost $32. It was my first purchase specifically in mind for a baby’s room.
  • A friend gifted the fish mobile in the upper left corner.
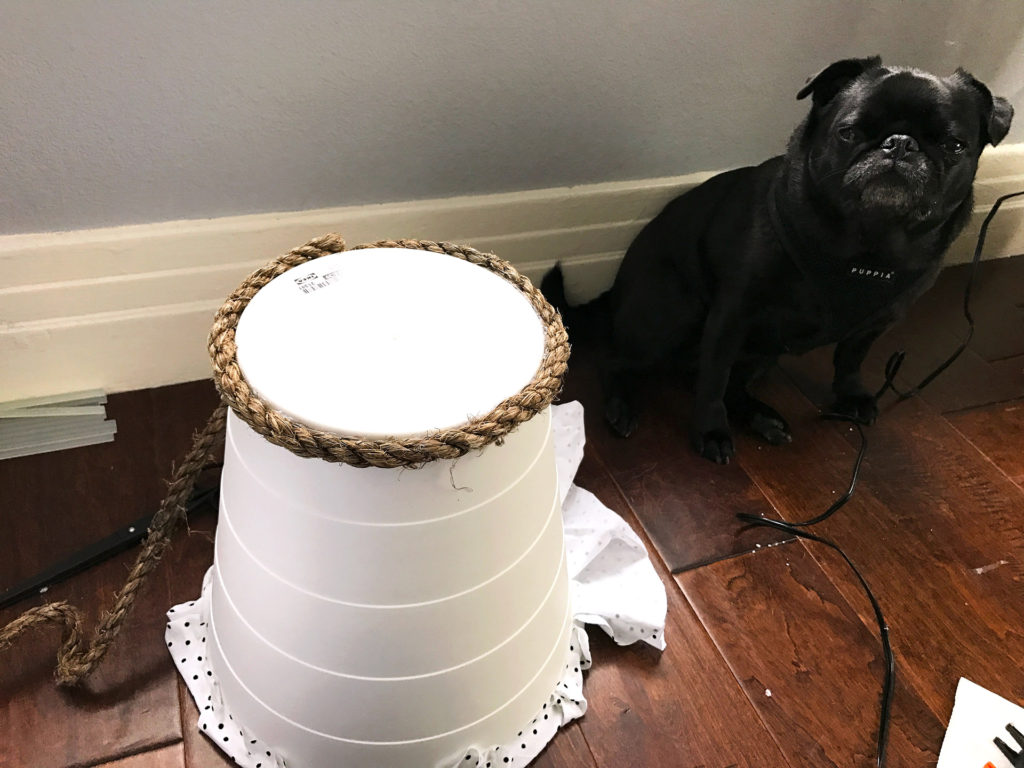
  • The square floor shelf was pulled from another room because we decided furniture in the nursery looked better white. The colorful shelves were around $3 each on clearance at IKEA. Actually, the shelf came from IKEA, too. We super love IKEA.
  • A friend gifted The Pack ’n Play because her little ones grew too old. We’ve yet to use it for anything other than storage, which is a nice dual purpose. The room is a small space, 10 x 10 feet, so it’s nice to quickly pull her tummy time mat off the floor and out of the way. When I’m carrying around a crying baby, I don’t want to trip on “stuff.”

The Dresser:

Building a Nursery
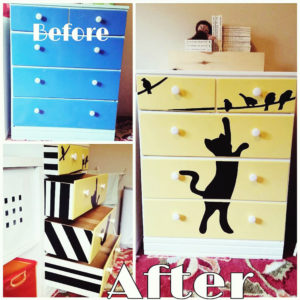
I saved on cost by buying used and fixing up. This is the before/after of the dresser I bought on craigslist for $40. I only have this photo from my Instagram of the “original” blue. It took FOREVER to finish this 3-foot tall dresser. Or felt like forever because I was working in a hot garage at the end of summer while 8 months pregnant. Unfortunately, I never took progress pictures. So I’ll give a description of my work:

  • Sanded down the blue paint (with help from my husband).
  • Painted several coats of white, excepting the back and bottom, and the yellow fronts of the drawers.
  • Painted several coats of the yellow.
  • Taped off the sides of the drawers and painted the black stripes.
  • I found an image online of a cat silhouette, then birds, and I drew onto the dresser. Full disclosure, I just copied a cat image from Google because it’s not like I’m trying to sell this. Then, painted in the black.
  • The knobs were a dollar each from Home Depot.

When I put the shelves back in order, the two smallest with birds didn’t fit. After a week of working on this, usually in a couple 2-3 hour blocks each day, I thought I might die. I cried a lot. After a small breakdown, I swapped drawers, and tada—they fit! Good enough. I spent so much painstaking time getting everything just right during two days of touch-ups using paint dipped q-tips, that I was done. Other than that tiny mistake, I really love it!

Building a Nursery: It’s all in the details.

Building a NurseryIn the photo on the left, I fixed the alphabet to the wall with adhesive photo corners from a local craft store. They didn’t stay stuck, though. After a couple of days, the cards began falling off. So, I got some sticky tac, and they’ve been up without issue since. I really like the finished look of the photo corners, which saved on cost. It gives the illusion of framing, without the expense of actually framing.  

 Building a NurseryTo the right, the 3×3 feet “you are my sunshine” painting. I used the paint we’d purchased for the baby furniture, plus a little orange I found in the garage. The leftover plywood came from my husband building our platform bed. Upcycling is a great way to stay within a budget!

                                                                                     ***

                                       Building a Nursery                 Building a Nursery

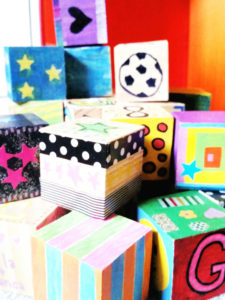
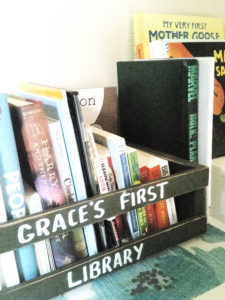
The handmade blocks and “Grace’s First Library” are two aspects of the room which came out of our baby shower; therefore costing us nothing. Instead of decorating onesies, I wanted something my daughter could get use out of years down the road. We set up a station with crafts and paint, and guests designed these special toys just for her.

On the shower invitation, I asked that each person brings their favorite children’s book to start her collection. We now have over 40 books, and she’s 5 months old.

Rocking Chair Project:

Building a Nursery

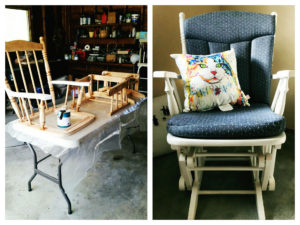
Here, I again did not take progress pictures. I didn’t expect to be sharing any of this with the public, so it never crossed my mind. The chair cost $12 at a local Habitat for Humanity store. We’d been searching for months, so when my husband showed up with that sweet deal, he found me elated. Until I realized he brought me another painting project. I love how it turned out, though, so we both did a good job.

  • My husband took apart the chair and helped me sand. Sanding sucks, even without a huge belly.
  • I painted 3 coats, and it was all tedious. If you look really close, which please don’t, you can see where I got tired of painting and got sloppy toward the bottom. Whatever, it looks way better than the original brown, right?
  • I purchased the cat pillow a couple years ago, and now it fits perfectly with the unintentional animal theme.

The Closet

Building a Nursery

This is the back wall of our nursery. A closet is not particularly eye-catching, but this shows how we utilized room in the small space. We spent a lot of time organizing. Everything has a place, and we do our best to put things where they belong. This is a huge help in keeping the room decluttered.

  • Her diaper bag and stroller hang on designated hooks, which makes it easy to always put them away after each use. Less clutter for the ground.
  • We took the door off the closet to make the area feel more open.
  • Shelves are great for decorating and storage. Above the tiny TV, we have a little family photo section. Plus The Hulk piggy banks from when my husband was a kid. Passing down = cost saving. Inside the closet, each shelf contains similarly themed items (work out gear: yoga mat/hand weights, canned cat food/treats, breastpump/accessories).
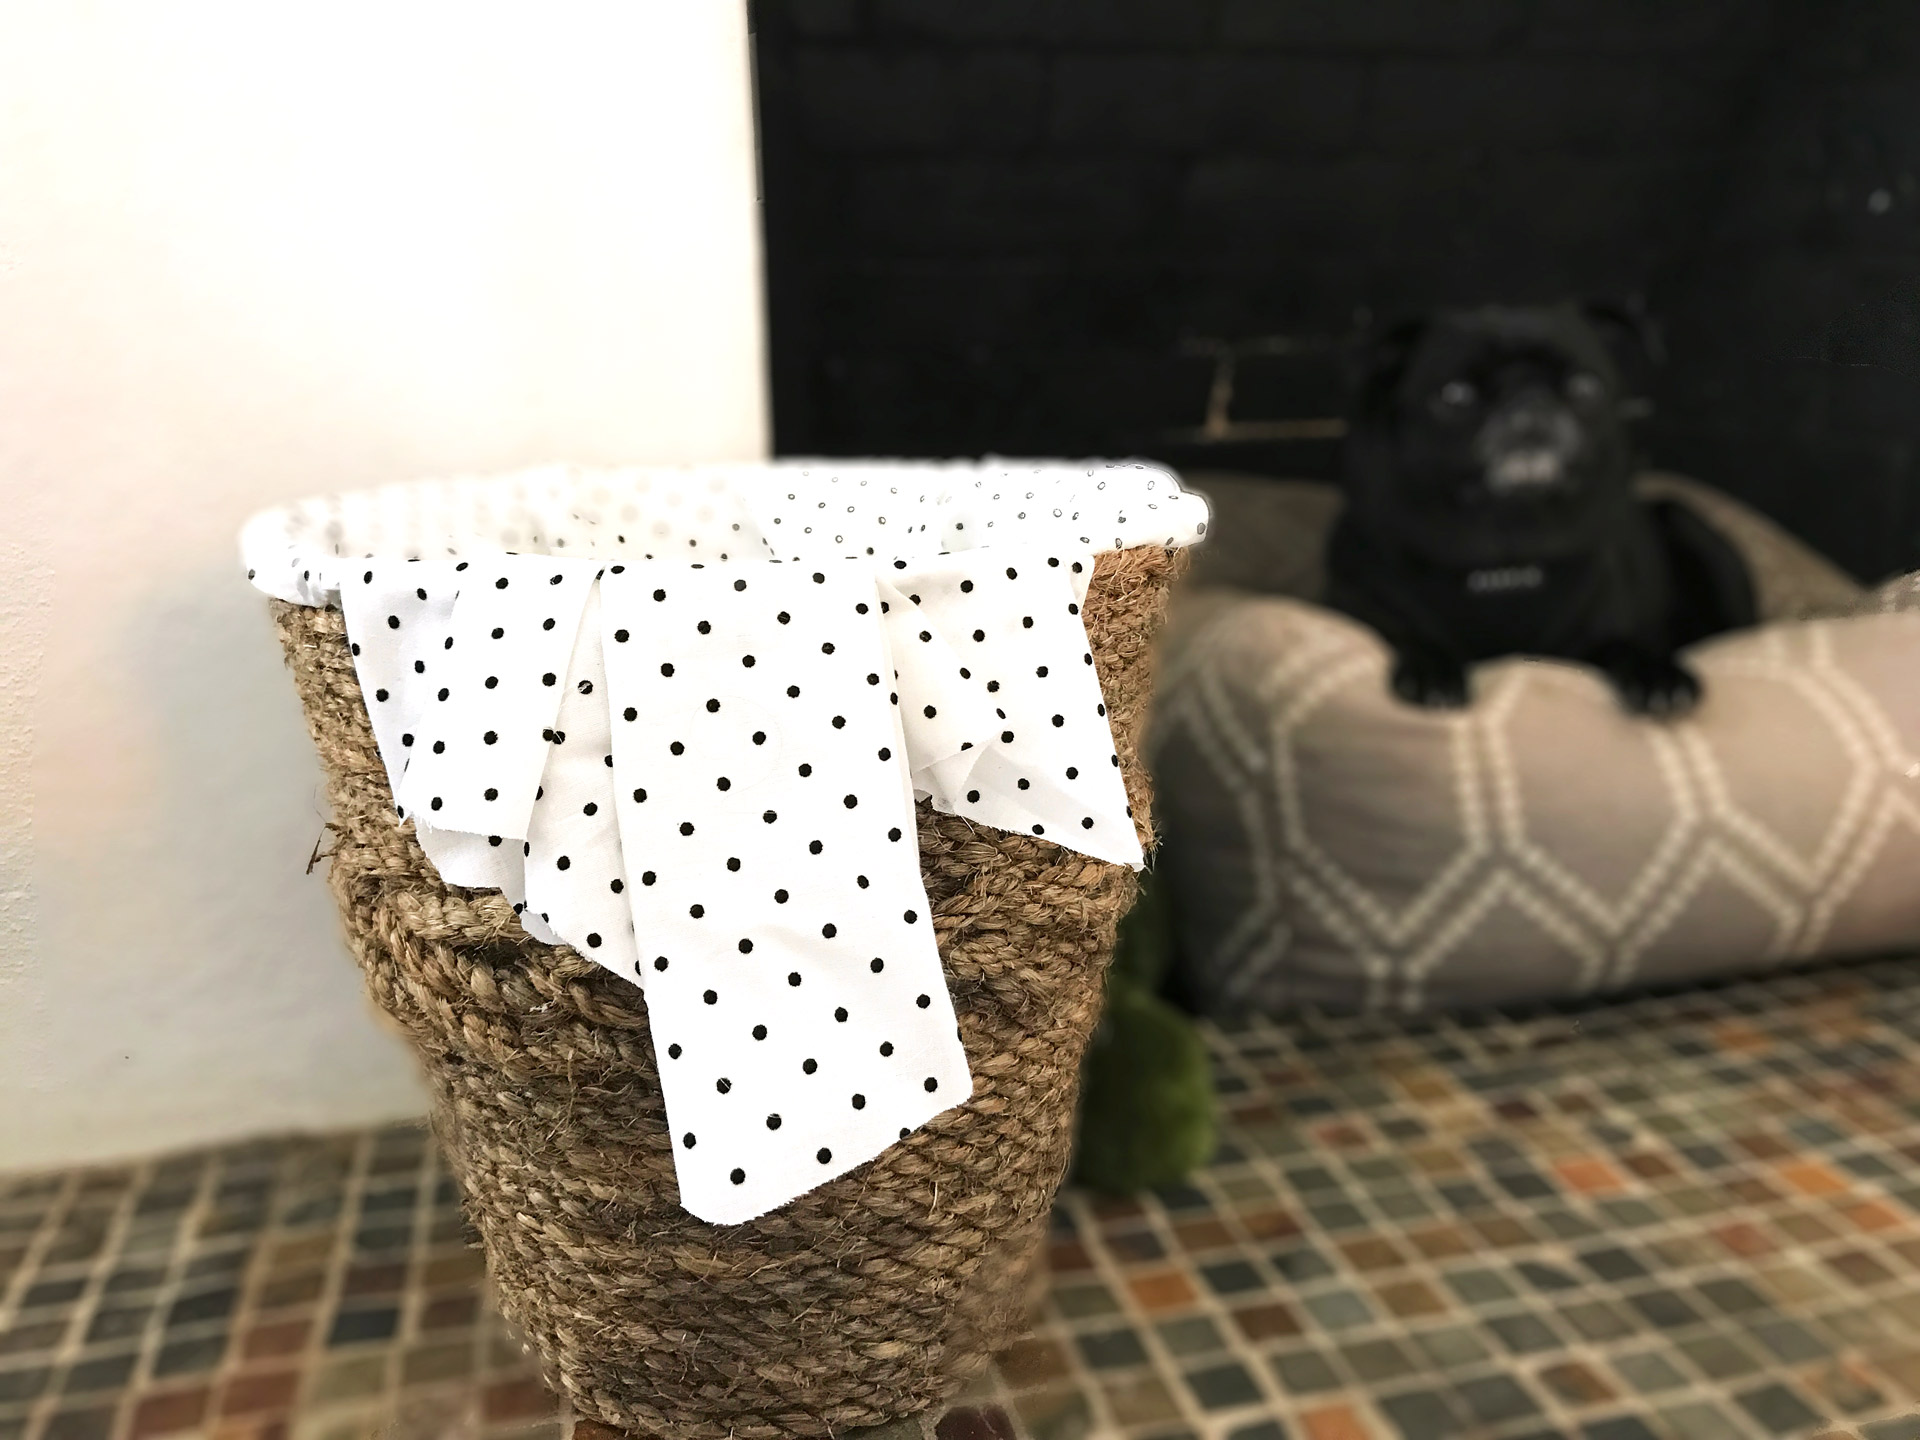
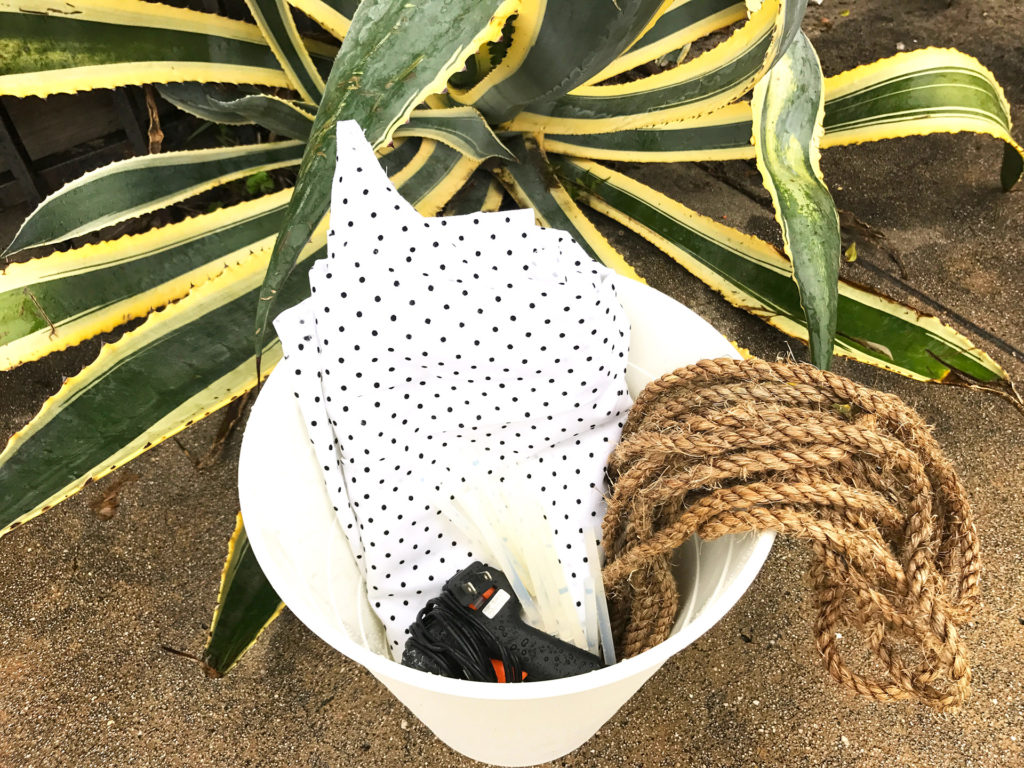
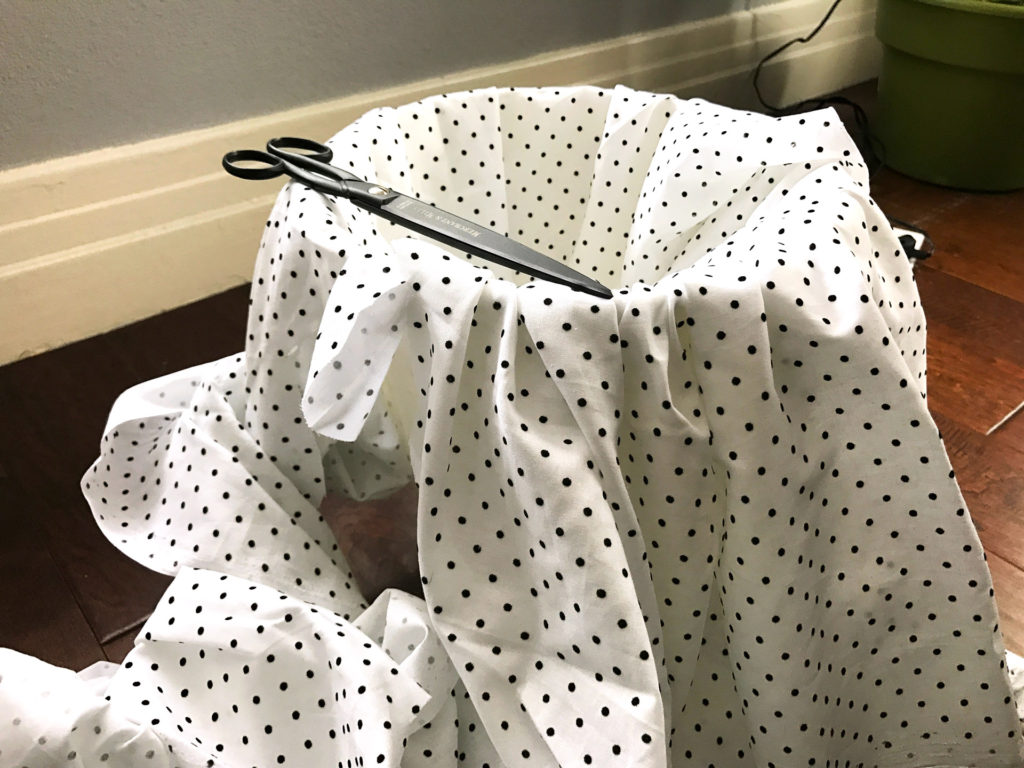
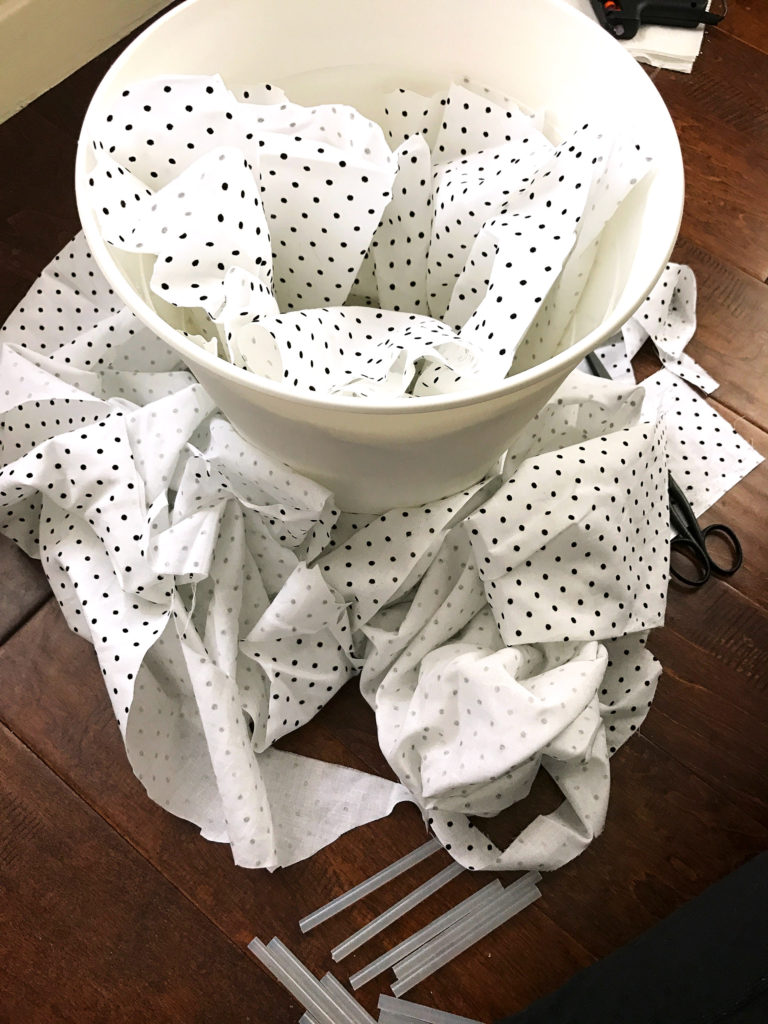
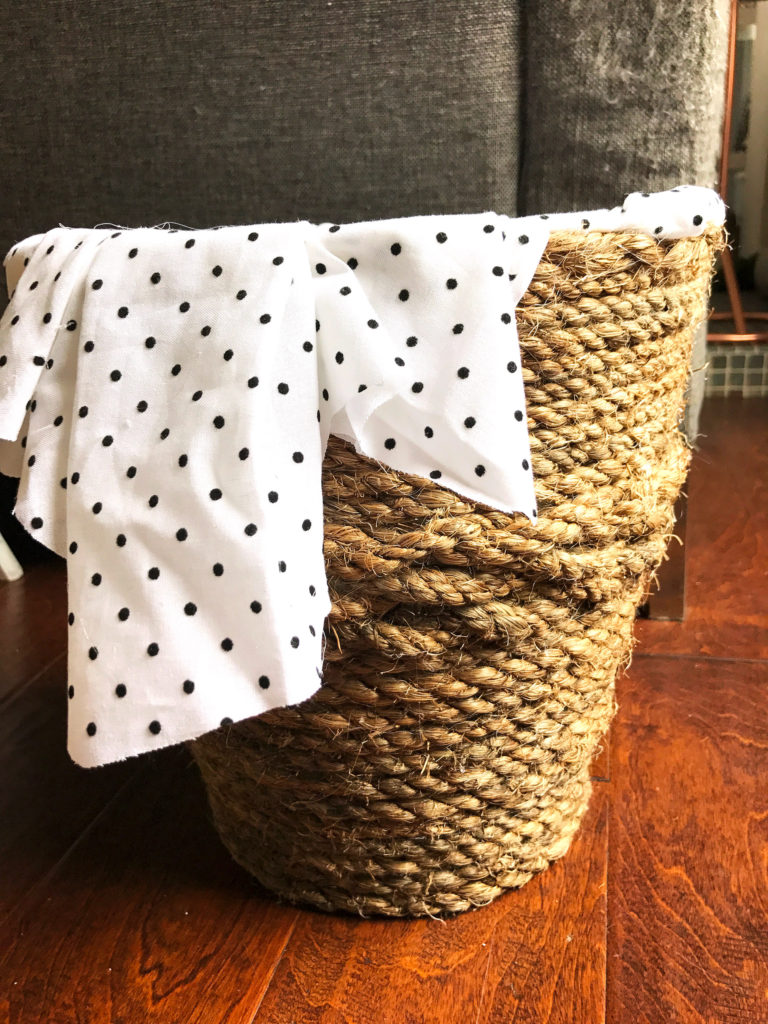
  • To the right we have our laundry baskets, both purchased on clearance. The larger one for the adults, the smaller for our daughter.  Fabric makes them look a little fancier than plastic, and since they are exposed and easily accessed, instead of crammed in a closet, we keep dirty clothes picked up. Again, less clutter in a small space is key to having the room feel big. 
  • The stuffed animal corner cost us $20. My husband found another sweet deal on the large bear, and the rest were free from the local “Buy Nothing” Facebook group, or gifts.

Building a Nursery
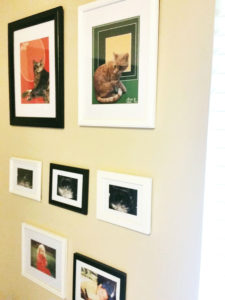
This is another example of how I saved on cost while building a nursery. I bought these picture frames at Goodwill and painted them black and white (again, using what we already have). I drew digital pictures of our cats, framed the first ultrasound pictures of our daughter, and printed a couple photos from when my husband and I were kids (our favorite of each other). One of a kind, personal artwork makes the room unique, and this section cost less than $10!

The moral of my story:

It’s relatively easy to spend a lot of money building a nursery. If done right, it can be incredibly easy to save. Everything pictured that we bought specifically for the nursery, totaled under $200. You’ll notice no crib is in the room. We decided to co-sleep with a family bed, so our daughter sleeps with us. Good thing we own a king sized bed. I convinced my husband we don’t need a changing table. Instead, we change her on the bed, which is more convenient for us anyway.

  • Bringing what you can off the floor is going to help save space when building a nursery.
  • Use your own crafty ways to decorate the nursery (or any room) to save on cost.
  • Upcycle.
  • Check out local groups online.
  • Browse craigslist every day.
  • Find a friend, like I did, whose kids are slightly older than yours, and take all their hand-me-downs.

We’ve paid for almost nothing full price while prepping for baby and building a nursery. Except for socks. We totally bought socks. 
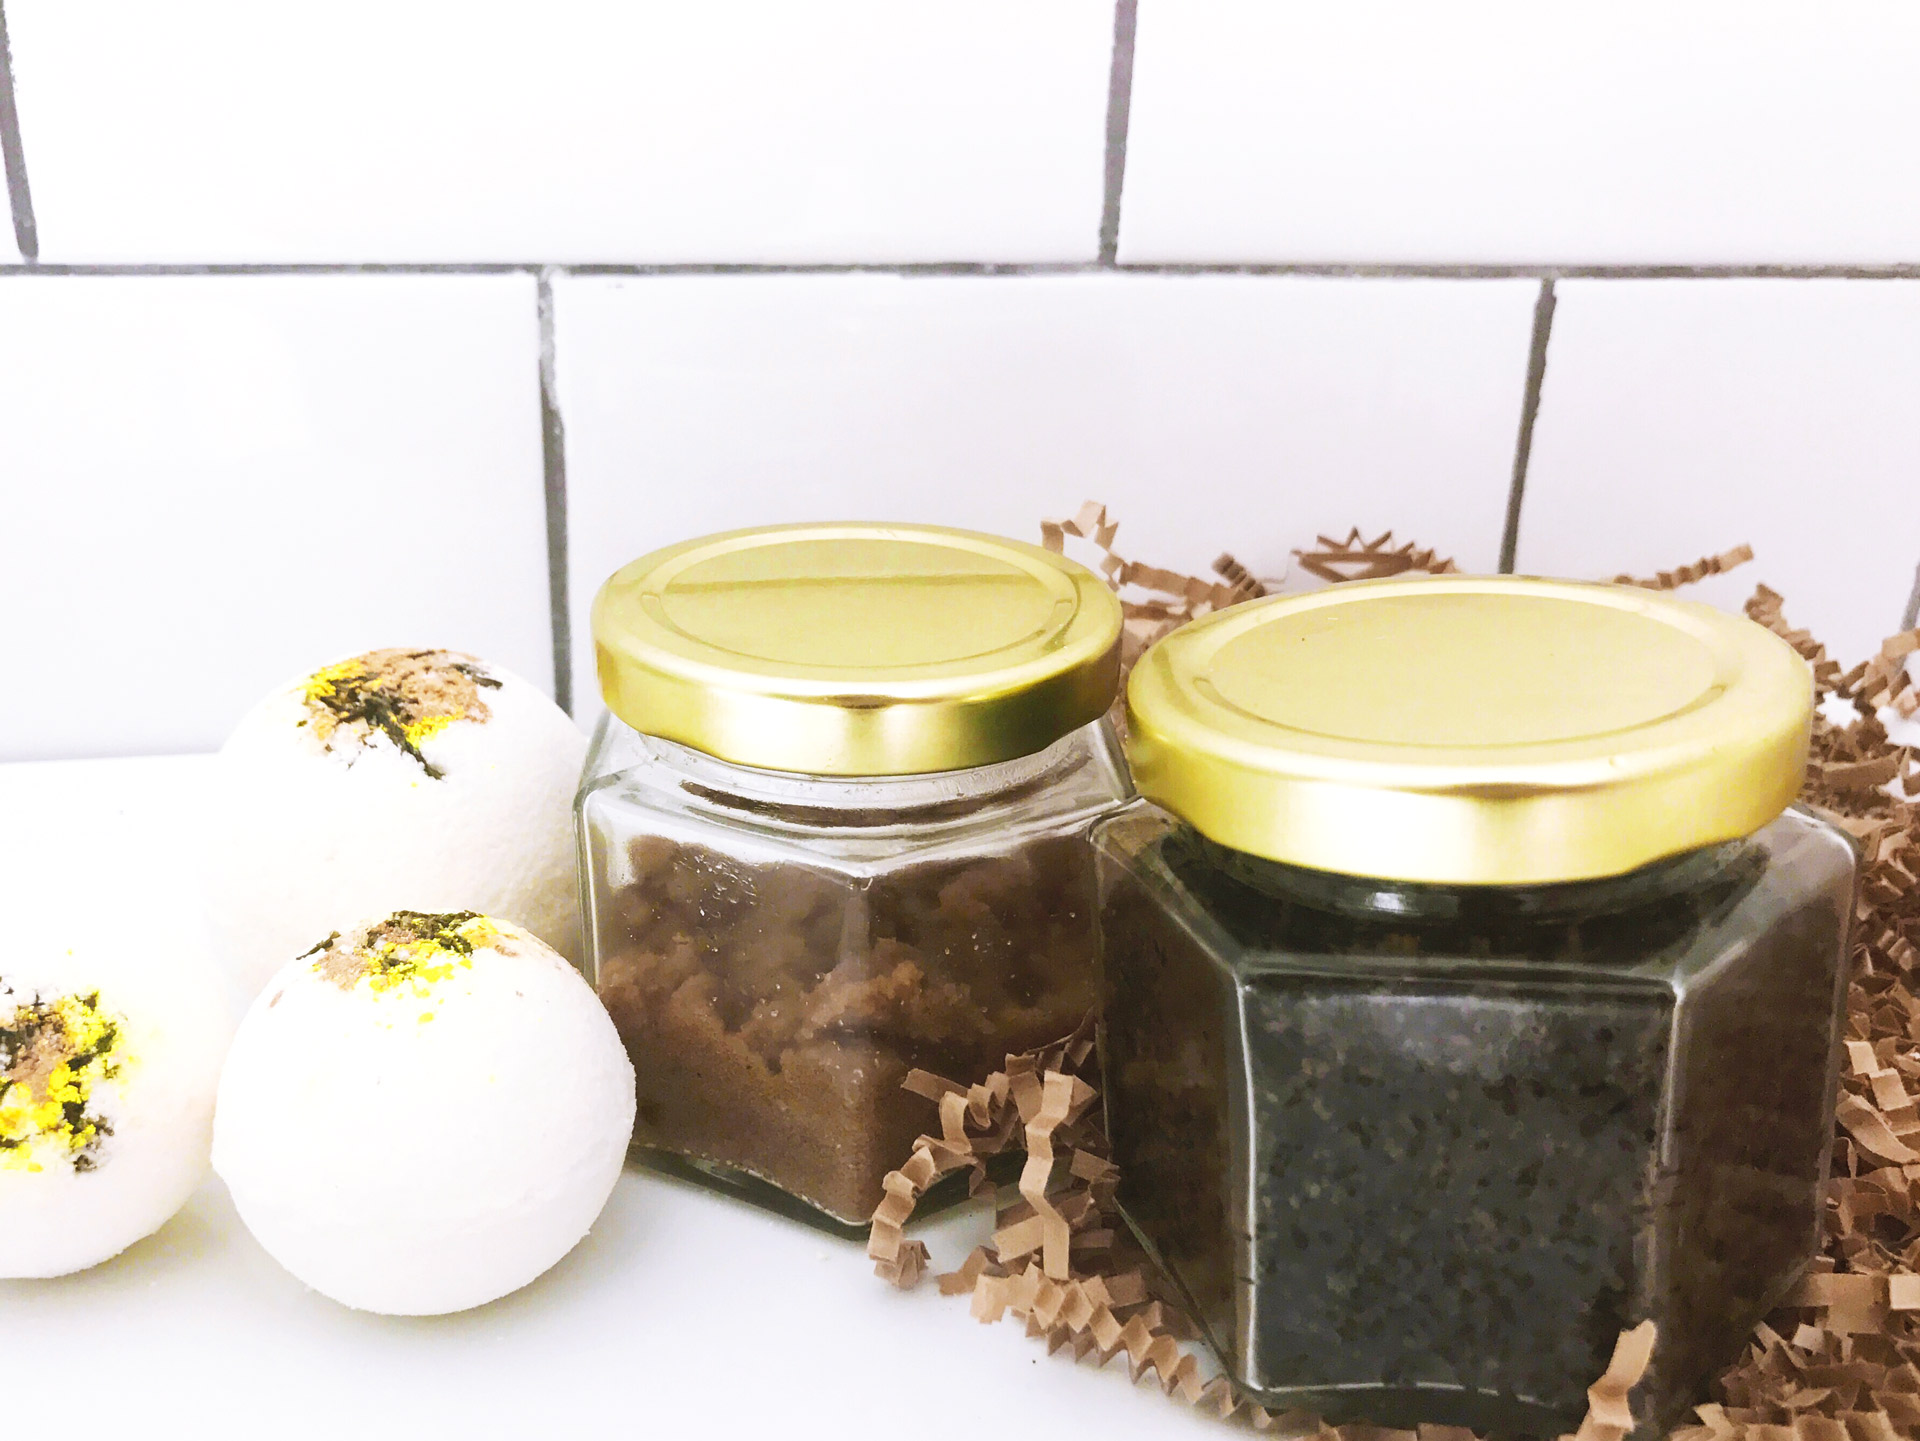
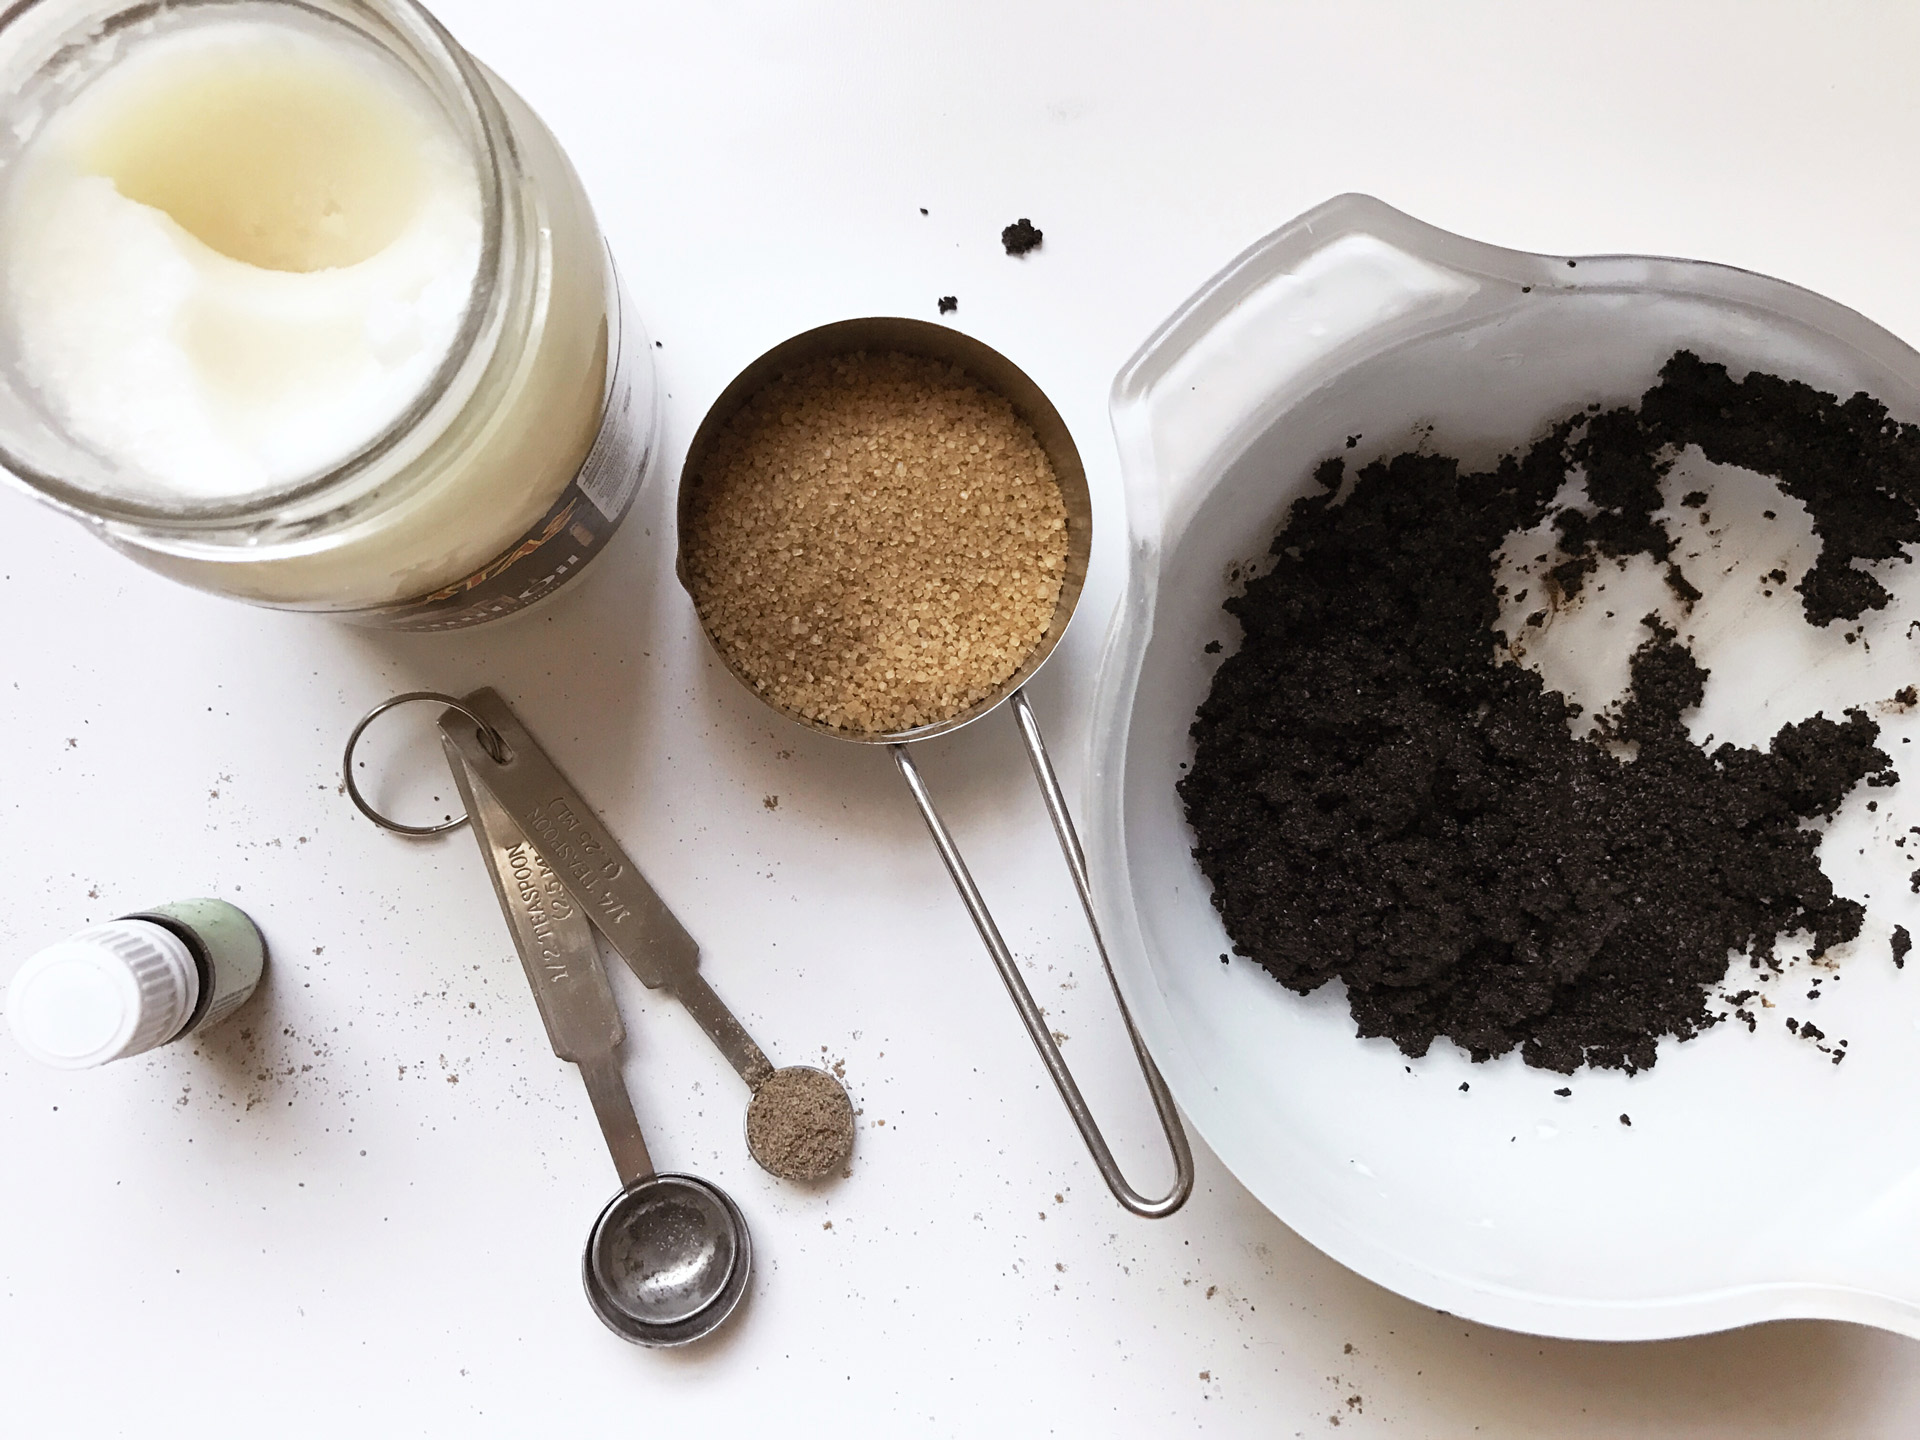
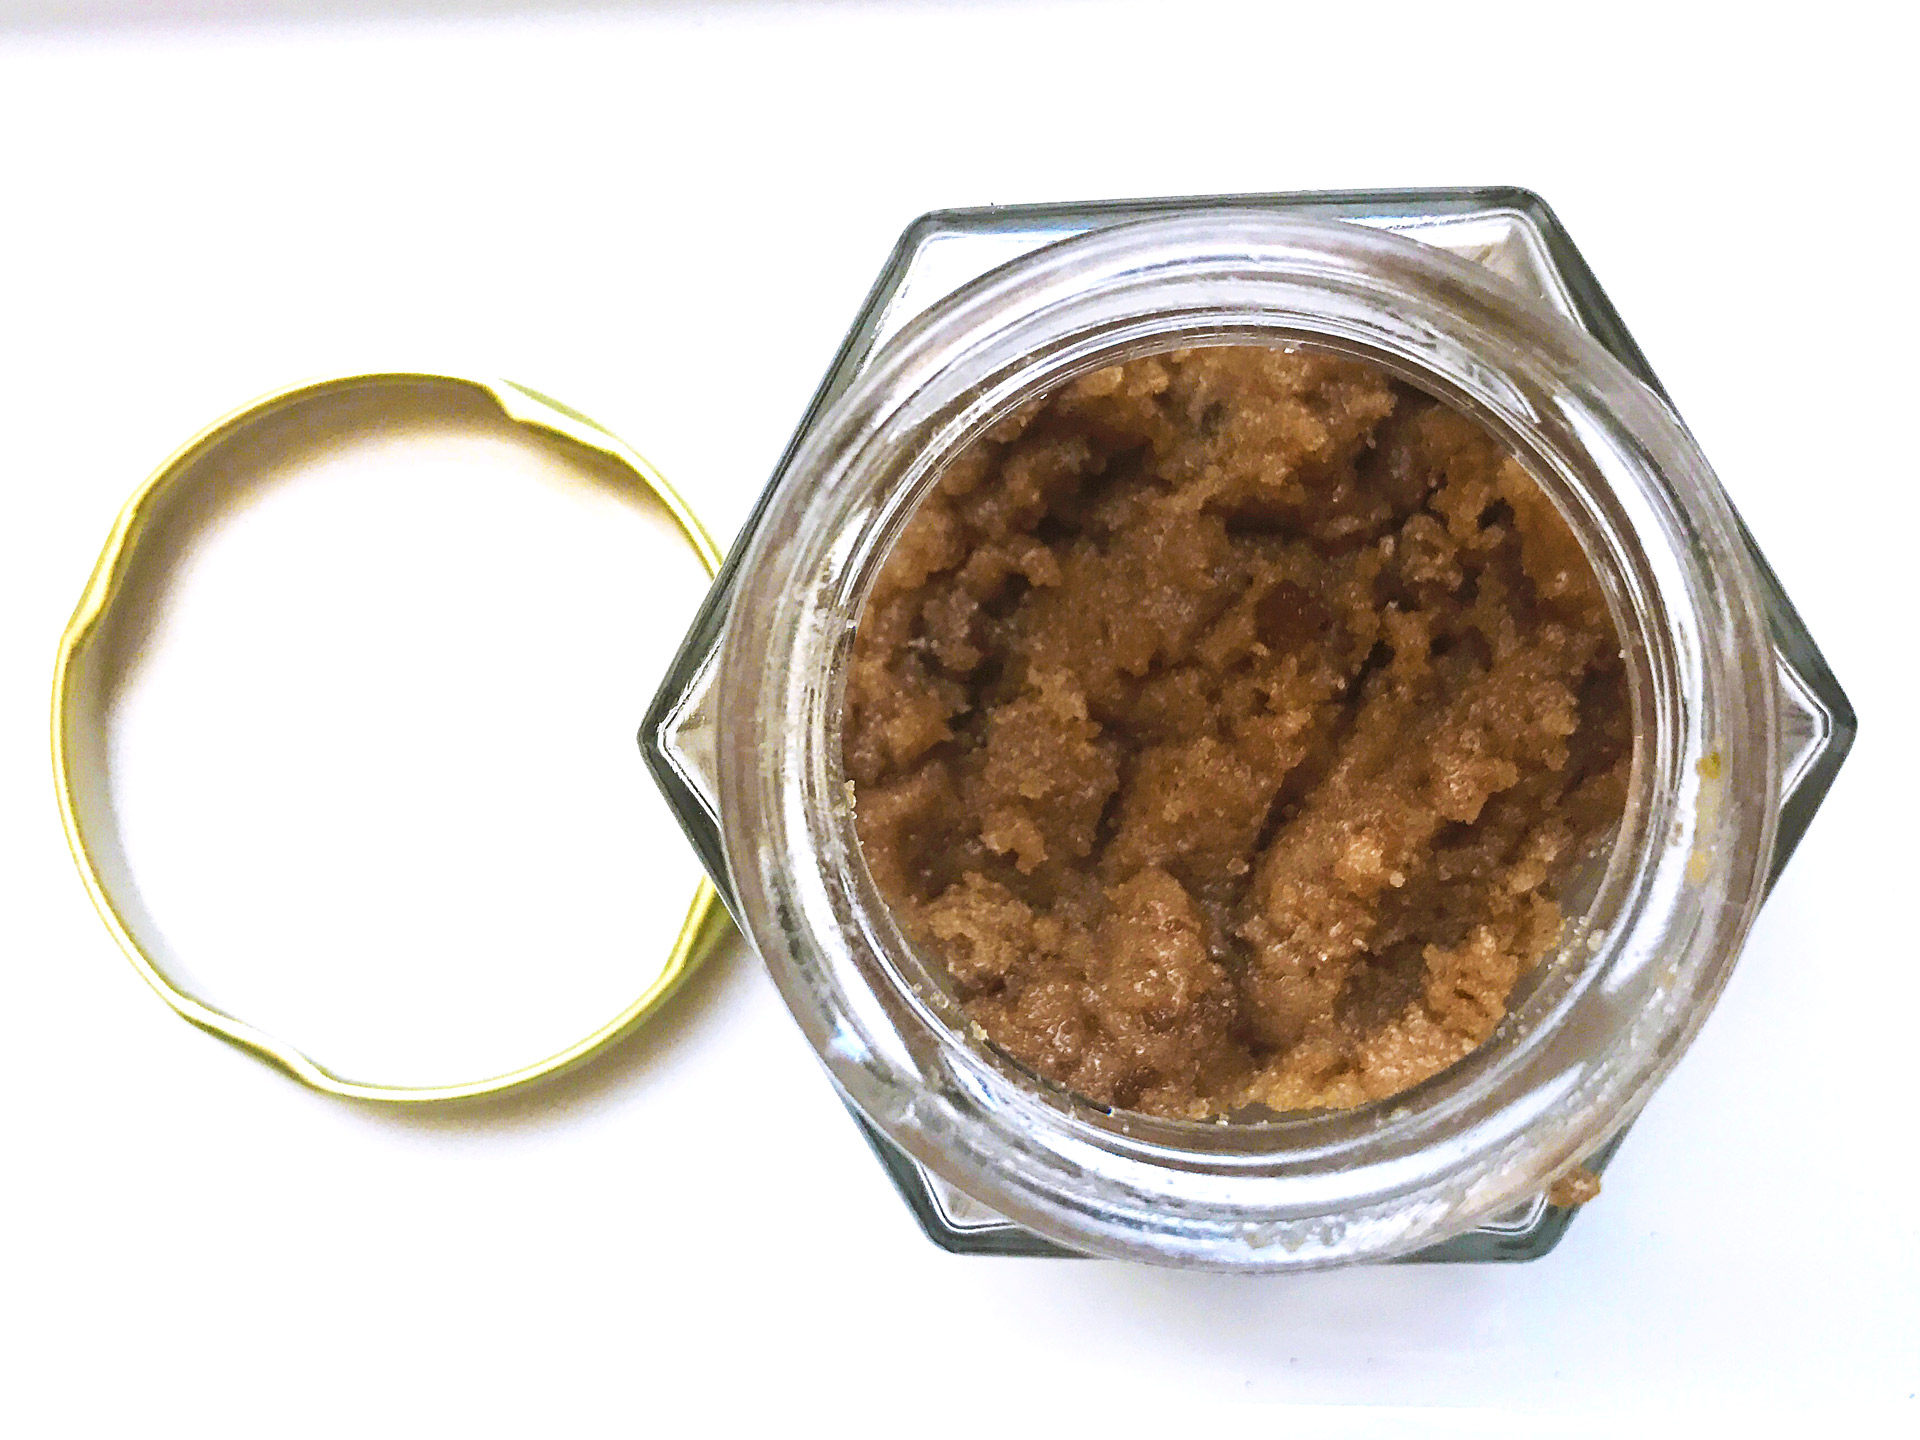
Attempts DIY Lifestyle

DIY Rope Dog Toy Basket

DIY Rope Dog Toy Basket

I’ve seen concepts for DIY Rope Baskets a lot—on Pinterest and various blogs—with people using laundry baskets (the standard, dollar store plastic ones with holes). These baskets are perfect for beside a sofa or living room setting to have blankets and other items of comfort on hand. I have my blankets stored elsewhere and what I really needed was something cute to store my dog’s toys in. So I came up with an idea to do a DIY Rope Dog Toy Basket.

I had a leftover IKEA wastebasket—sans holes— so I thought I’d give my version a try. My wastebasket is much smaller than a laundry basket.  I had a lot of extra sisal rope from Home Depot, in two different sizes that had been sitting outside in the rain for almost a year (eek, I know). So I finally freed it from its wet prison and draped it over my porch railing to air dry a bit. Once it was mostly dry, I threw it into the dryer for 30 minutes to finish the job. My original vision was to use the thicker kind of sisal on the bottom and try to taper up into the thinner twine. Sounded easy enough!

In the end, for my DIY Rope Dog Toy Basket I chose to begin with the thicker sisal, braid in the thinner sisal halfway up for three rows, and end with just the small sisal. I’m super happy with the result, and so is Tallulah (she’s the cute one in black).

DIY Rope Dog Toy Basket

Step One: Collect Your Supplies
  • 10 ft. of natural sisal rope
  • Wastebasket
  • Cloth/ textile of your choice
  • Hot glue gun & Glue
  • Scissors

DIY Rope Dog Toy Basket

Step Two: Cut your fabric

For this step, lay the fabric inside the wastebasket so that it is touching the bottom and all the sides. This way, if something heavy is put in, the weight won’t tear the fabric or make the hot-glue come undone.

DIY Rope Dog Toy Basket


Step Three: Cut off the fabric that’s overlapping the lip of the wastebasket on the outside.

Give yourself about an inch to overlap. Once you’ve cut around the outside, you can begin to hot glue the fabric so it overlaps the lip of the wastebasket by about 1″. I wasn’t bunching my fabric enough when I started gluing, so I ended up with a bunch of fabric spilling out when I reached the end. However, I liked the effect and decided to keep it! The best part about DIY is that sometimes your mistakes can inspire you 🙂

DIY Rope Dog Toy Basket

Step Four: Begin gluing the sisal rope, starting at the base.

Once you’ve secured the fabric to the outside lip of the wastebasket, you can start to glue your sisal on. I used all the glue pictured (about 12-13 sticks), so have a lot on hand if you need it. Apply the glue directly to the basket and pressed the sisal into it for ten seconds to dry. Glue about 5″ at a time.

DIY Rope Dog Toy Basket

Step Five: Continue

Now you’ll basically continue gluing and wrapping the sisal all the way around until you’re finished. If you want to do a braided effect start it once you reach the second tier/ halfway point. Begin to twist in the thinner sisal. Do this for a few rows. Then, cut the thick sisal rope and continue in a straight line all the way around with the more lightweight sisal. This is the end result and I’m super happy with it. If you’re good at needlepoint or embroidery the excess cloth would be great to add a monogrammed initial or a little heart.

DIY Rope Dog Toy Basket

That’s it! I hope you enjoyed this tutorial for a DIY Rope Dog Toy Basket! Let me know in the comments how it turned out and tag me on Instagram in your creations! I’d love to see <3