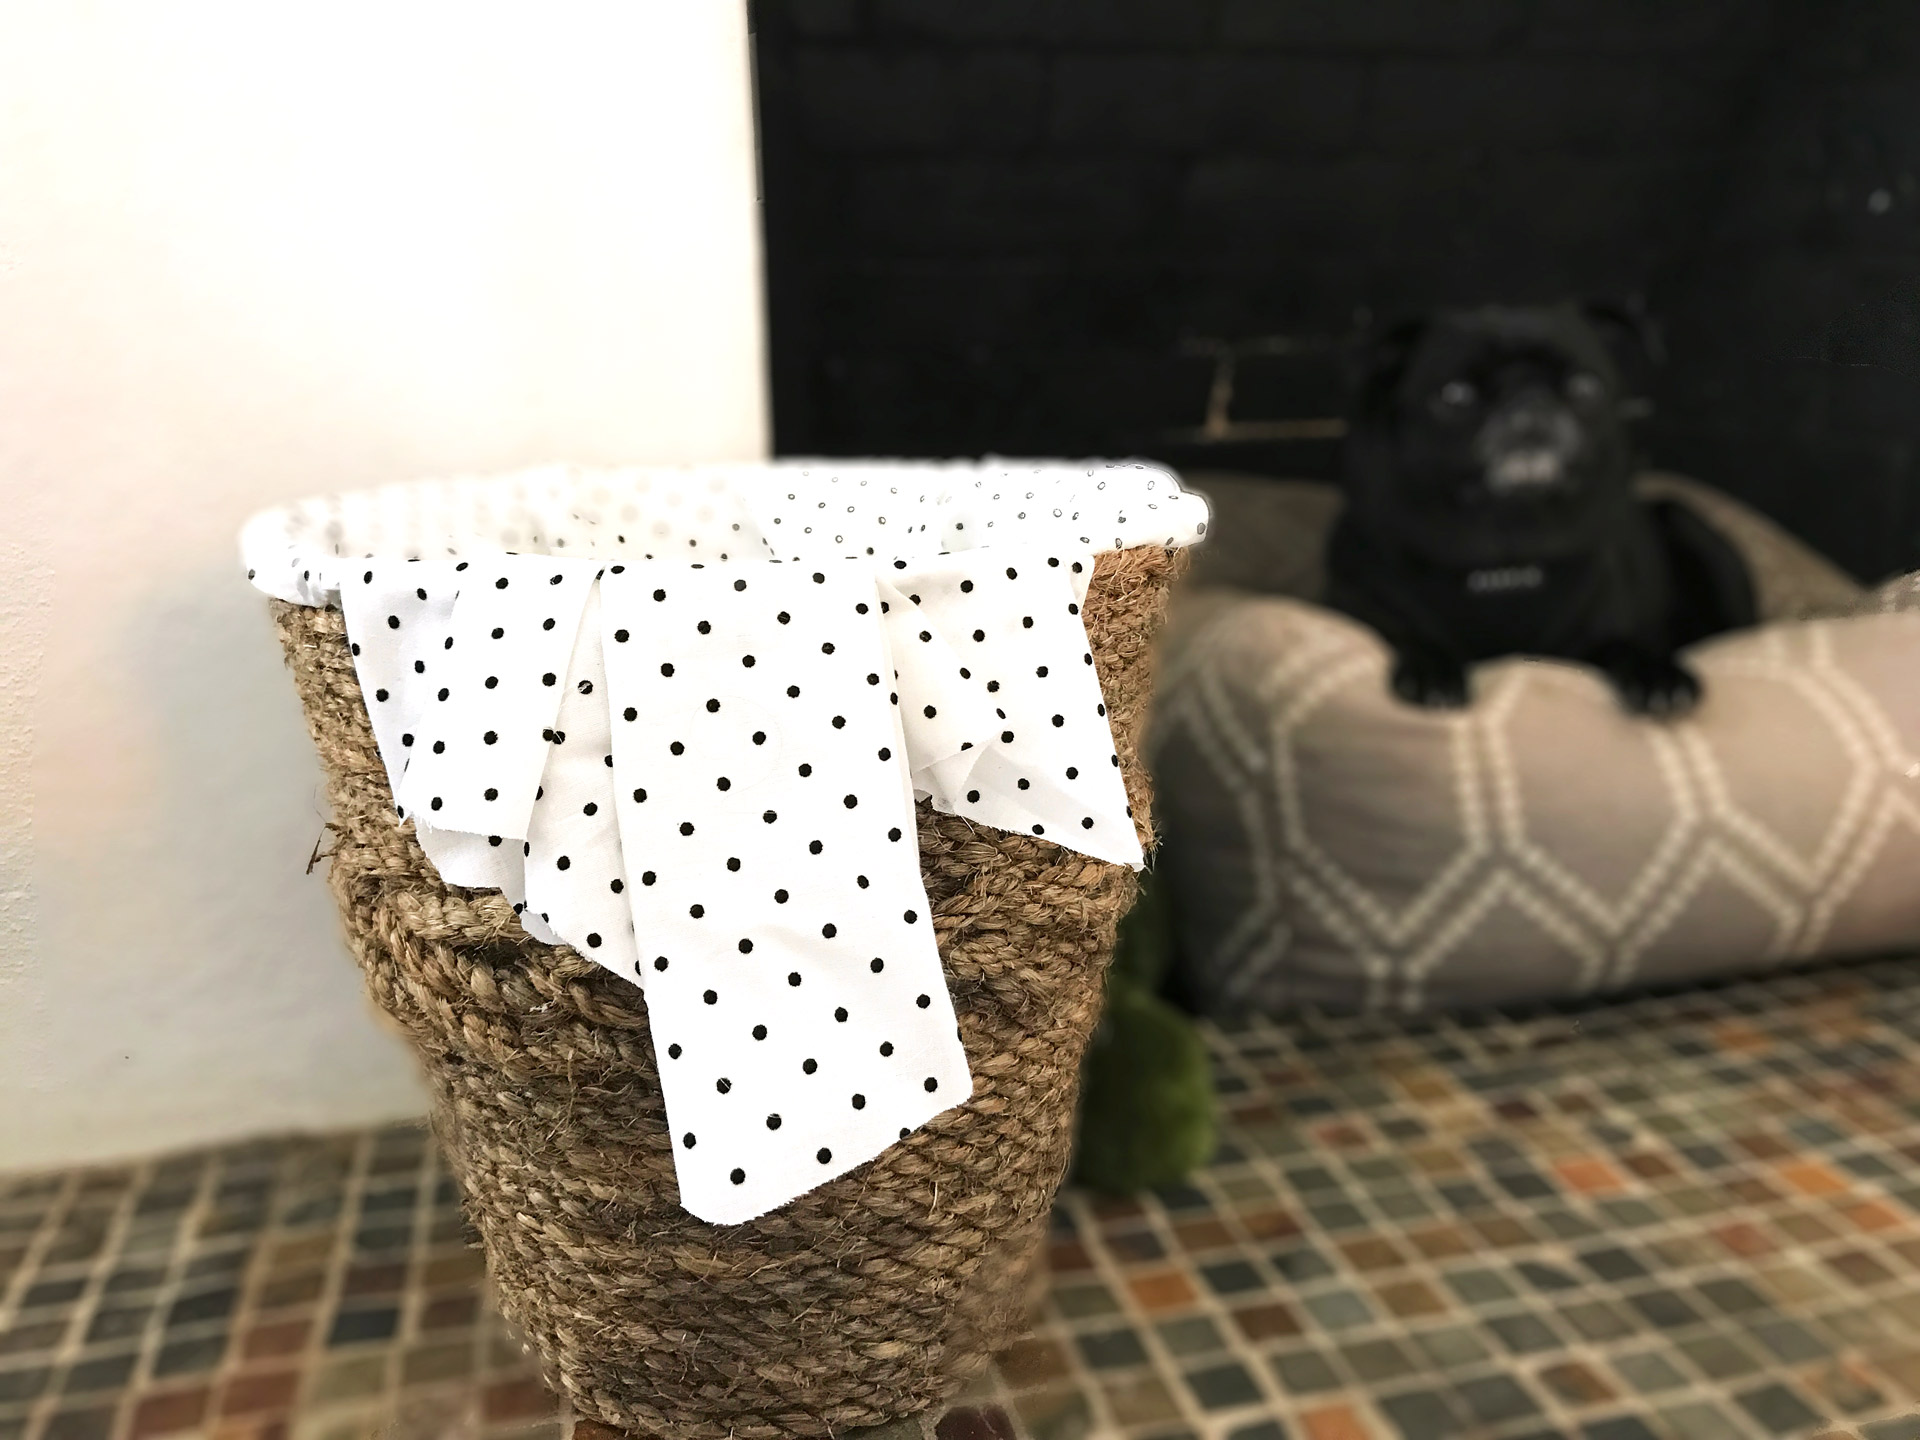
I’ve seen concepts for DIY Rope Baskets a lot—on Pinterest and various blogs—with people using laundry baskets (the standard, dollar store plastic ones with holes). These baskets are perfect for beside a sofa or living room setting to have blankets and other items of comfort on hand. I have my blankets stored elsewhere and what I really needed was something cute to store my dog’s toys in. So I came up with an idea to do a DIY Rope Dog Toy Basket.
I had a leftover IKEA wastebasket—sans holes— so I thought I’d give my version a try. My wastebasket is much smaller than a laundry basket. I had a lot of extra sisal rope from Home Depot, in two different sizes that had been sitting outside in the rain for almost a year (eek, I know). So I finally freed it from its wet prison and draped it over my porch railing to air dry a bit. Once it was mostly dry, I threw it into the dryer for 30 minutes to finish the job. My original vision was to use the thicker kind of sisal on the bottom and try to taper up into the thinner twine. Sounded easy enough!
In the end, for my DIY Rope Dog Toy Basket I chose to begin with the thicker sisal, braid in the thinner sisal halfway up for three rows, and end with just the small sisal. I’m super happy with the result, and so is Tallulah (she’s the cute one in black).
DIY Rope Dog Toy Basket
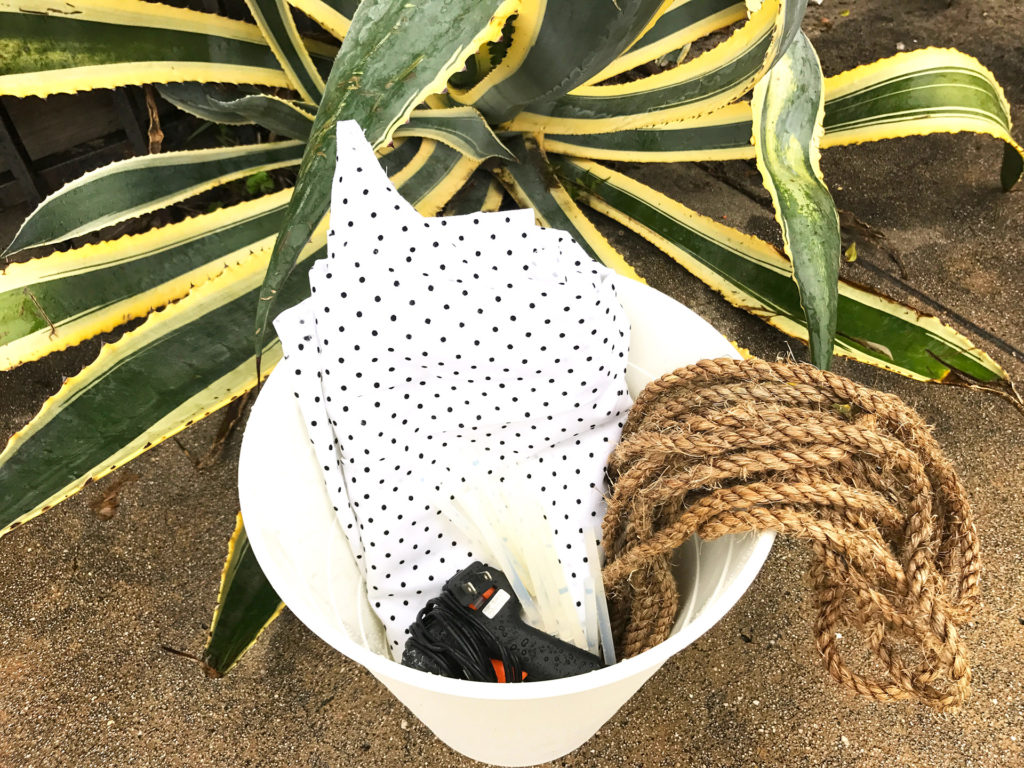
Step One: Collect Your Supplies
- 10 ft. of natural sisal rope
- Wastebasket
- Cloth/ textile of your choice
- Hot glue gun & Glue
- Scissors
Step Two: Cut your fabric
For this step, lay the fabric inside the wastebasket so that it is touching the bottom and all the sides. This way, if something heavy is put in, the weight won’t tear the fabric or make the hot-glue come undone.
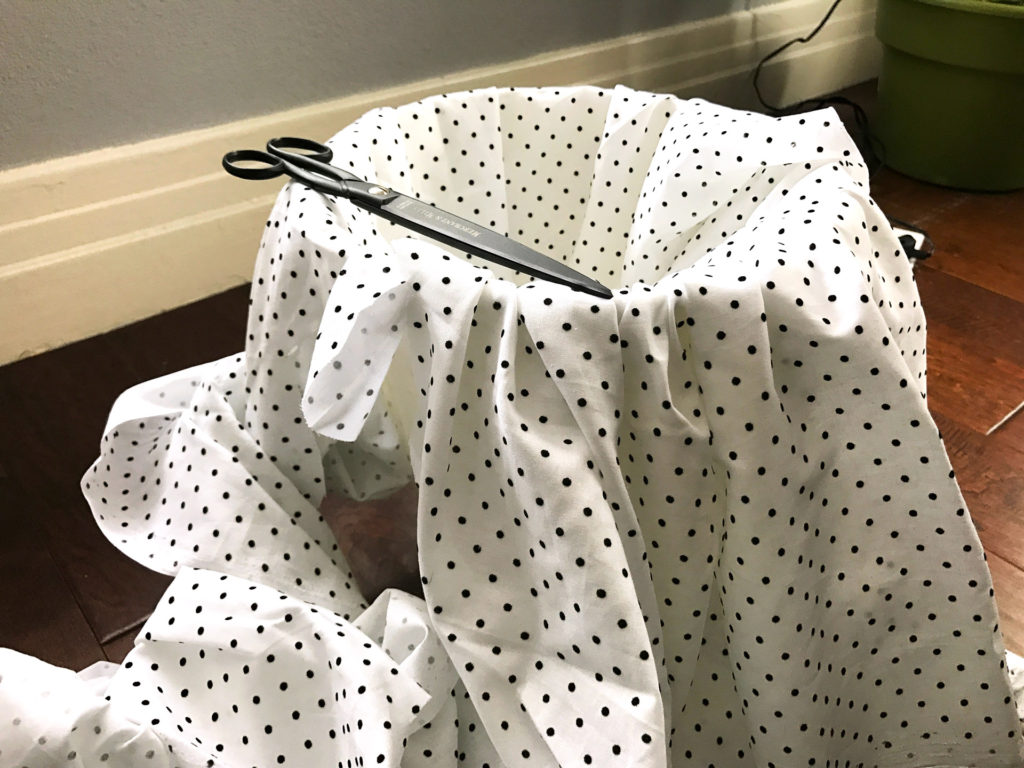
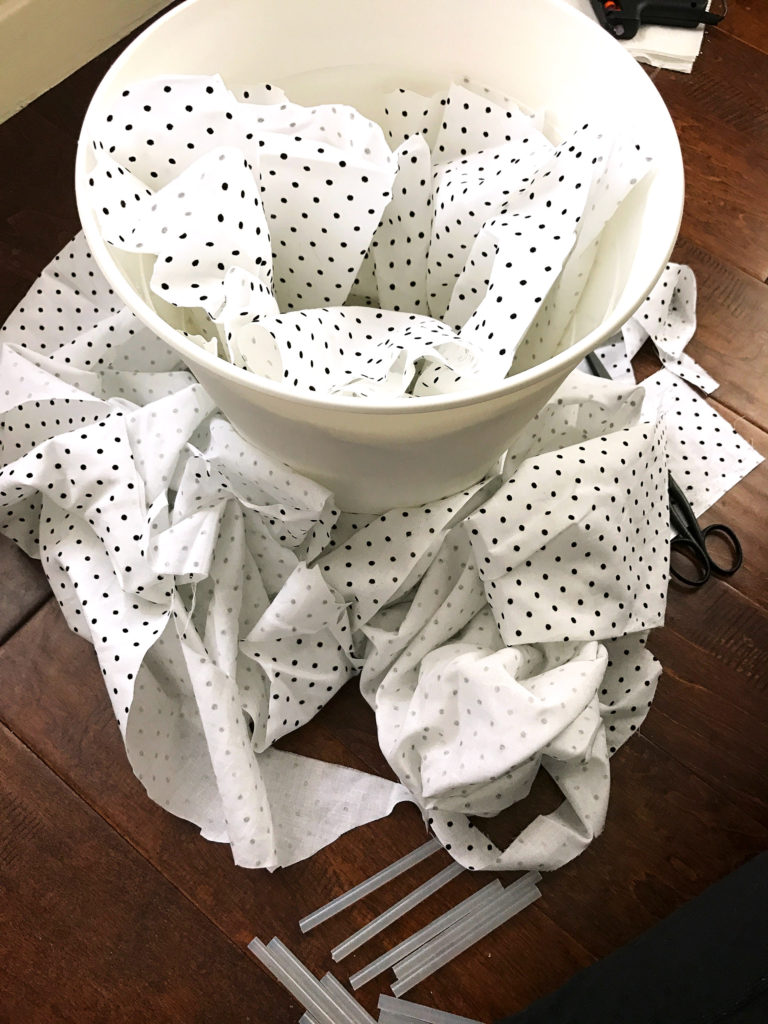
Step Three: Cut off the fabric that’s overlapping the lip of the wastebasket on the outside.
Give yourself about an inch to overlap. Once you’ve cut around the outside, you can begin to hot glue the fabric so it overlaps the lip of the wastebasket by about 1″. I wasn’t bunching my fabric enough when I started gluing, so I ended up with a bunch of fabric spilling out when I reached the end. However, I liked the effect and decided to keep it! The best part about DIY is that sometimes your mistakes can inspire you 🙂
Step Four: Begin gluing the sisal rope, starting at the base.
Once you’ve secured the fabric to the outside lip of the wastebasket, you can start to glue your sisal on. I used all the glue pictured (about 12-13 sticks), so have a lot on hand if you need it. Apply the glue directly to the basket and pressed the sisal into it for ten seconds to dry. Glue about 5″ at a time.
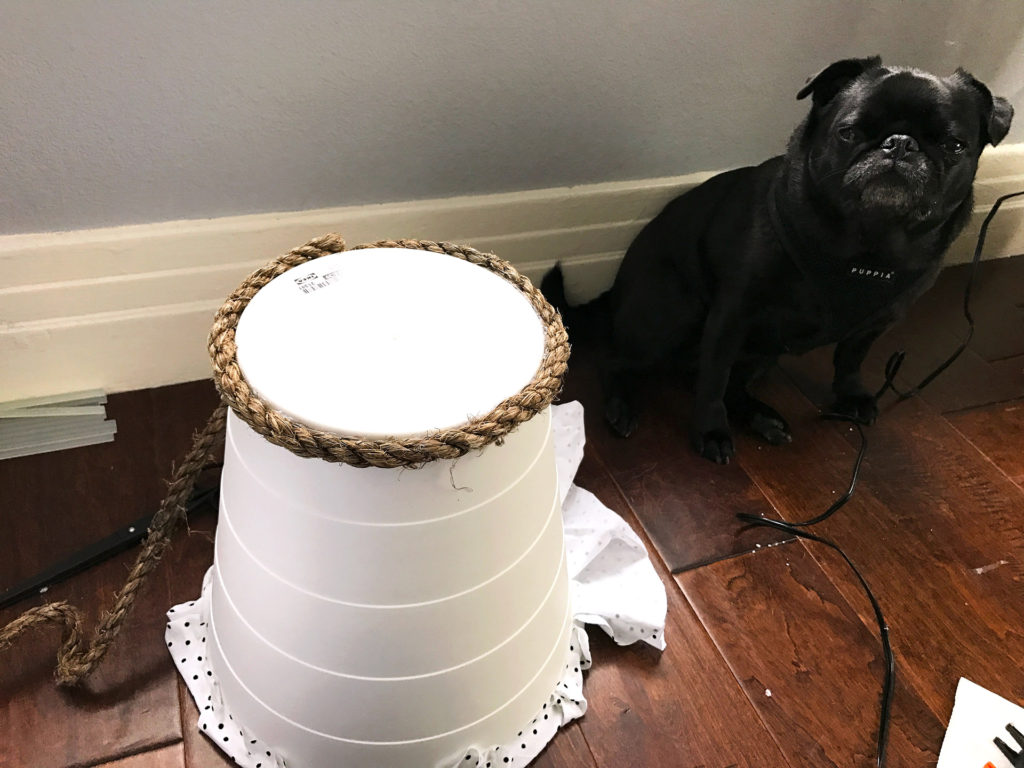
Step Five: Continue
Now you’ll basically continue gluing and wrapping the sisal all the way around until you’re finished. If you want to do a braided effect start it once you reach the second tier/ halfway point. Begin to twist in the thinner sisal. Do this for a few rows. Then, cut the thick sisal rope and continue in a straight line all the way around with the more lightweight sisal. This is the end result and I’m super happy with it. If you’re good at needlepoint or embroidery the excess cloth would be great to add a monogrammed initial or a little heart.
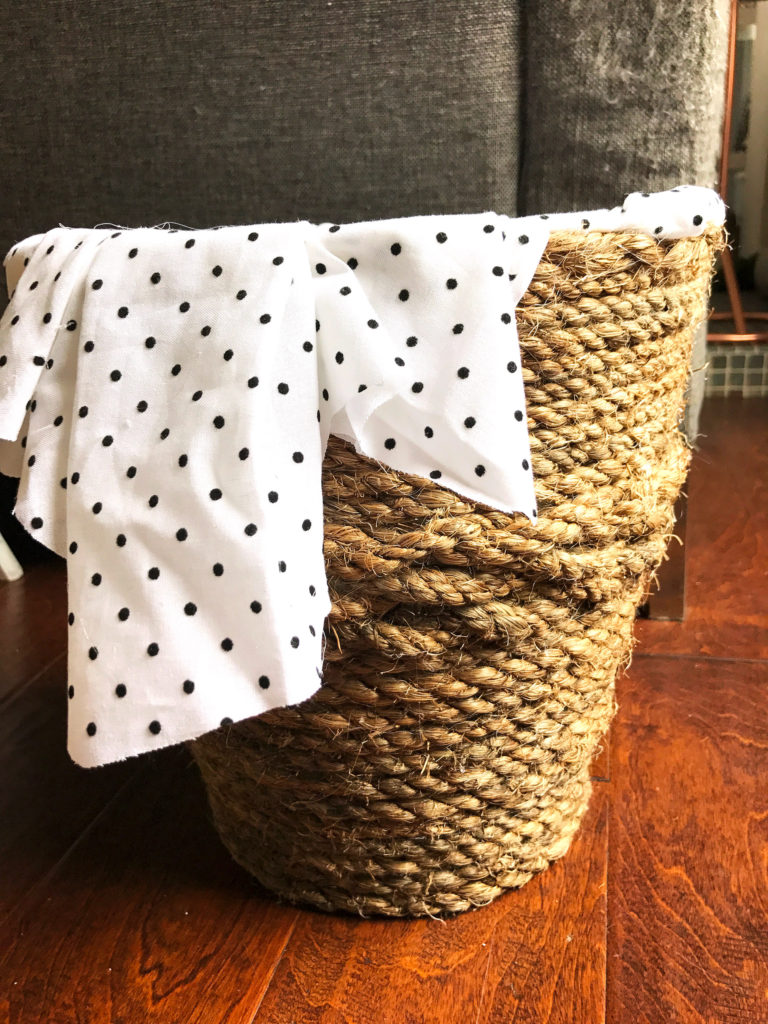
That’s it! I hope you enjoyed this tutorial for a DIY Rope Dog Toy Basket! Let me know in the comments how it turned out and tag me on Instagram in your creations! I’d love to see <3

