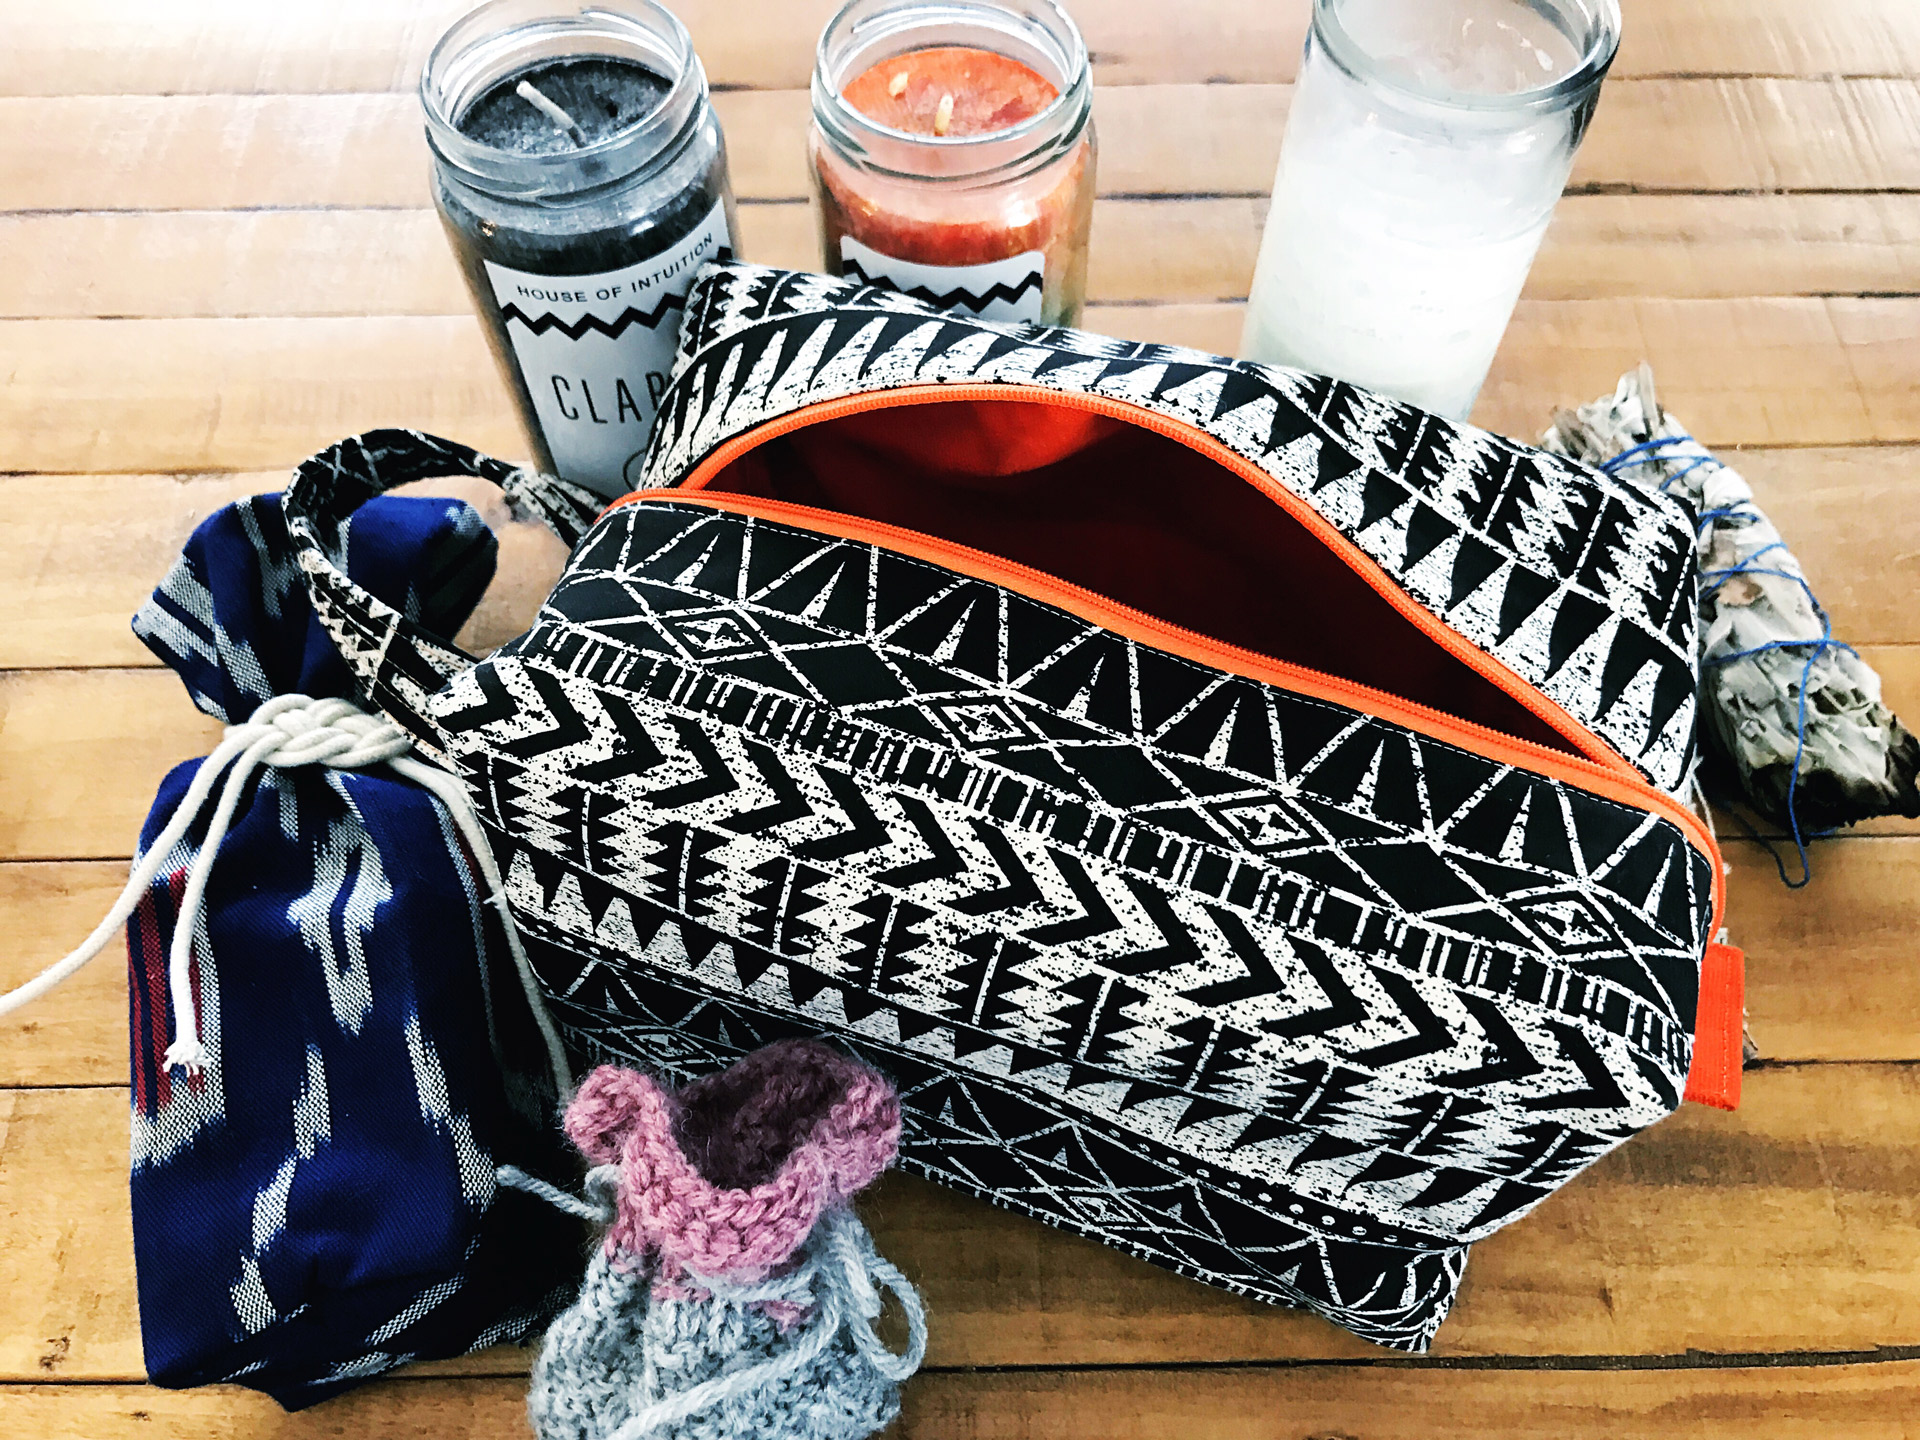
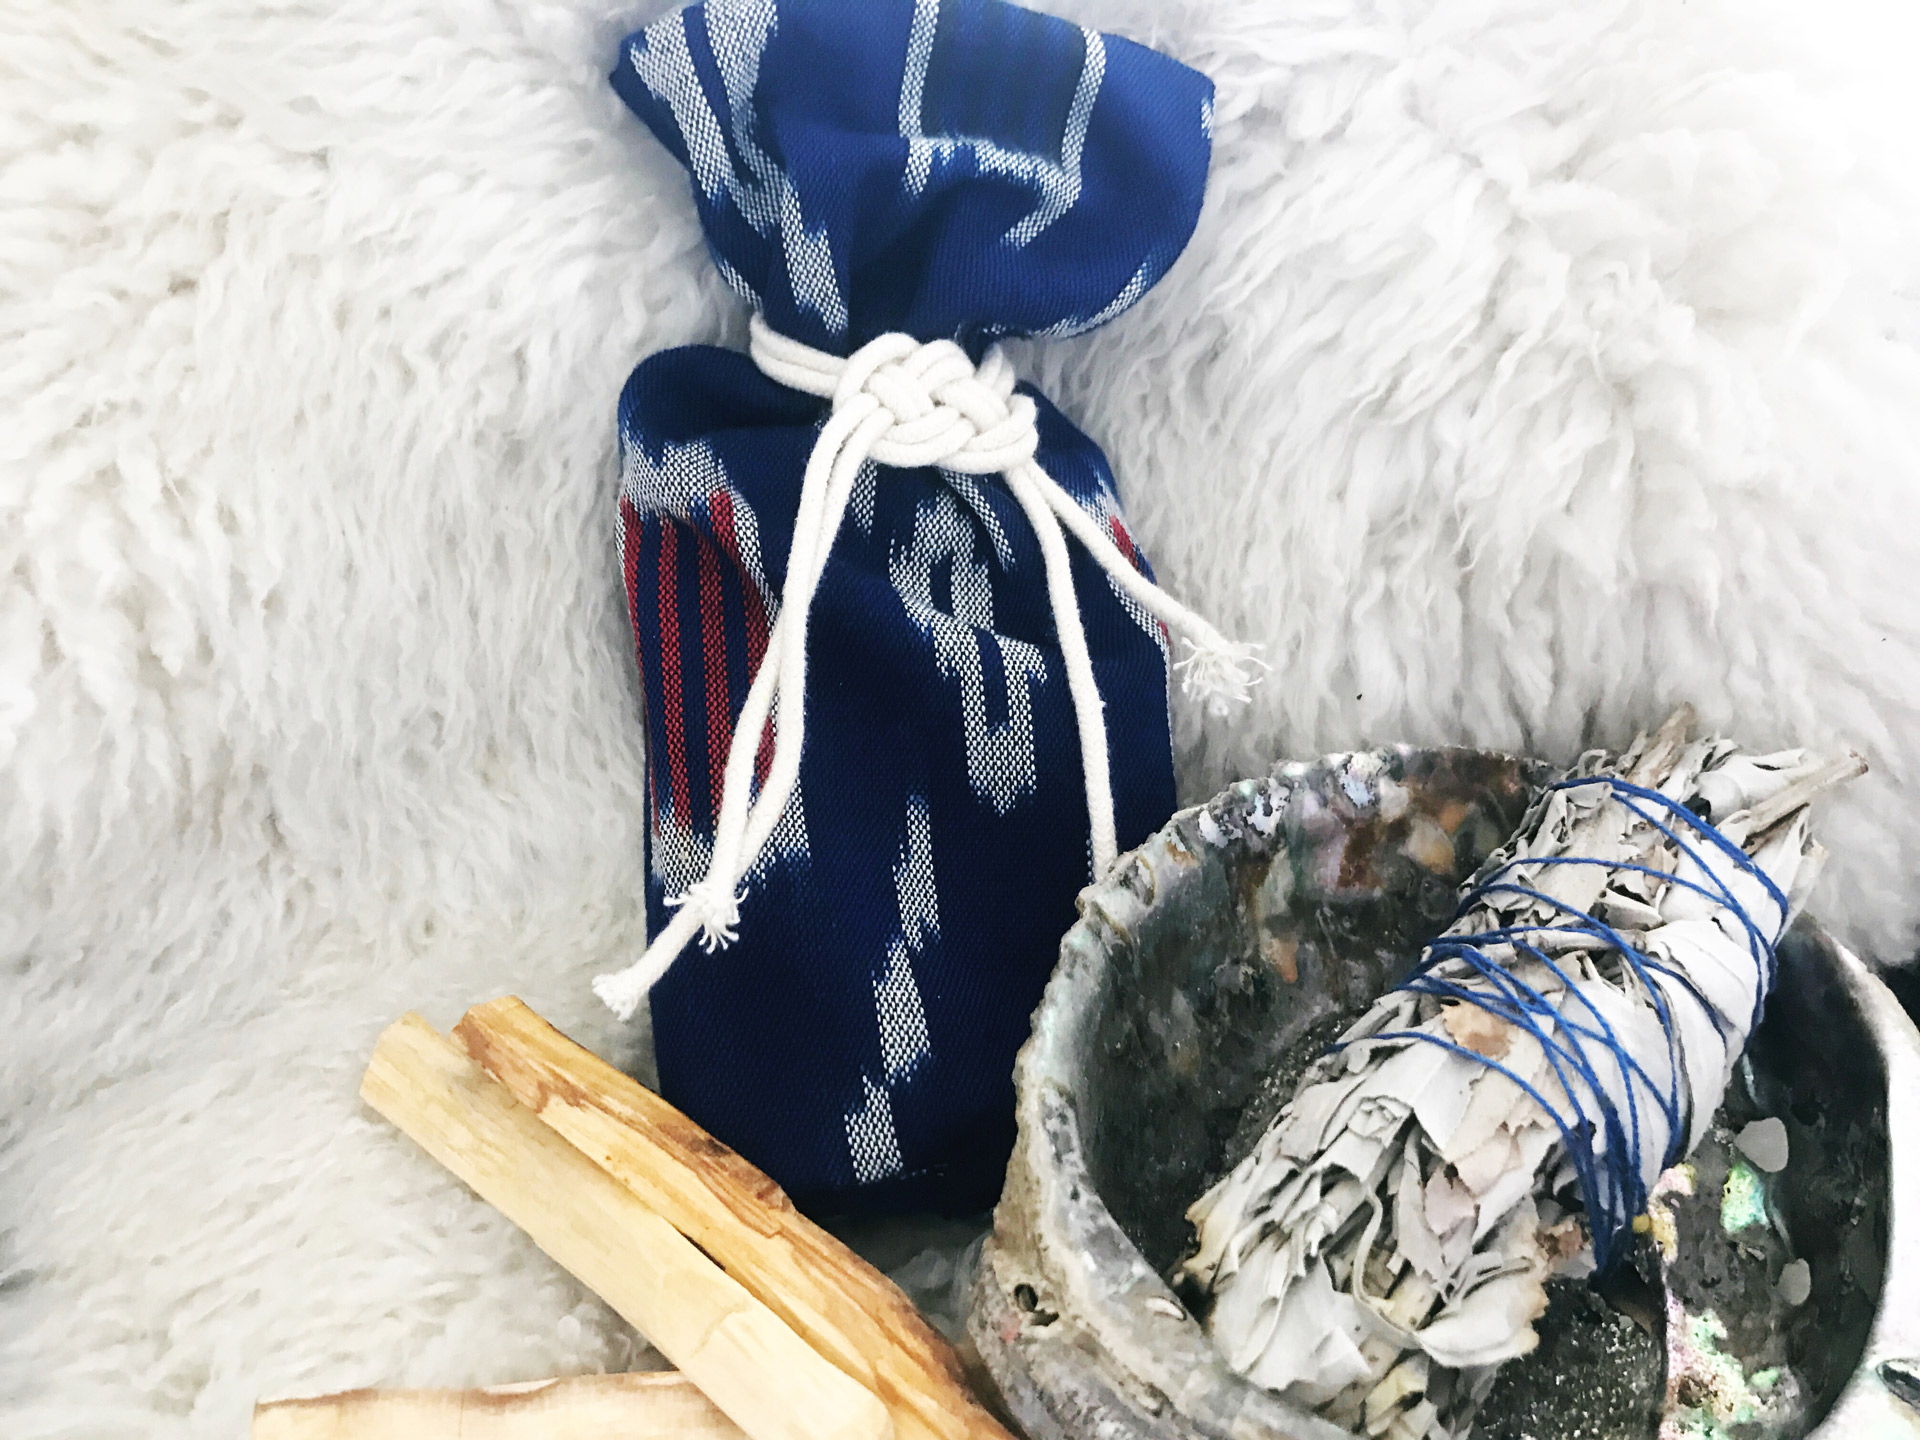
Lately, I’ve been trying to organize my life and efforts across the board. For the first time, I’m buying and using storage bins in my art studio. I’m categorizing notions and accessories and filing them away in their proper place. Part of this may be growing up, or an increased incentive to have a presentable and stress-free work/home environment. At any rate, I’m having a great time creating a place for everything and I’m super proud to bring you our first DIY tutorial! This DIY Go-Bag for the Urban Witch is a perfect weekend project and a great way to organize any magical supplies, sacred personal items, or even a small apothecary.
Sometimes you need to grab your supplies and hit the road in a pinch, whether it be the last minute work trip or a race to a sister in need, the best thing about this Go-Bag is that there are a ton of uses for it. It can serve as a sacred place for your travel altar or as a to-go apothecary/ medicine bag for when you’re on the move. The Go-Bag can even act as a general storage bag for magical items, stones, charms, and cards. The Go-Bag can serve whichever intention you choose. It’s up to you.
You can adjust the size of this bag based on when you intend to keep inside it. Increasing the 23″ measurement would make the bag taller/ deeper. Increasing the 15″ measurement would make the bag longer; you need the zipper to be 1″ longer than whatever your length measurement is.
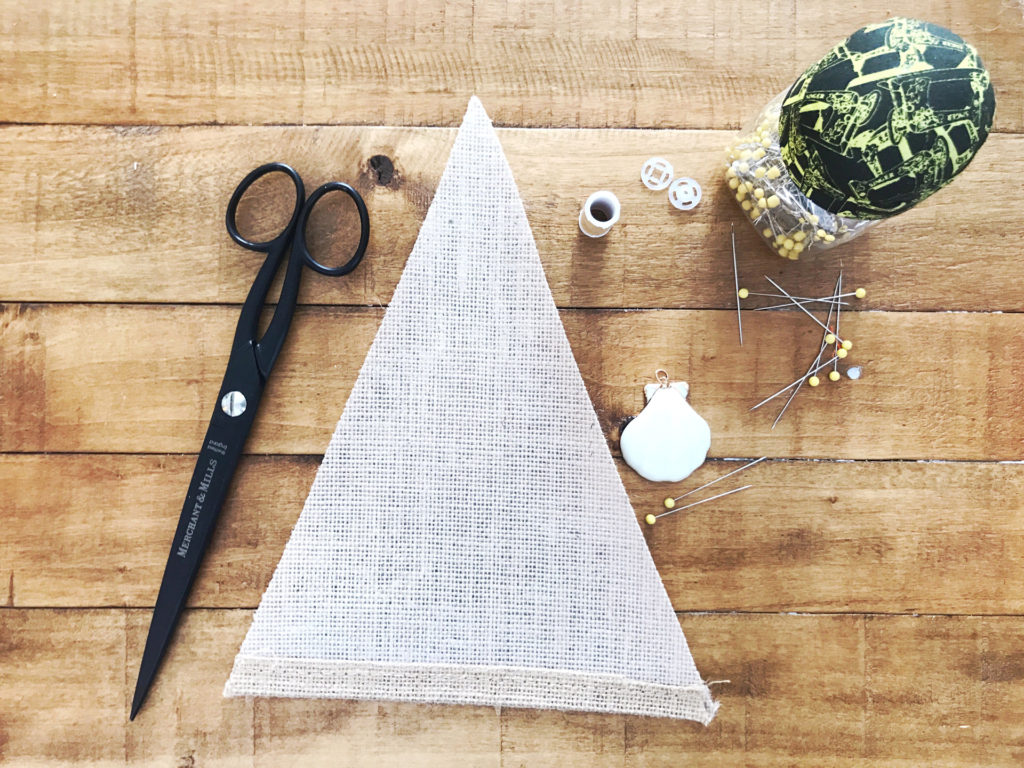
GO-BAG SUPPLIES
- Outer fabric 15″x23″
- Fusible fleece
- Inner fabric
- Handle: 4×9 of exterior fabric and fusible fleece
- Tab: 3×5 of interior fabric
- 16″ zipper
Optional:
- 4 flat bottom feet screws
- 1 round stud fastener
GO-BAG INSTRUCTIONS
Part One:
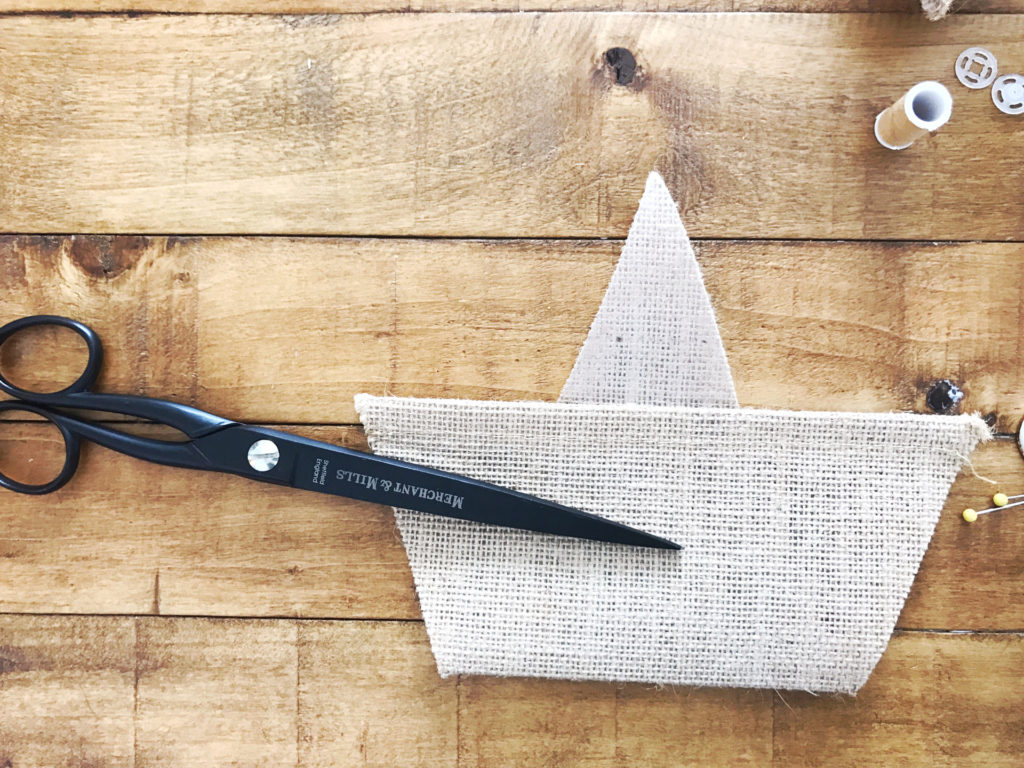
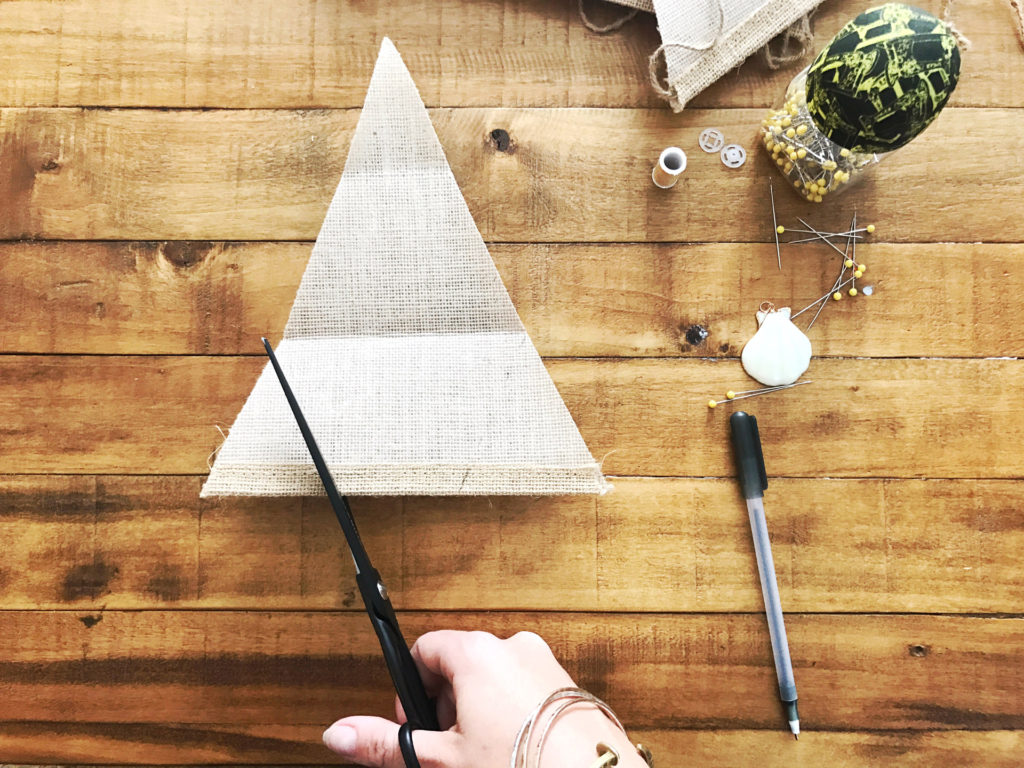
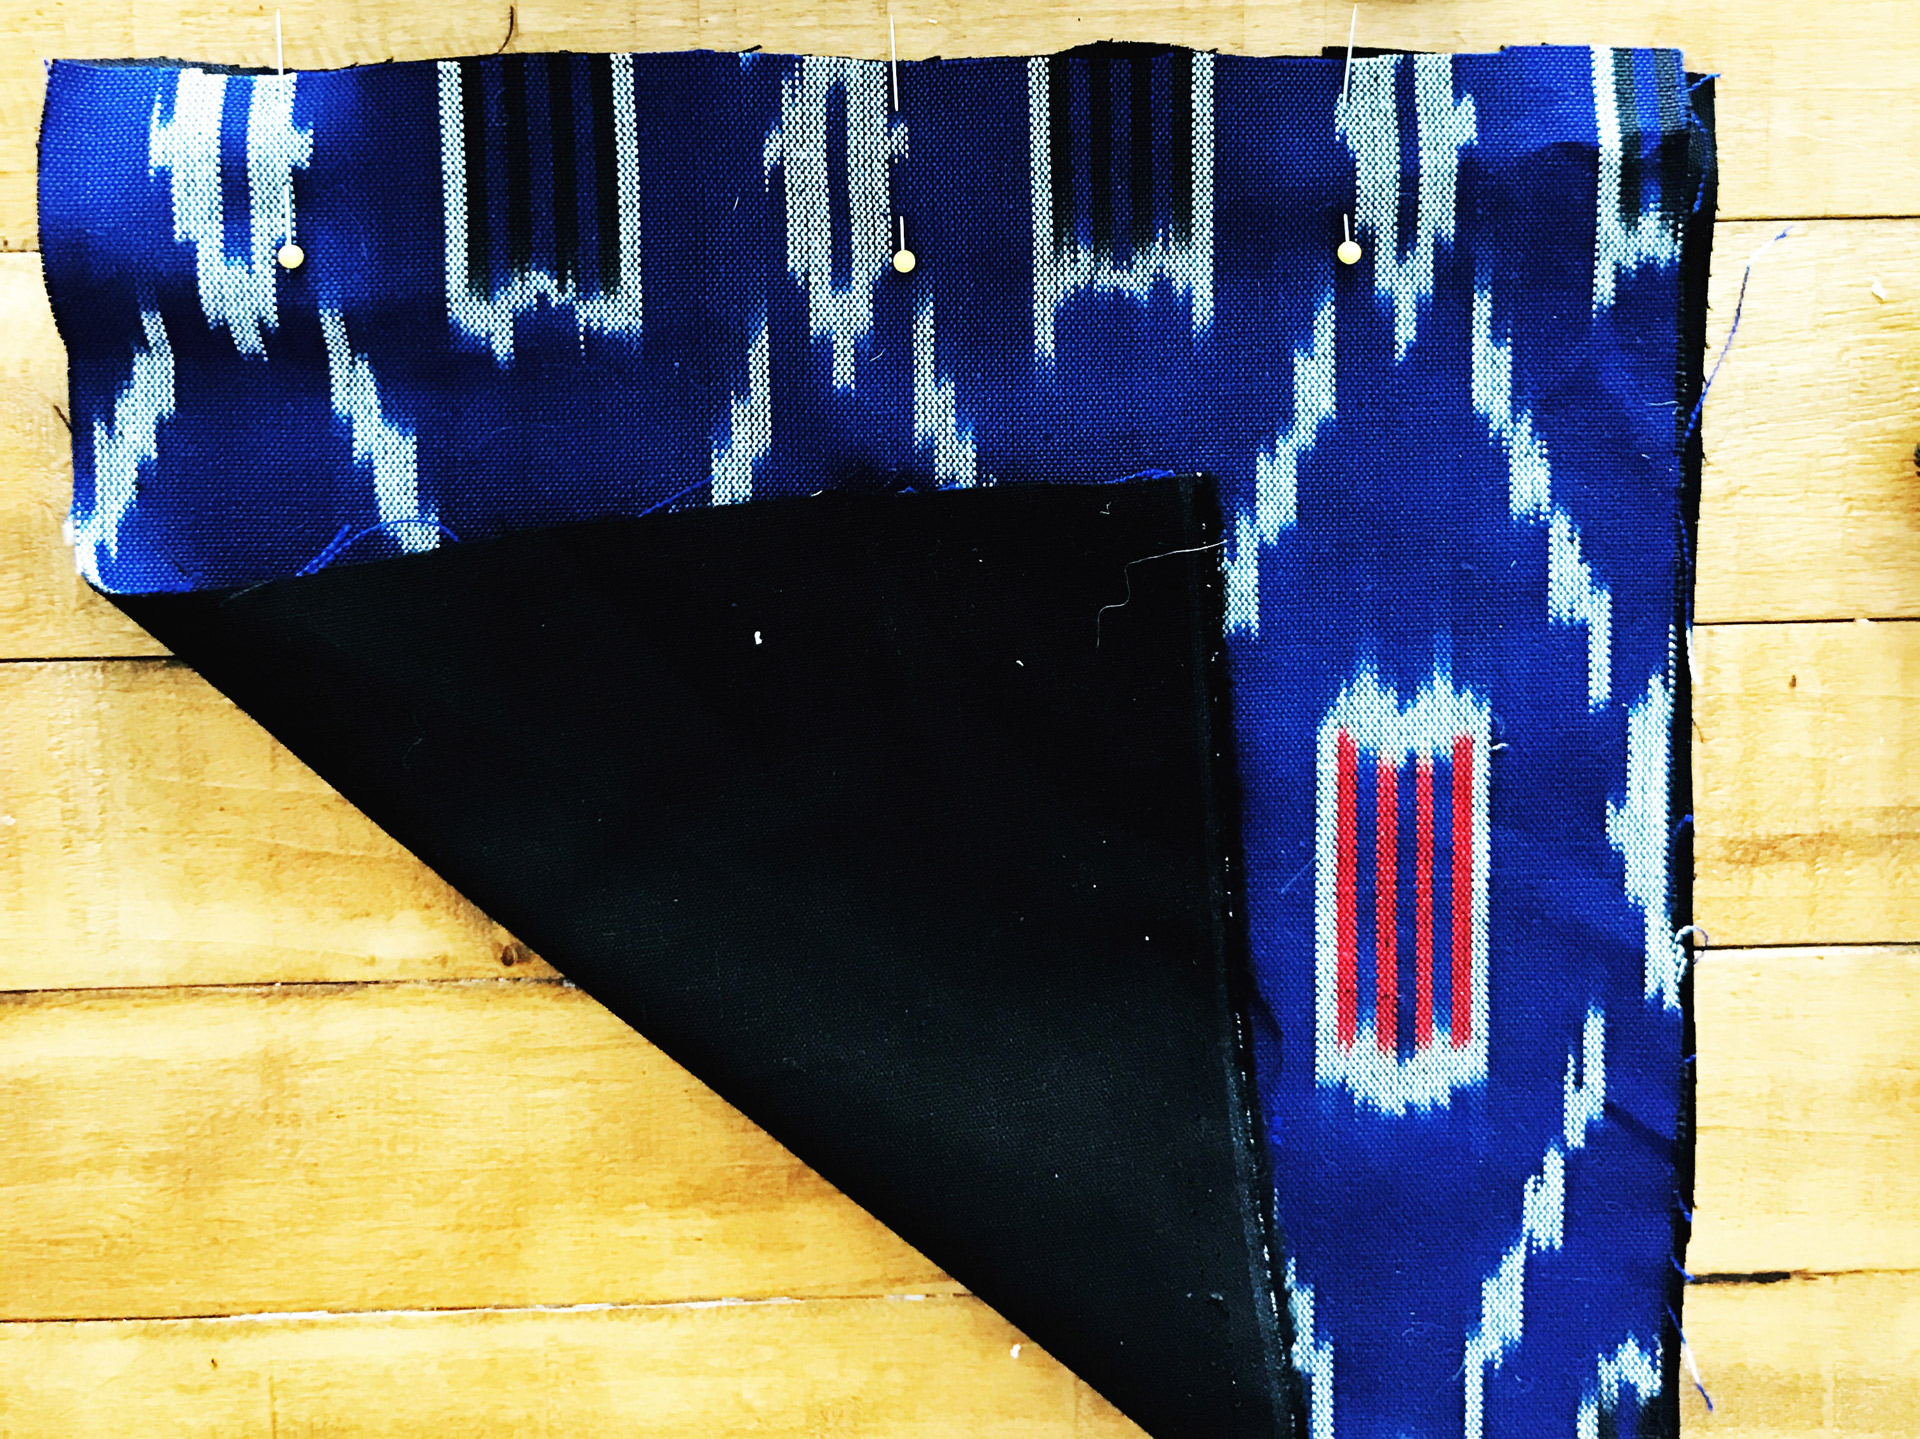
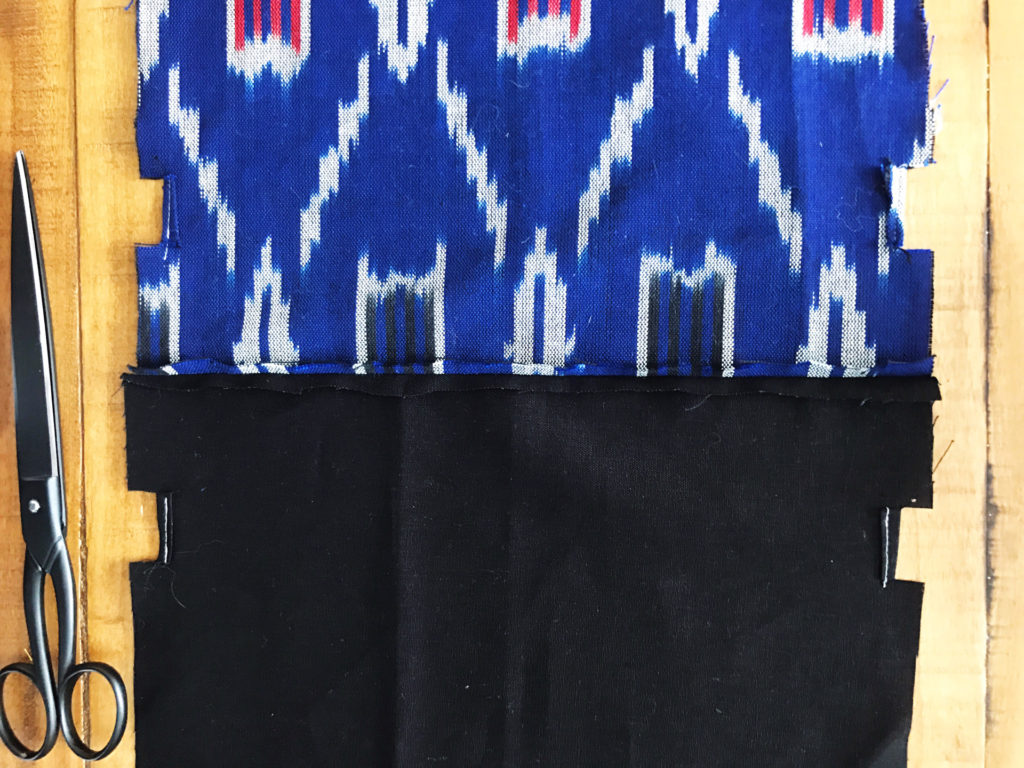
A.) Collect all your supplies with your fabric cut to the correct size: 15″ x 23″ for bag “body” and fusible fleece and 4″ x 9″ of exterior fabric and fusible fleece for the handle. Fuse your fleece (also 15″ x 23″) to the wrong side of your handle and exterior fabric.
B.) Fuse your fleece (also 15″ x 23″) to the wrong side of your handle and exterior fabric. Now the wrong side of your handle and exterior fabric will be the fleece.
C.) Place your lining (interior fabric) right side up. Right side up means the side that will be exposed when finished is facing up.
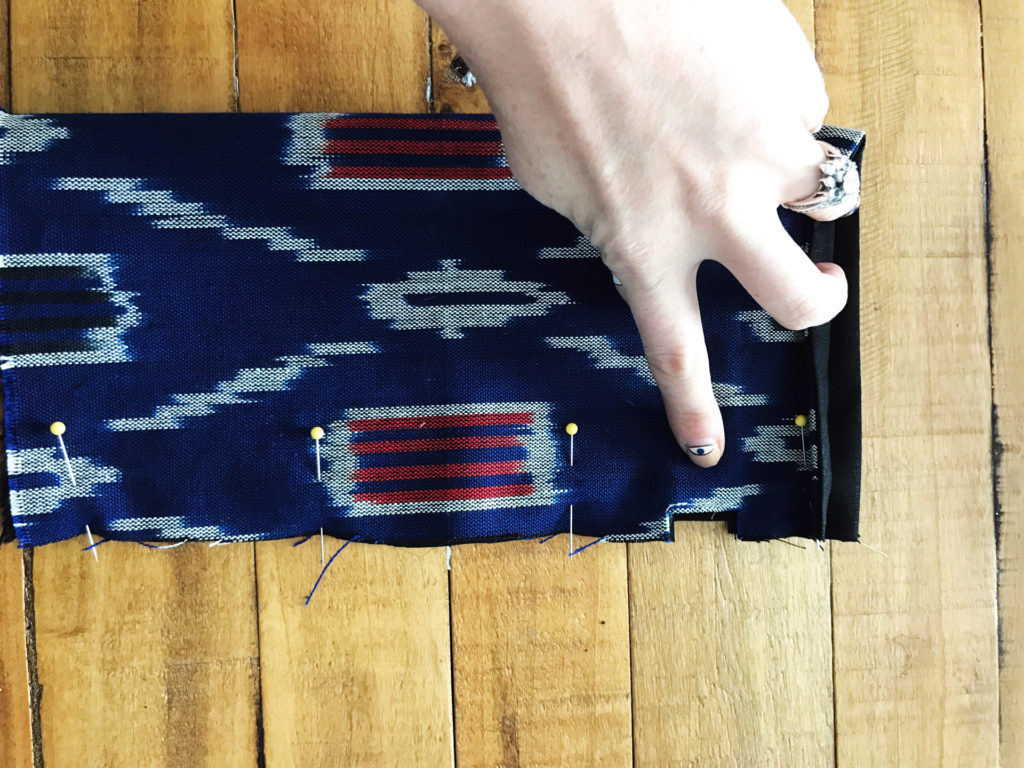
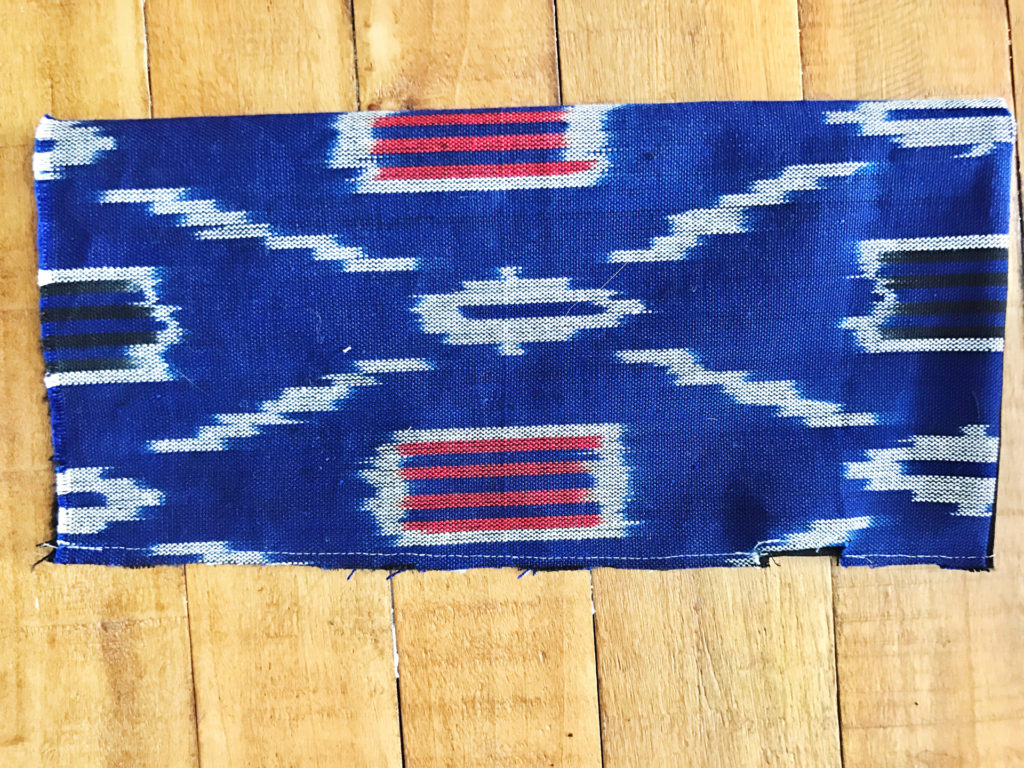
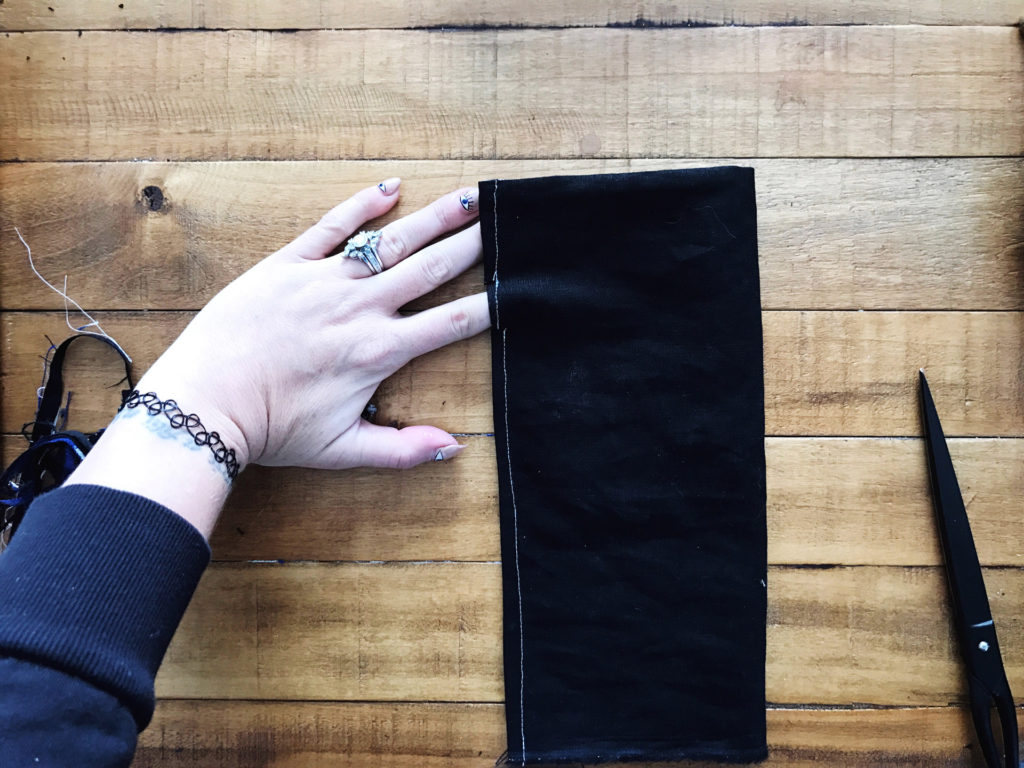
D.) Open your zipper and line it up with the 15″ edge of your lining fabric and place it on top with the other zipper half hanging down. The pull of your zipper will be facing you. The zipper aligned as pictured, with stops 1/2″ away from the left side of the fabric. Align the exterior fabric face down/ wrong side up on top and pin for sewing. Sew your zipper with 1/4 seam allowance.

Part Two:
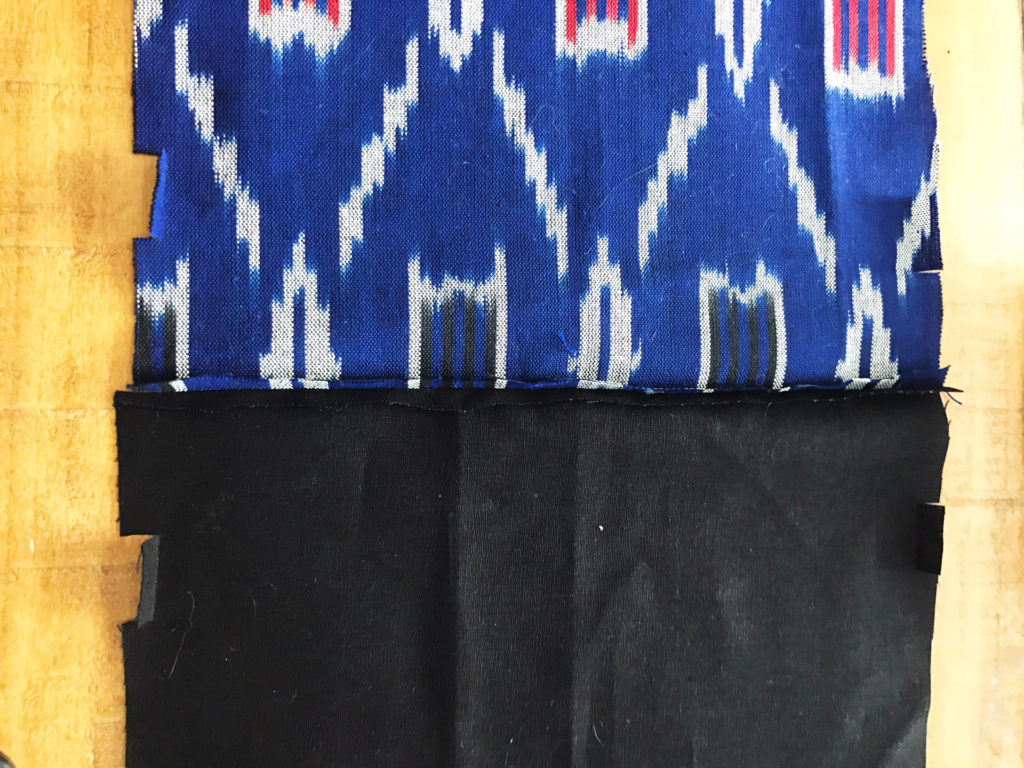
E.) Keep your zipper open and flip the bottom raw edge of your top (exterior fabric) up so that it’s right sides are together and the bottom raw edge is now up with the zipper.
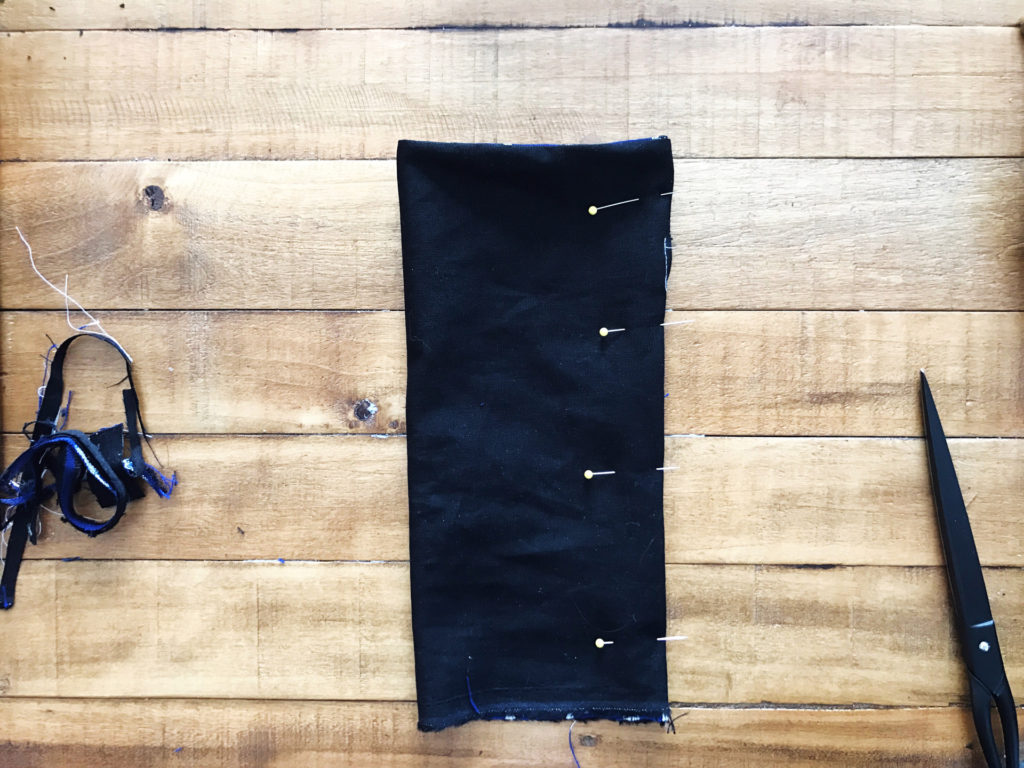
F.) Fold the outer fabric the same way to its right sides are together and its raw edge is aligned with the raw edge of the interior fabric. See in the photo below how each fabric is folded onto itself? Line up the zipper as before, this time with the zipper pull on the left.

G.) Pin as shown below and sew with a 1/4″ seam allowance.

Part Three:
H.) Turn the bag inside itself, so it appears as normal from the outside, with the interior fabric inside and exterior fabric outside.
I.) Top stitch your zipper on each side, going through both the exterior and lining, but not sewing it shut. You’ll have your zipper open to do this; it should end up looking top-stitched like pictured.

Part Four:
J.) Now place your bag flat, zipped up, with the zipper down the center and pin through all fabrics as shown.

Part Five:
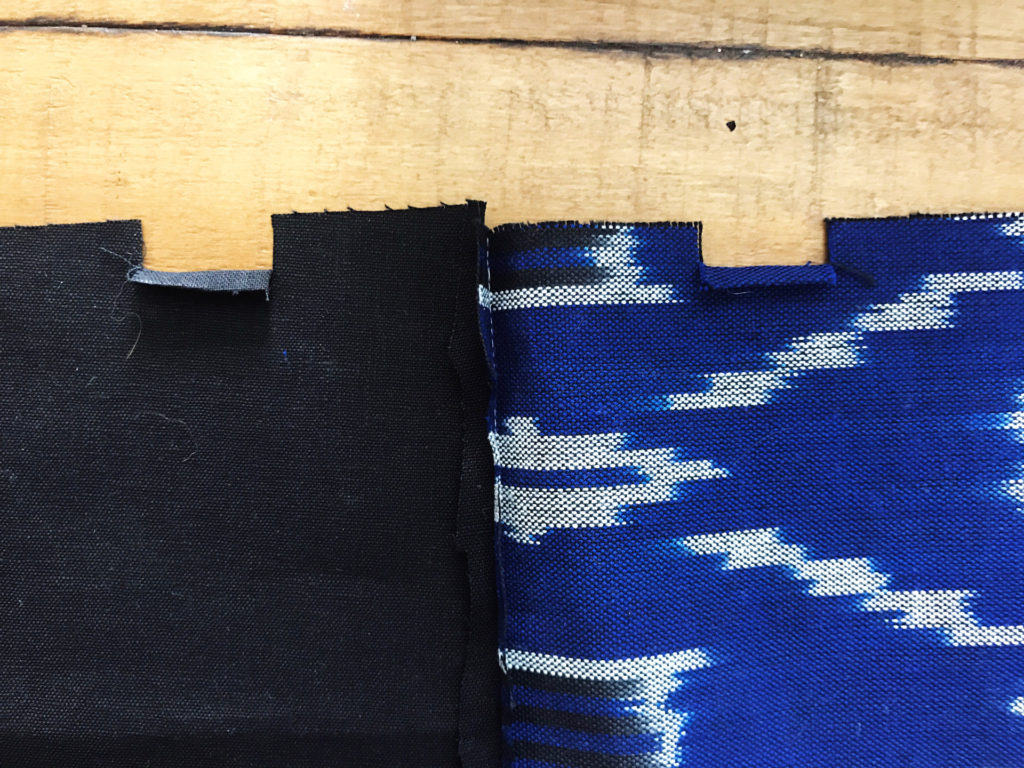
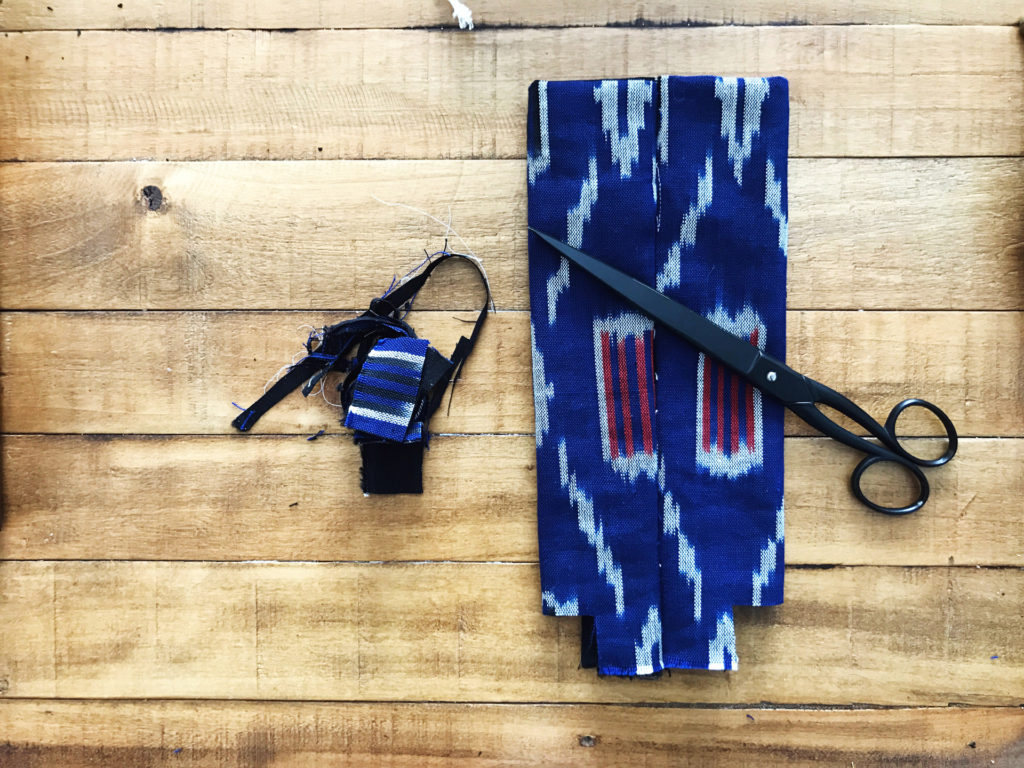
K.) With your bag pinned, cut a 2 1/4″ L x 2″ H square at each corner.

Part Six:
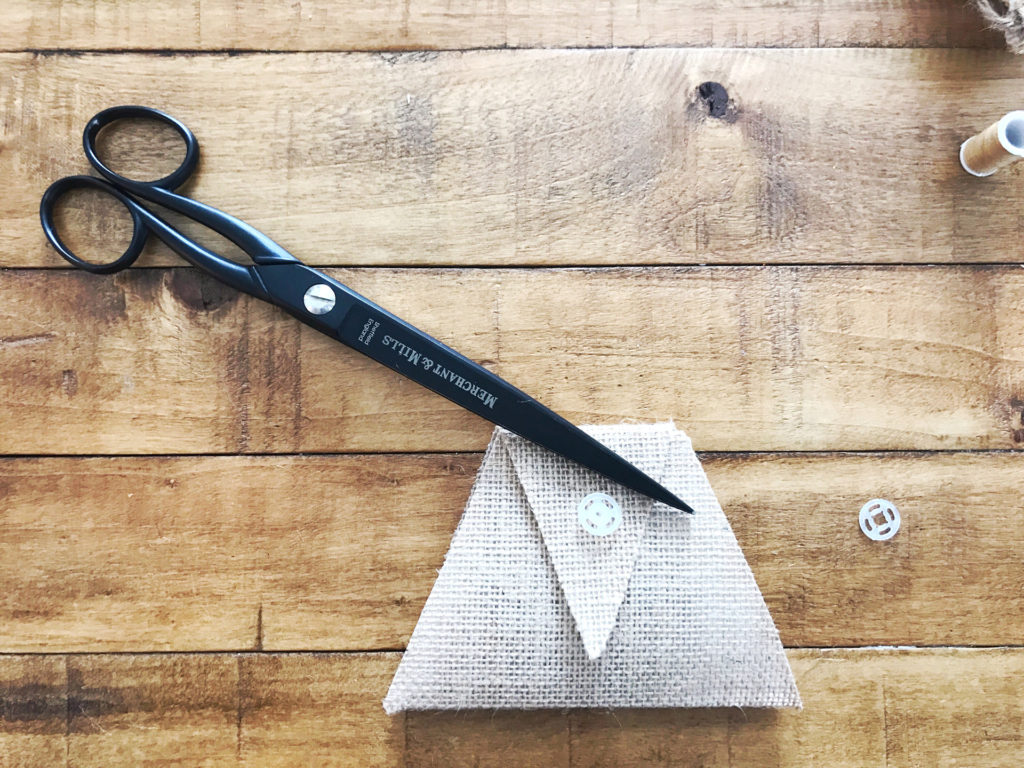
L.) Make your tab:
For the tab, fold each long edge to meet in the center and press.

Then fold it in half width-wise, so the raw edges meet and press again.

If you’re adding a metal tab, add it now.

Top stitch the non-raw edges of the tab.

Part Seven:
P.) Make Your handle:
For the handle, make sure you fused the fleece in Step One. You’ll do three folds. I find it helpful to press after each. Fold the long raw edges lengthwise to meet in the middle.

Then fold it once more in half, so your only raw edges are the 1″ ends and topstitch.

Part Eight:
Q.) Attach the tab and handle by first turning your interior and exterior fabric, so the wrong sides are out/ right sides together. Make sure all layers are aligned and unzip the zipper a few inches.

R.) Pin your handle on the end with the zipper pull as shown. Sew the aligned and pinned edge with a 1/2″ seam (or whatever your bag/ zipper allows if you resized or made mistakes it’s okay).

S.) Pin your tab upside down and “finished” end-inside in the same manner and sew the aligned edge.


T.) Turn your bag right side out through one of the square openings that are left unfinished.

Part Nine:
Now we’ll do a French seam on the square edges. A French seam is where you first sew a raw edge; then you sew over the seam from the interior to “trap” the raw edge completely. Here’s a link for french seams if it’s confusing.
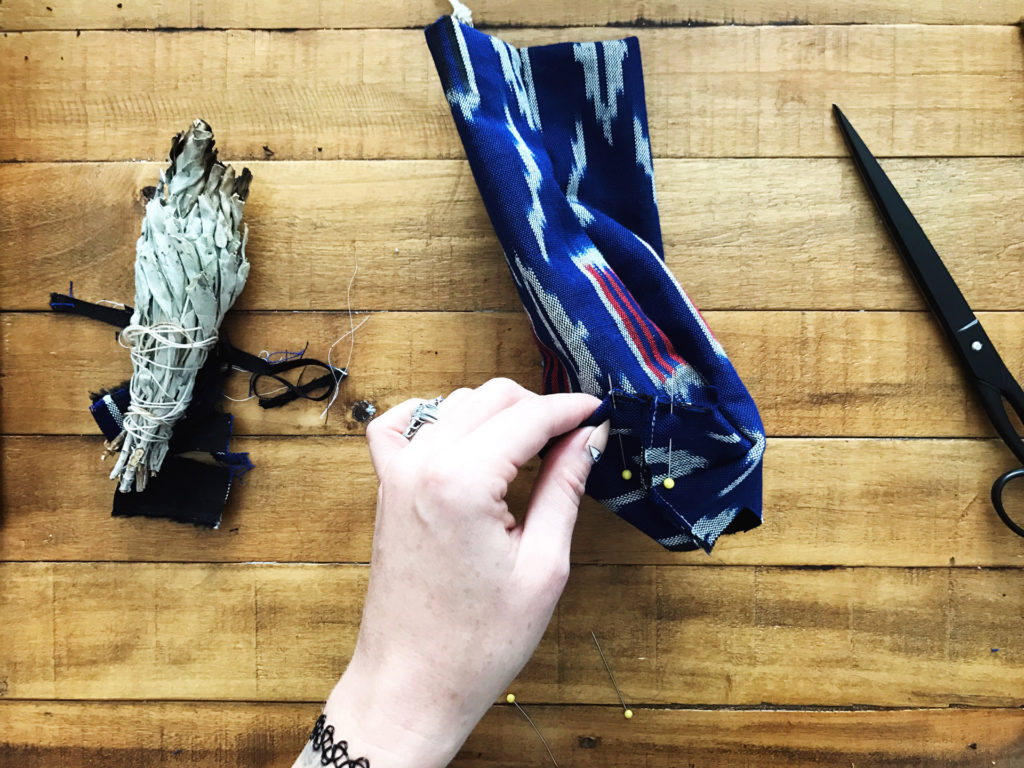
U.) You’ll first want to reopen your square edge to create a box seam, this is accomplished by sewing from corner to corner, as shown. Pin each corner and sew.

V.) Trim the excess down. If you made mistakes or had rough cuts, you have had to increase seam allowance. Trim, so you only have about 1/4″ of a raw edge.

W.) Turn bag inside out. Push out your new square bottom/ corners. Use your pins to mark the seam allowance needed to trap the outer seam. Sew to complete.

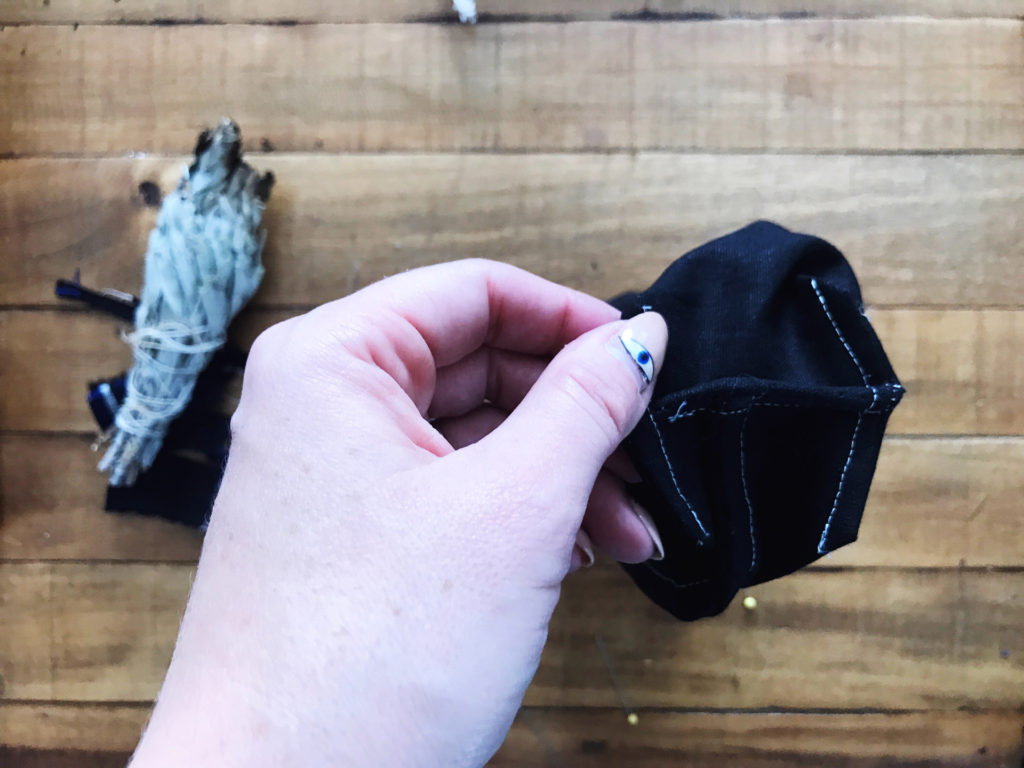
X.) Your interior will look like this. Add your bag feet now if you wish, using a seam ripper to poke holes first where they will go through to the exterior.

Your completed go-bag will look like this:

Each Go-Bag will hold three or four 7 day candles, three large bundles of sage, one tarot deck, and other items as needed (crystals, pendulums, poppet, sachets, charms, travel altars, etc..) Check back here for more DIY’s and ideas for living creatively mindful.
*This post first appeared on I AM A HEALER.