
This DIY Ritual Bath Bomb is ideal for a ritual soak/ cleanse. With the New Moon today, I thought I’d share this recipe to aide you in any intention setting and spellwork you might do. It’s a New Moon in Pisces/ Solar Eclipse and it’s a perfect time to set intentions rooted in emotion and honesty to oneself. Furthermore, you can take advantage of the new moon’s energy for a couple of days afterward, so please do! You’re not too late.
I recommend charging some amethyst or citrine under the new moon tonight for use in your future DIY Ritual Bath Bomb. You can use the charged stones as part of your rituals throughout the month. Oftentimes I strategize what color, essential oil, and crystal are best suited to my intention before making a bath bomb that reflects those things.
When I first attempted to make my own DIY Ritual Bath Bomb I was filled with such feelings of grandiose, it’s embarrassing. Like all of us, I’ve seen at least a dozen tutorials for bath bombs over the years. I figured they were missing something, though. As a witch and budding herbalist, I had a ton of ideas for bringing more intention and herbal remedy to the notion of a bath bomb.
I want to be 100% real with you here, I was certain that I was on the cusp of starting my DIY Ritual Bath Bomb empire—before I’d even tried to make a single bath bomb. The problem was in the execution.
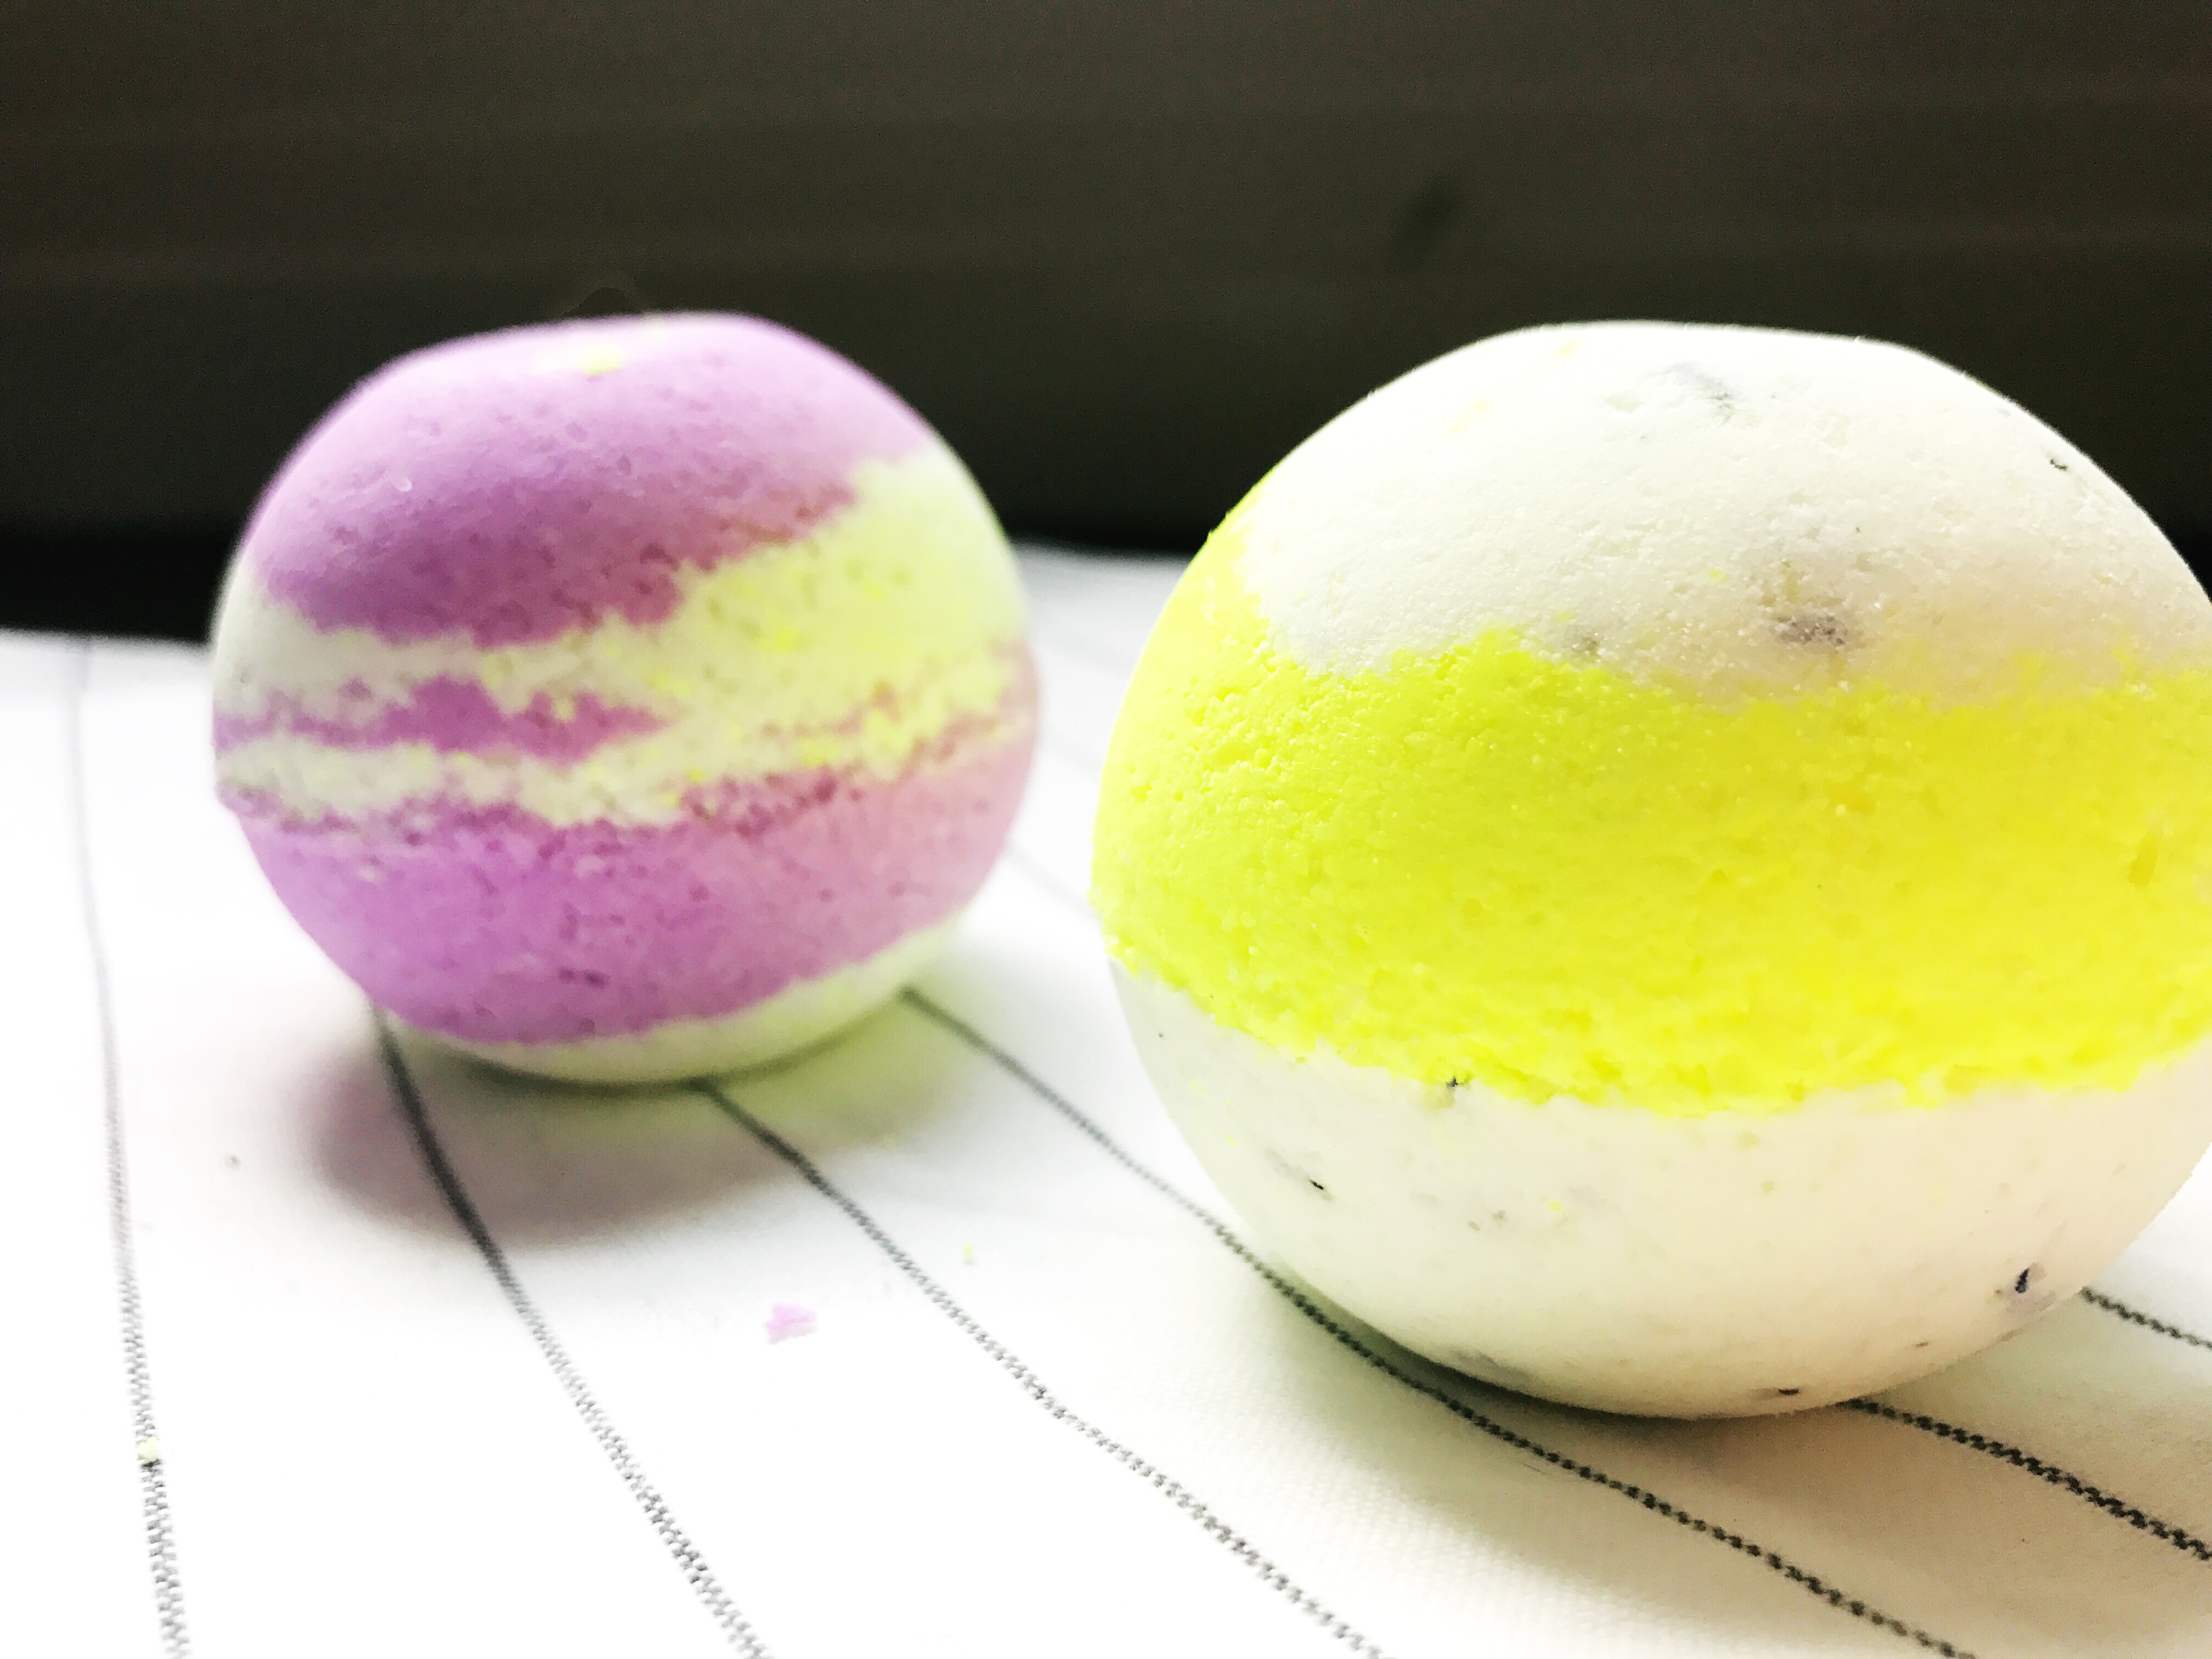
I think I used a recipe that had too much moisture, which resulted in my bath bombs drying up and cracking and generally crumbling apart. I was pretty devastated. In the end, I used a recipe that makes smaller batches (2 large mold or 4 small molds) bath bombs. I’m so happy with the result! This is a perfect device to help you clear yourself of negative energies and to activate your intentions, inviting the things that you want into your life. Enjoy!
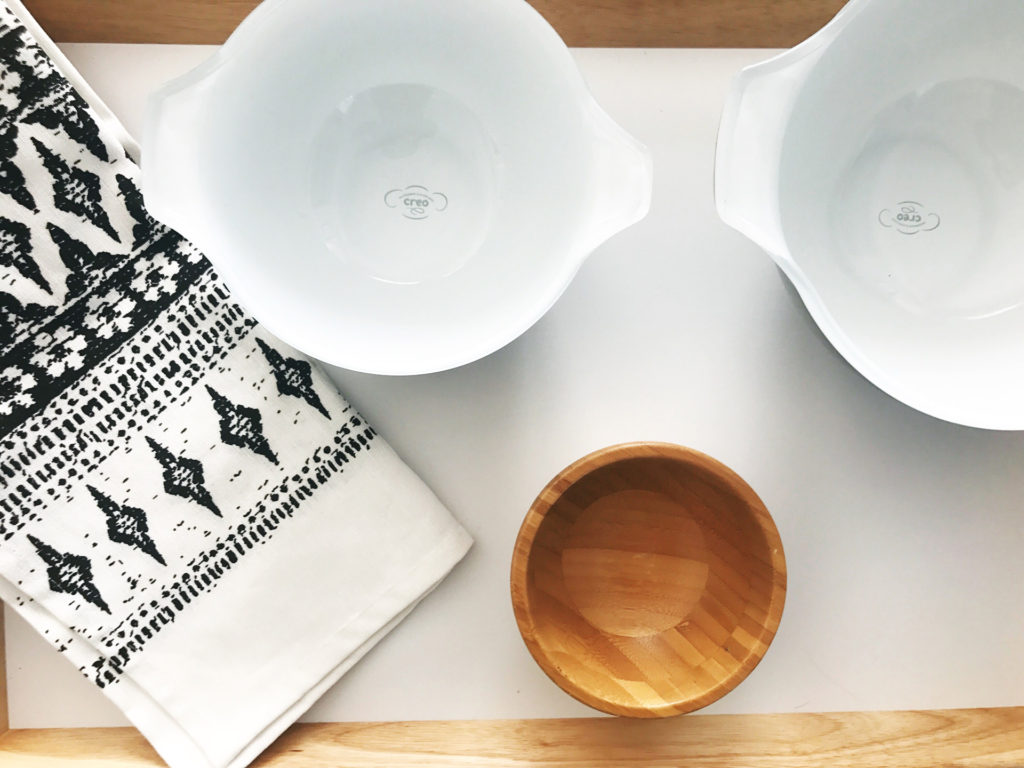
You’ll need round metal bath bomb molds, mixing bowl(s), a whisk, and a foil wrapped cookie sheet for drying.
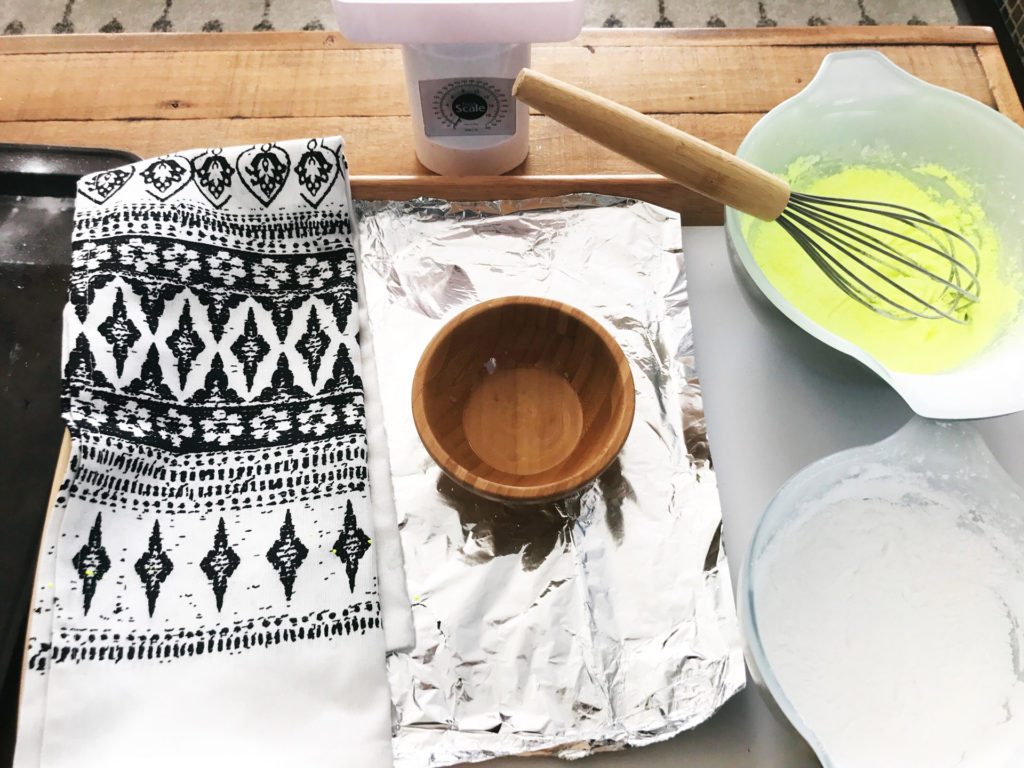
Start by mixing all of your dry ingredients in a bowl. If you’re using dry herbs, you can mix those in with your dry ingredients or create pockets later. If you’re using powder color pigment, that counts as dry. However, if you’re using food coloring, that will go with your wet ingredients. Use your whisk to combine all the ingredients until it’s pretty uniform
Mix your wet ingredients in a separate bowl. That’s your essential oil, almond/ coconut oil, water, and optional food coloring. Use a spoon to slowly add drops of your wet ingredients to your dry ingredients. Whisk as you do this to combine them. If it starts to fizz a lot, slow down.

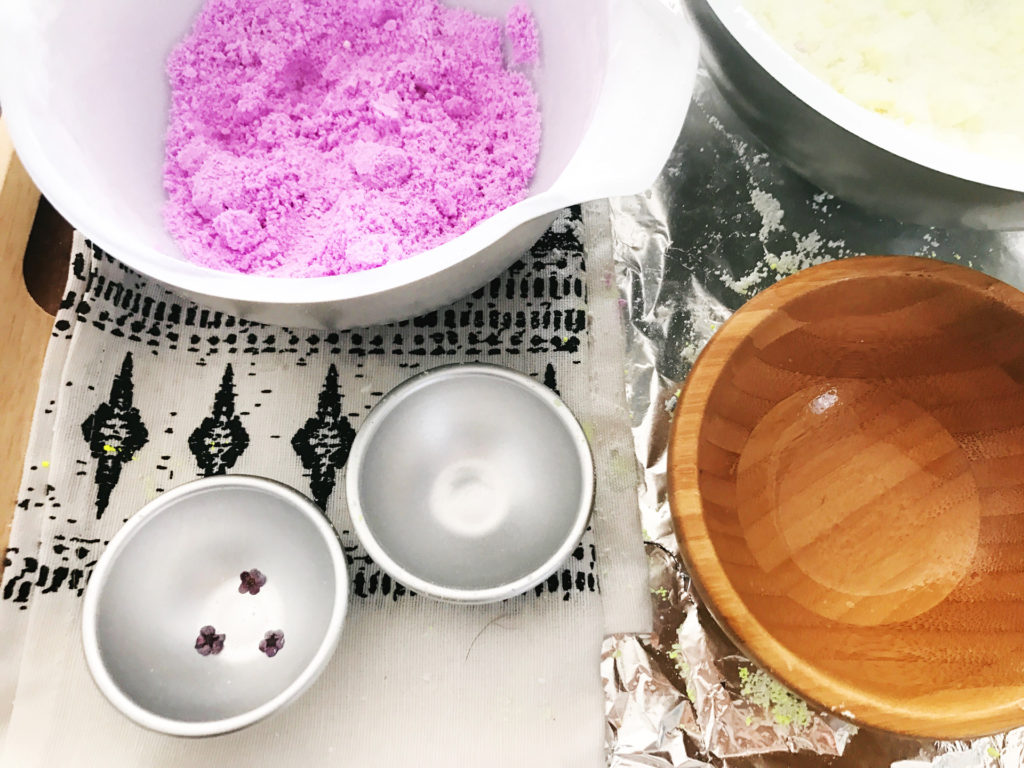
Once all your ingredients are combined you add any flower petals or herbs you’re using. Then you can begin to make the molds.

Press a handful of your mix into a mold until it’s flush with the top and smooth. Smooth around the sides of the rim to eliminate a rim from the final product. Each half should be just a tiny bit heaping.
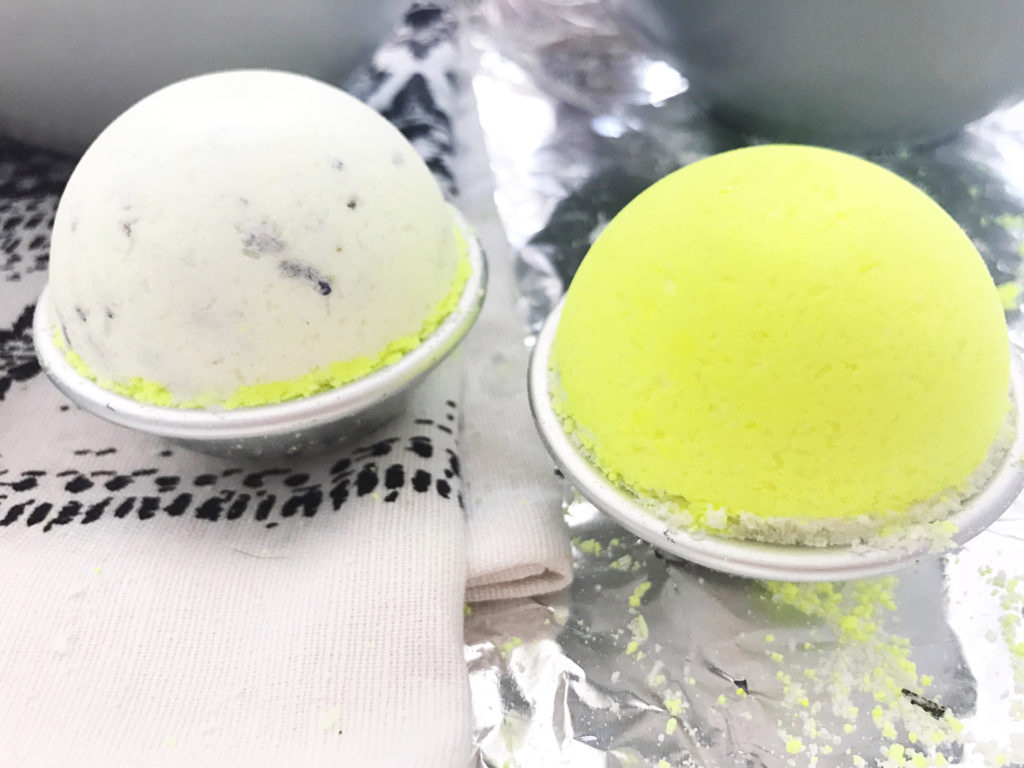
Press each half together firmly. Flip so that one-half is sitting on top of the other. Carefully take the mold off the top half and set the bottom half down so the ball can begin to dry. That should take 15 minutes or so. After the DIY Ritual Bath Bomb has been drying a little bit, carefully flip it over so the exposed half of the bath bomb is down and carefully take the other half of the mold off.
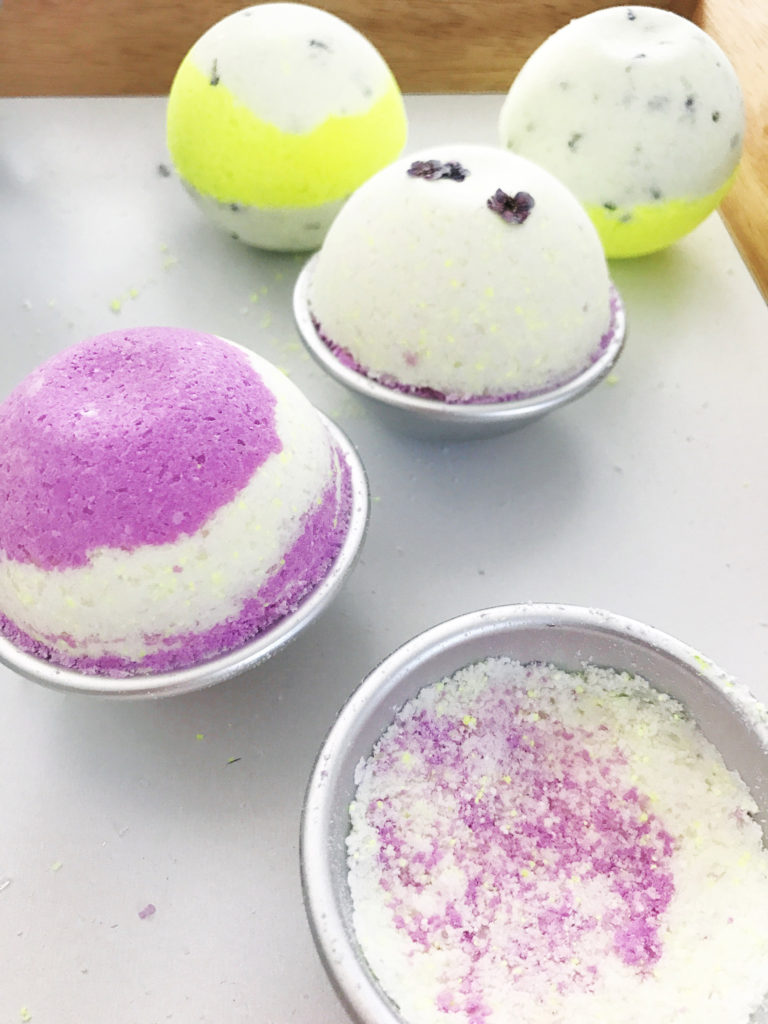
Allow the totally exposed bath bombs to dry overnight for at least 8 hours before using or wrapping them.
Enjoy this DIY Ritual Bath Bomb recipe!
DIY Ritual Bath Bomb
Print RecipeIngredients
- 4 oz. of baking soda/ sodium bicarbonate
- 2 oz. of citric acid
- 2 oz. of corn starch
- 2 oz. of sea salts or Epsom salts (sea salt is more mineral rich while Epsom salt is just magnesium. Both will aide aches and pains, sea salt is better for clearing negative energy as you would before a ritual)
- 1-1.5 tsp. of water
- 1 tsp. essential oil (10-15 drops)
- 1 1/4 tsp almond/ coconut carrier oil
- Molds or cookie cutter shapes
- Optional: Color pigment or food coloring and dried herbs
Instructions
You'll need round metal bath bomb molds, mixing bowl(s), a whisk, and a foil wrapped cookie sheet for drying
Start by mixing all of your dry ingredients in a bowl. If you're using dry herbs, you can mix those in with your dry ingredients or create pockets later. If you're using powder color pigment, that counts as dry. If you're using food coloring, that will go with your wet ingredients. Use your whisk to combine all the ingredients until it's pretty uniform
Mix your wet ingredients in a separate bowl. That's your essential oil, almond/ coconut oil, water, and optional food coloring.
Use a spoon to slowly add drops of your wet ingredients to your dry ingredients as you whisk to combine them. If it starts to fizz a lot, slow down.
Once all your ingredients are combined you can begin to make the molds. Press a handful of your mix into a mold until it's flush with the top and smooth. Smooth around the sides of the rim to eliminate a rim from the final product. Each half should be just a tiny bit heaping.
Press each half together firmly. Flip so that one-half is sitting on top of the other. Carefully take the mold off the top half and set the bottom half down so the entire ball can begin to dry a bit (15 minutes or so). After the DIY Ritual Bath Bomb has been drying a little bit, carefully flip it over so the exposed half of the bath bomb is down and carefully take the other half of the mold off.
Allow the totally exposed bath bombs to dry overnight for at least 8 hours before placing them into a bath, cellophane, or packaging/ wrap.