Browsing Tag

recycle

DIY

Coconut Lime Cardamom Lip and Body Scrub DIY

Lip and Body Scrub DIY

I’ve wanted to do a tutorial on a lip scrub for a while. It wasn’t until around five years ago that I realized lip scrubs existed. I suffer from bizarrely chapped lips, even products that are meant to moisturize can turn my lips peeling and puckered. For that reason, I don’t use lipstick too much because it just ends up looking like shit within an hour or two. Because of my bad luck in beauty, I’ve been diligent over the past couple of years about finding beauty products and solutions that work for my skin, budget, and lifestyle. This lip and body scrub DIY will demonstrate to you the basics of creating a delicious, fragrant, and natural beauty product for your friends and family.

Lip and Body Scrub DIY

Lip and Body Scrub DIY

Lip and Body Scrub DIY

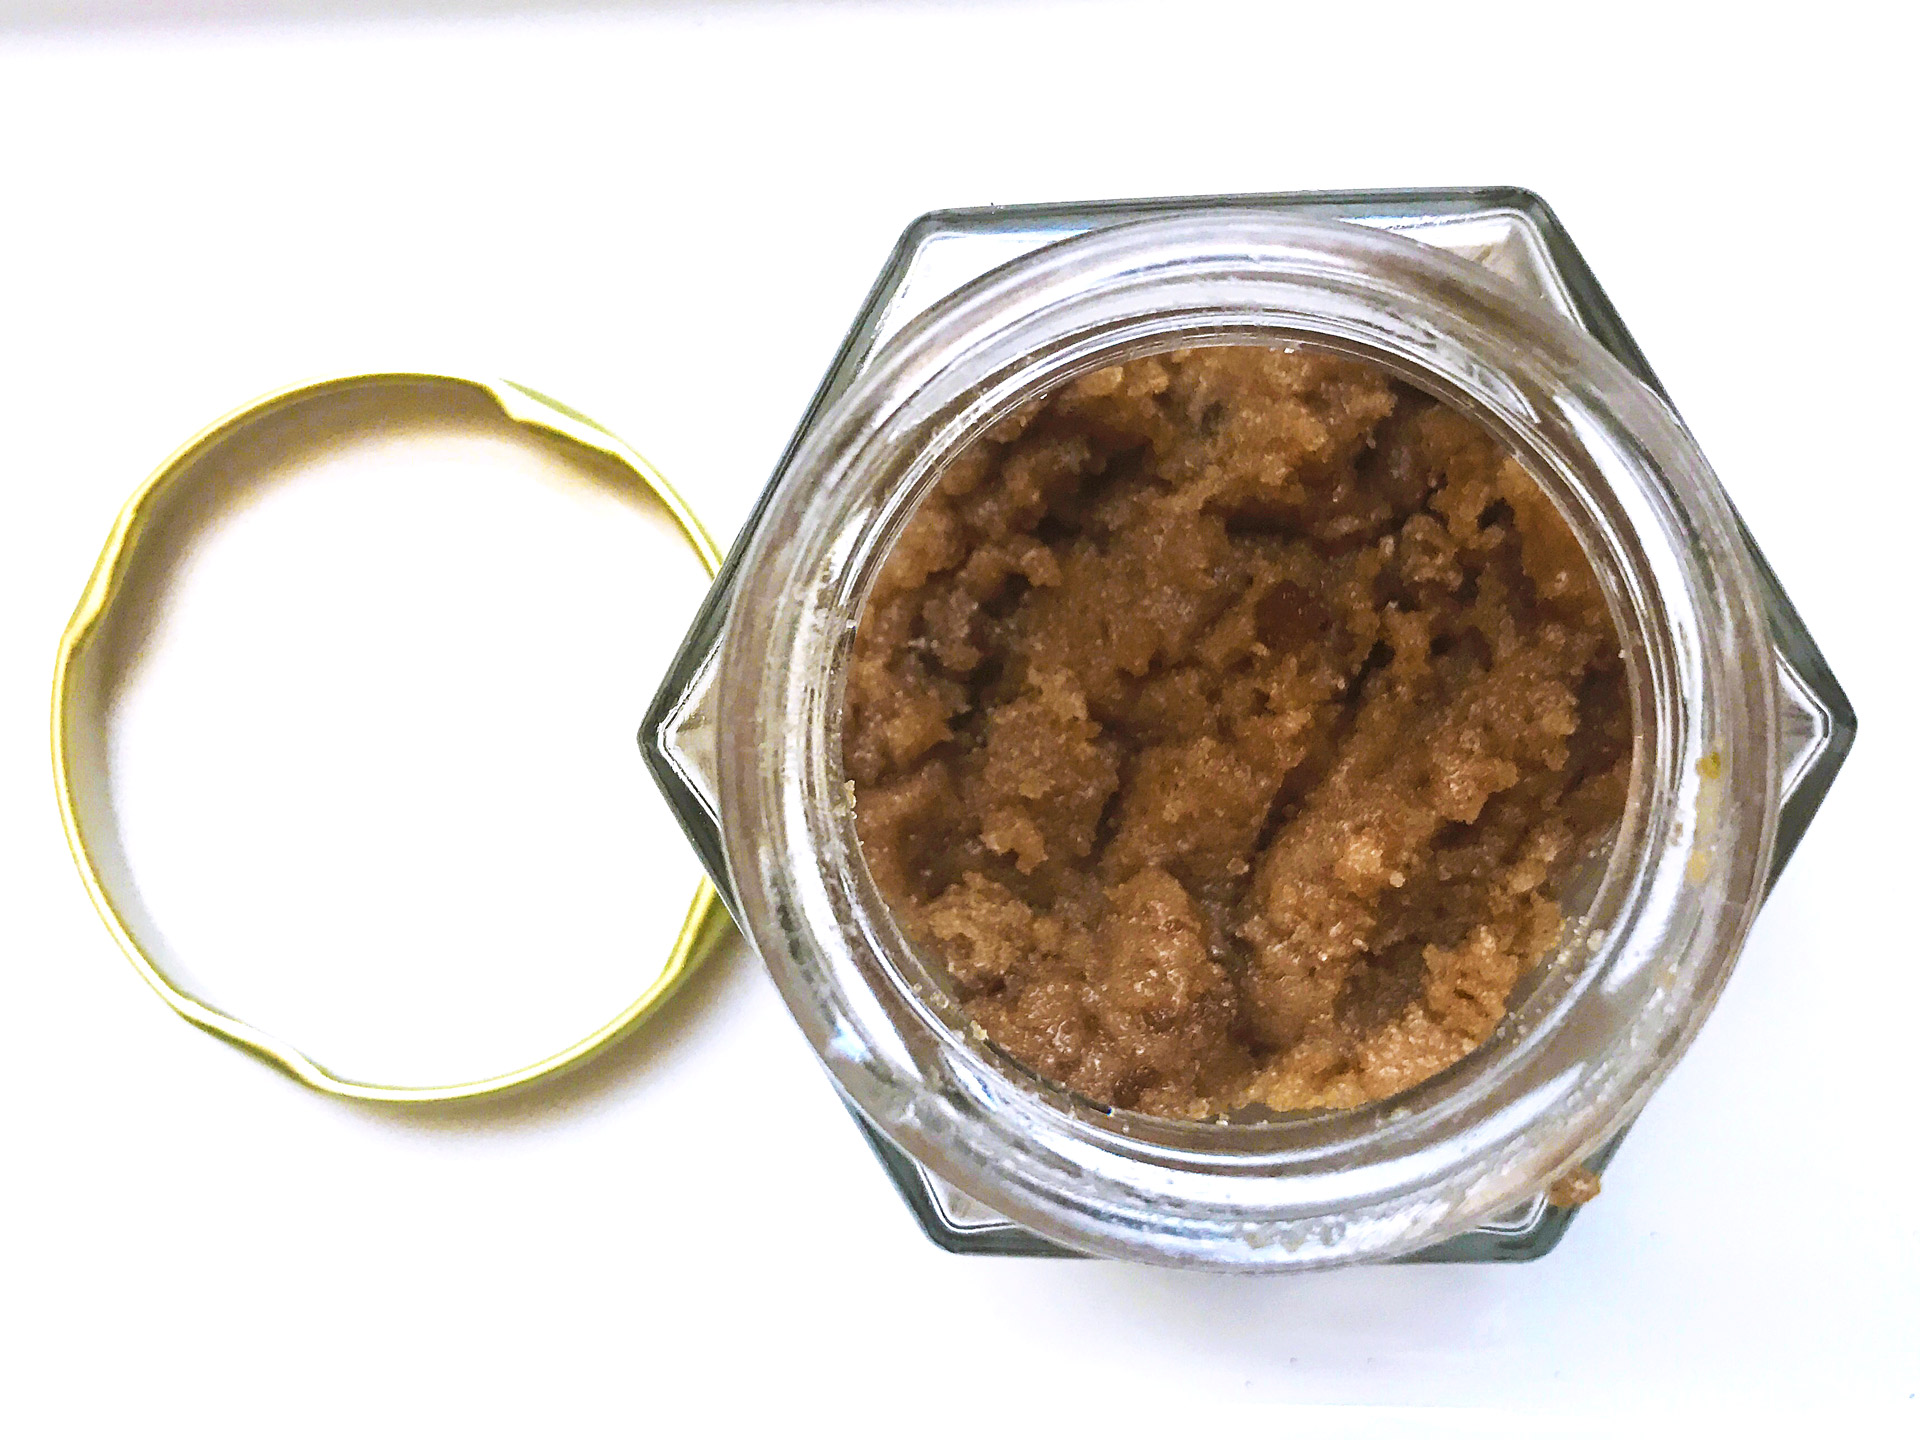
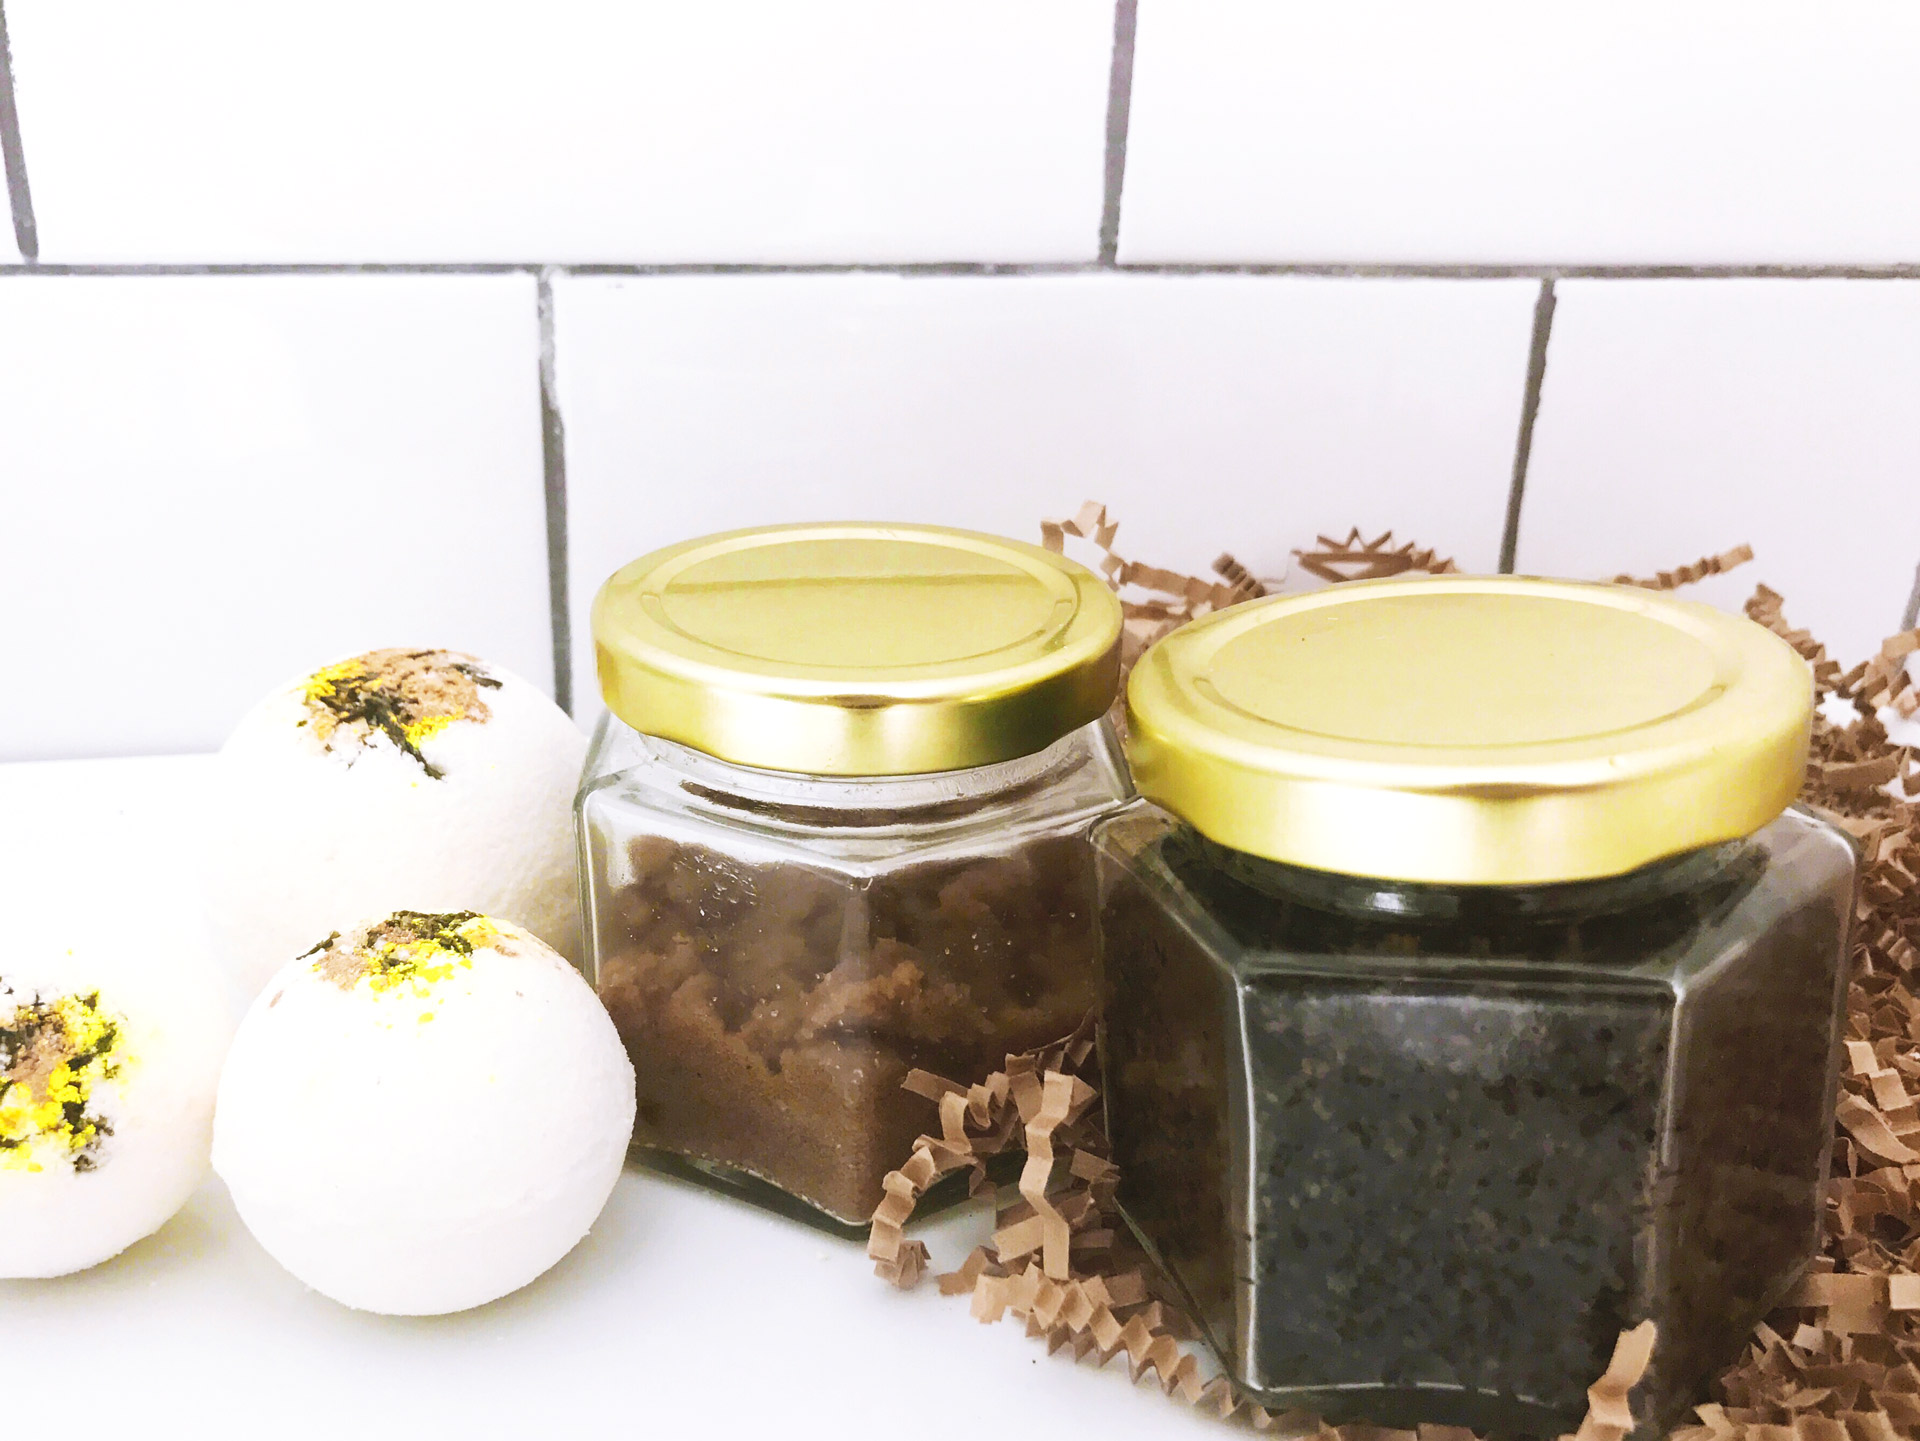
Exfoliating Lip Scrub

I’m absolutely in love with the sweet citrus and cardamom notes that come from both of these scrubs.  When I used the lip scrub for the first time, I was immediately transported back to Bali in my mind. There’s something about the combination of fragrances and flavors that are truly tropical and luxurious. I’m obsessed with this lip and body scrub DIY—I might even develop a lip balm for my upcoming online shop.

INGREDIENTS

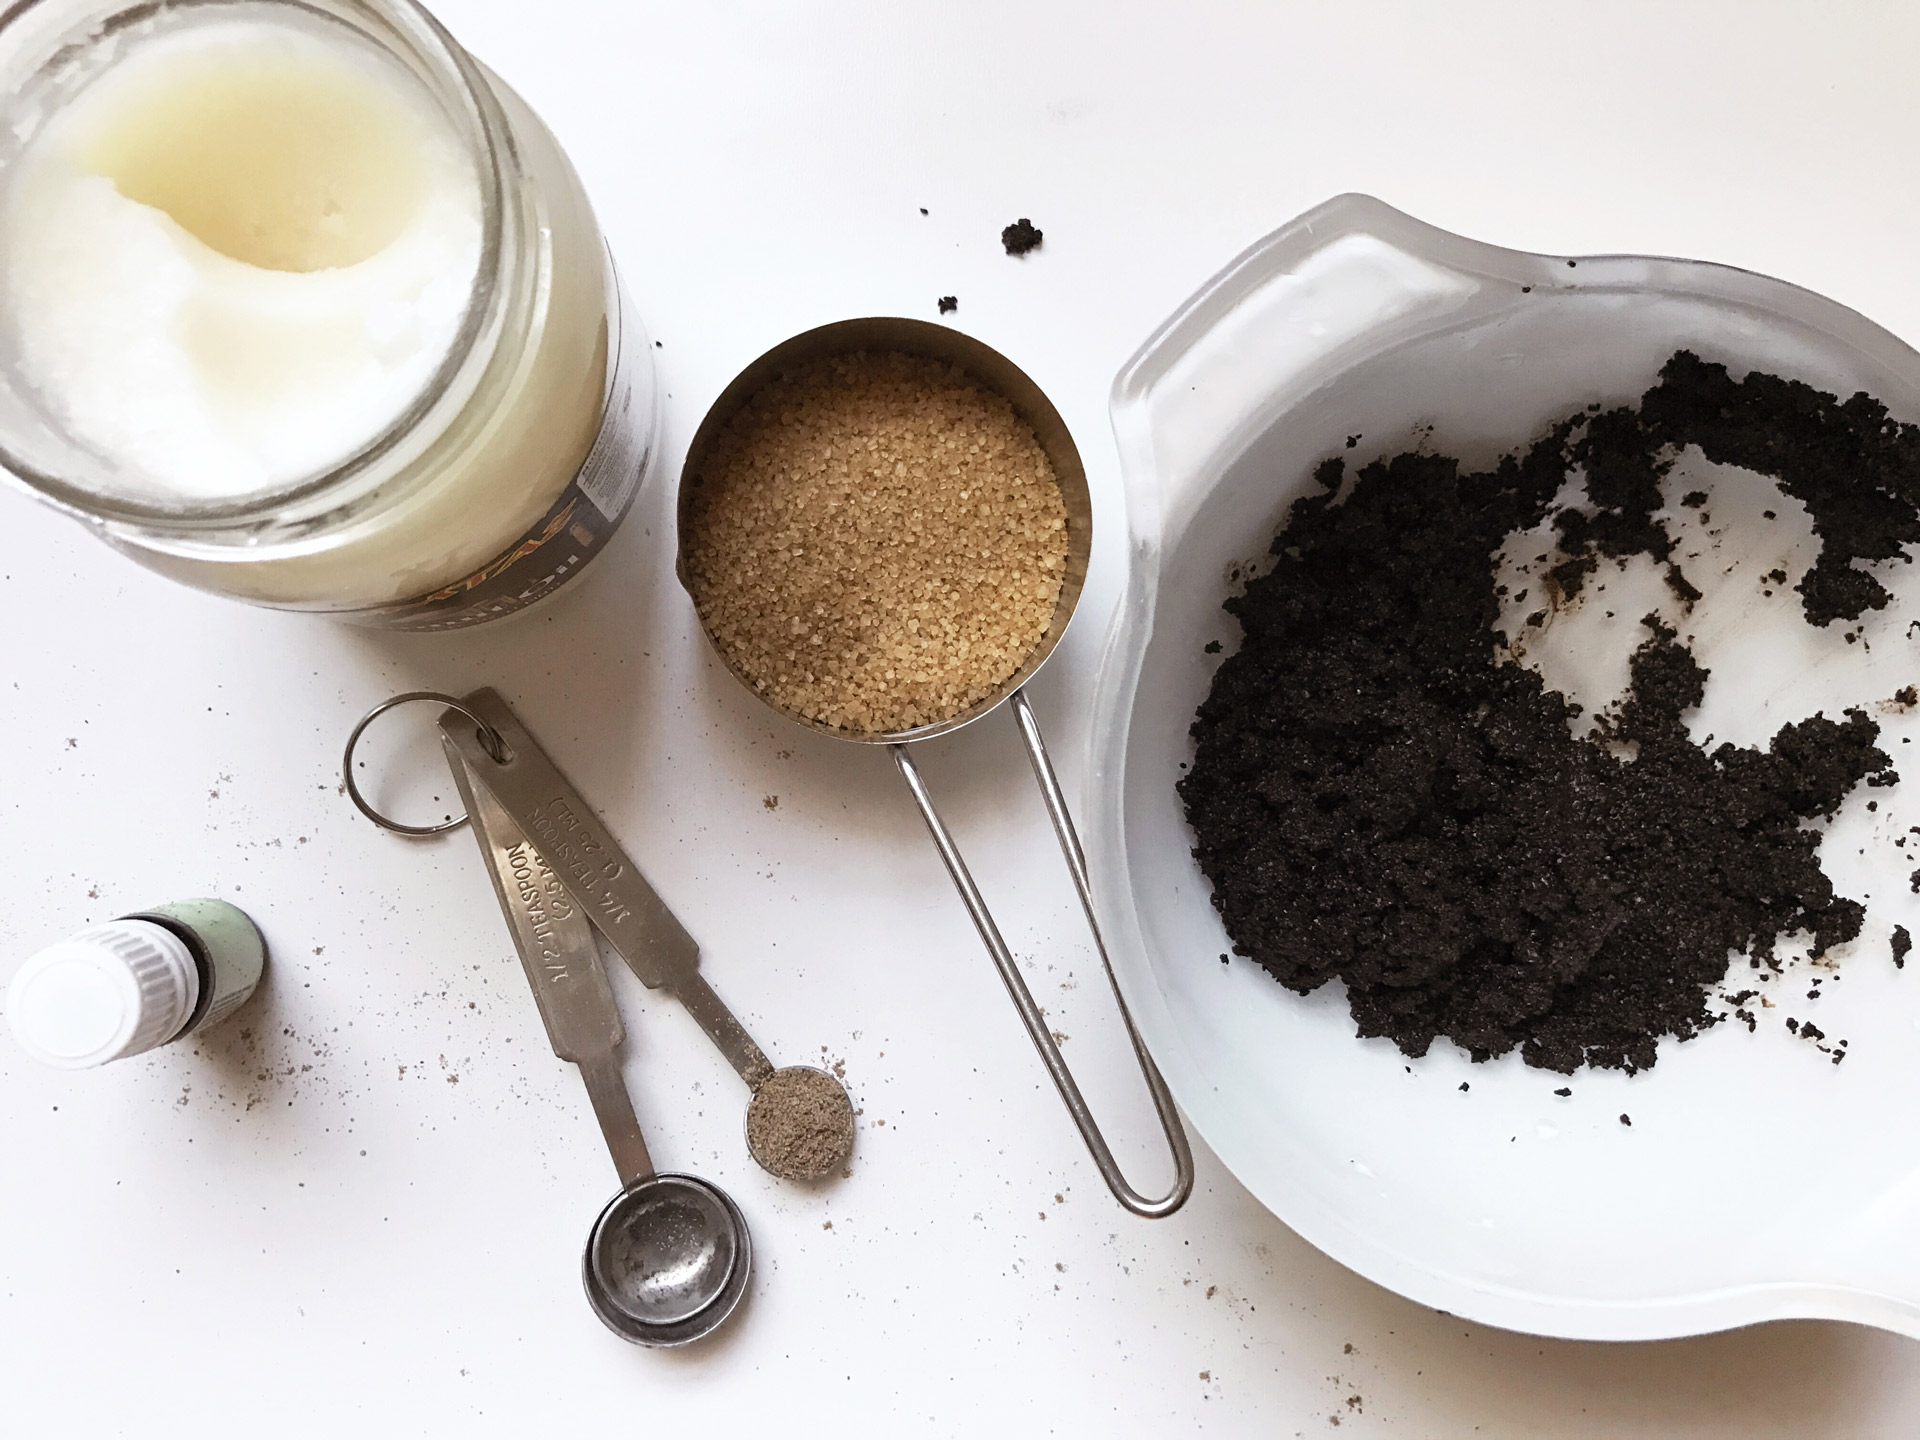
  • 1/4 cup brown sugar (or sugar in the raw)
  • 1+ tbsp. coconut oil or honey/ agave
  • 5 drops lime essential oil
  • 1-2 drops vanilla oil or extract
  • A pinch of cardamom spice
  1. Combine your sugar with your oil or honey/ agave. Combine well until the mixture is a paste
  2. Add the essential oils and spices to the mix. Mix well
  3. Bottle your delicious lip scrub in a glass or plastic container. If you’re trying the recipe as a gift option, you can get cute bottles in bulk on Amazon.

This lip scrub is so delicious and edible! To use: apply a small amount to lips, rubbing around to exfoliate, and lick away excess.
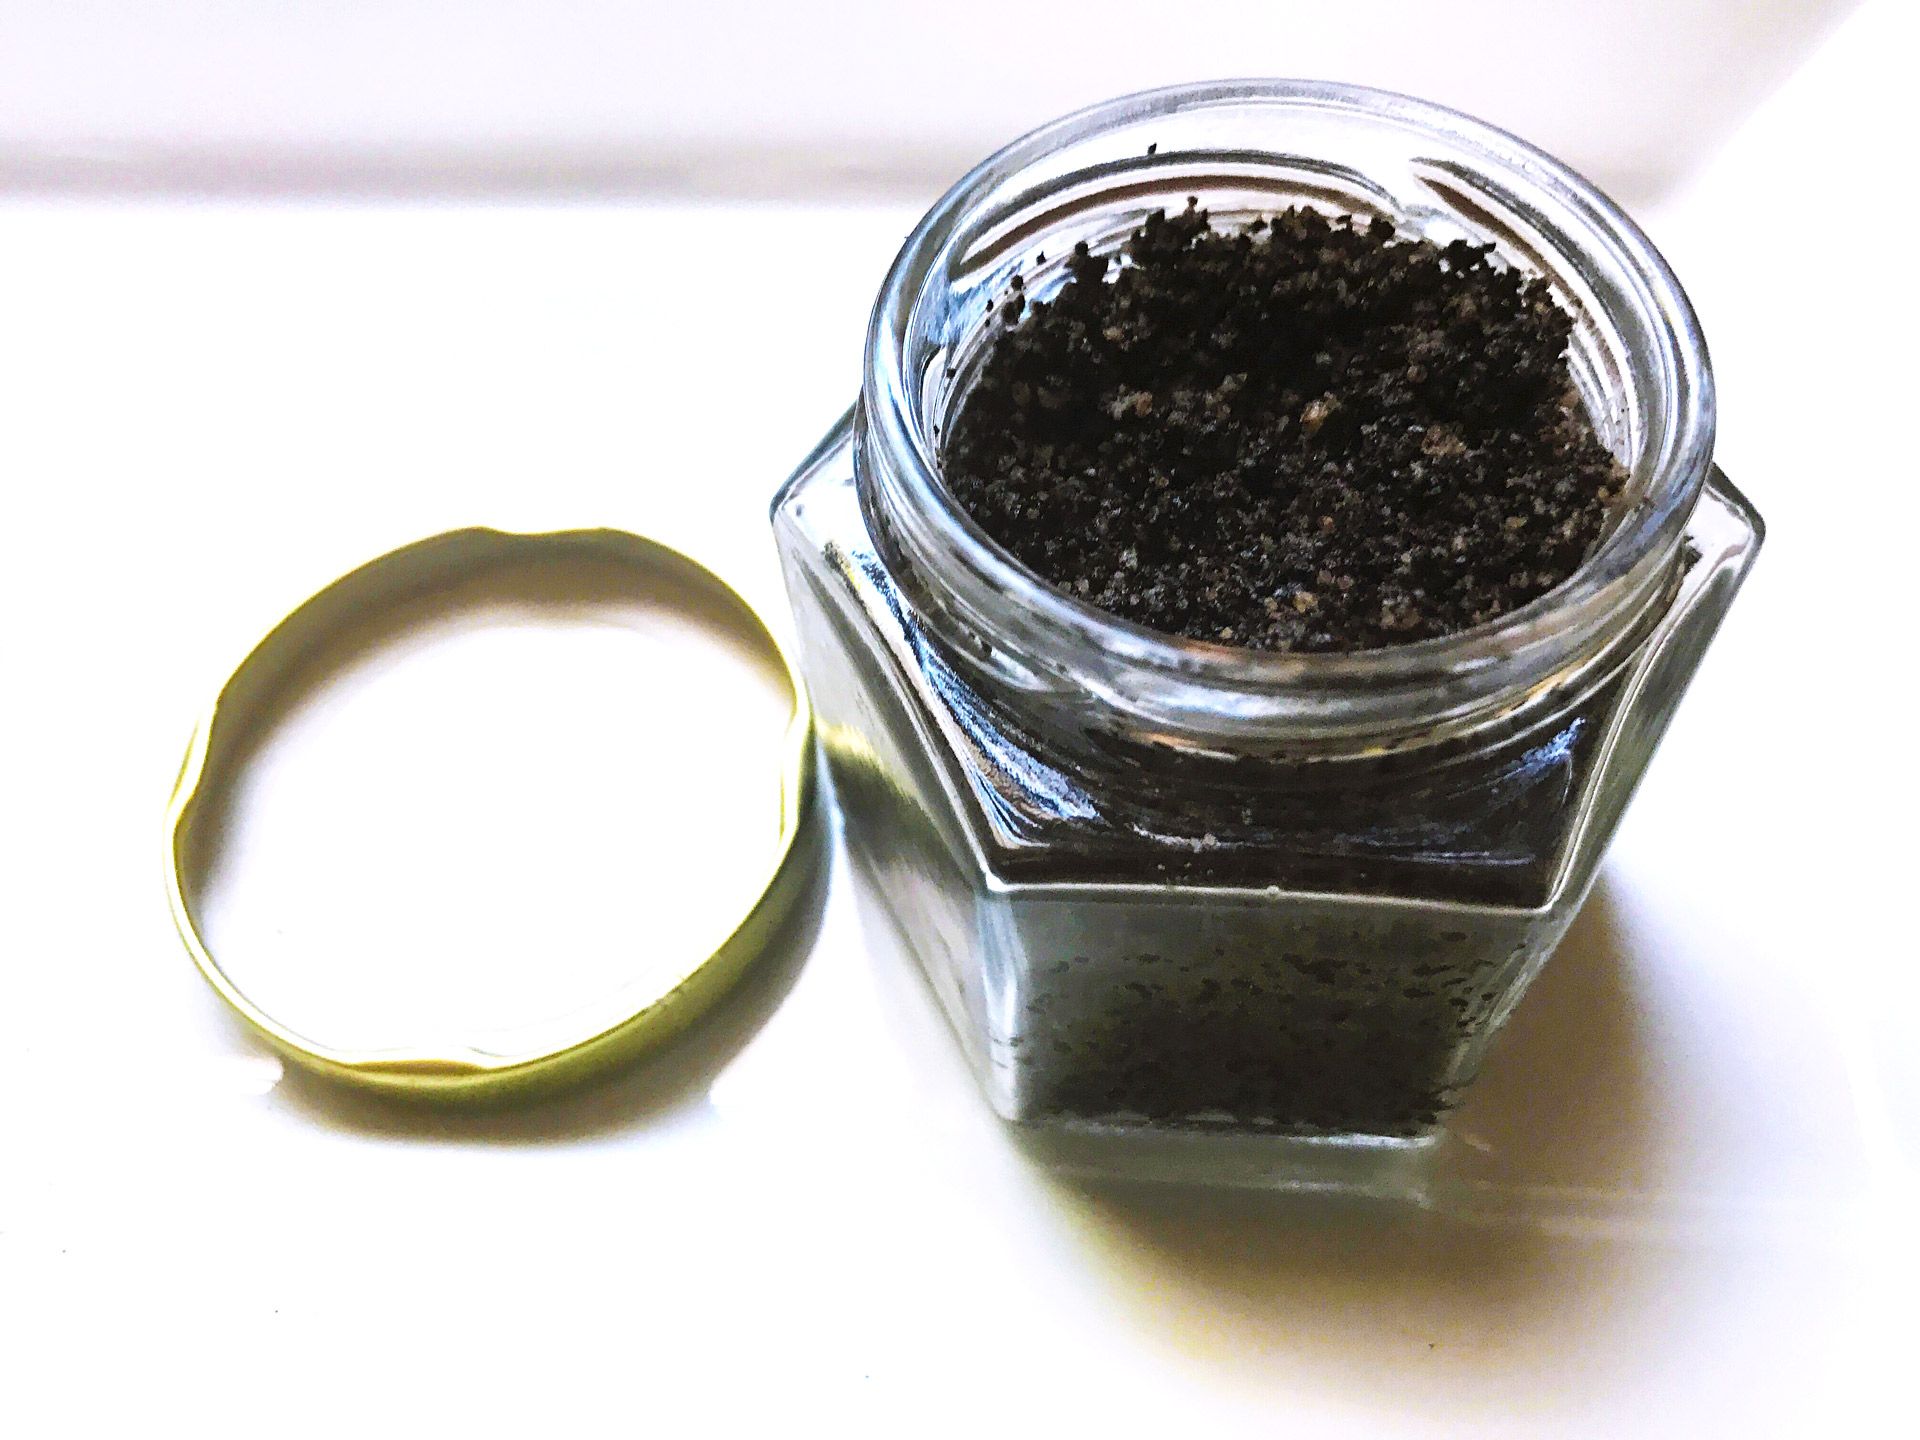

Lip and Body Scrub DIYFace and Body Scrub

One of my favorite parts about this face and body scrub is that it reuses used coffee grounds. This is an excellent way to repurpose household items to make sure you’re less wasteful, and you’ll get a luxury product out of it that smells divine! Used coffee grounds already have so many practical uses in and around the home, but bath and beauty products are great! The coffee helps to wake you up as it invigorates your senses while the lime oil energizes as it’s astringent qualities cleanse.

**I don’t recommend using your used coffee grounds if you have low-quality coffee in the house (the worst part of waking up is a bad cup of coffee and the breakout it caused your face after using it in a scrub recipe).

INGREDIENTS

  • 1/2 cup used coffee grounds, pressed to get rid of excess moisture
  • 2 tbsp. coconut oil
  • 10 drops lime essential oil
  • 1/4 tsp. cardamom
  1. Combine your used coffee grounds with your coconut oil. Work together until a paste begins to form
  2. Add your essential oils and spices while stirring together
  3. Bottle your scrub and gift/ use accordingly


I hope you enjoyed this tutorial for Lip and Body Scrub DIY!

DIY Lifestyle

Two Cute Ways to Repurpose Leftover Bunting

repurpose leftover bunting

We all have extra stuff lying around. Some of it is really useful, while some of it just takes up space. Anyone who has thrown a wedding or a big birthday knows that decor is no exception. I was eyeing all my extra stuff from our wedding and my eyes fell on all this extra burlap bunting we never used. There are quite a few tutorials out there on how to turn old wrapping paper and clothes into bunting. However, I couldn’t find many on how to actually repurpose leftover bunting.

I was thinking of various ways to use the bunting by folding it. Maybe a geometric ornament or putting a few together could make a hat or a lantern bag for a flameless candle? Eventually, I landed on an idea for a flat wallet and an air plant/ succulent holder; two cute ways to repurpose leftover bunting into new items and quick DIY projects.

FLAT WALLET

This project is great for a craft night or even for a kids party. You can complete the project by sewing OR even with a hot glue gun. Kids will love seeing how you can transform “junk” decor into something cool, useful, and personalized. Furthermore, with cute themed birthdays, the kids could end up with adorable spiderman wallets at the end of the party from the branded bunting.

I used a few items in the creation on my DIY Flat Wallet:

  • Burlap bunting
  • Scissors
  • Leftover random charms/ beads
  • Round bag making stud
  • Vinyl snap
  • Sewing machine (although you can hand stitch or use a glue gun instead)

Step One:

Collect your supplies. If you have a glue gun you’ll be using, plug it in! This is a quick project.

DIY flat wallet

Step Two:

Fold the bottom of the bunting a little over 1/3 of the way up. Test the triangle flap to make sure it covers the amount of space you want it to and doesn’t overlap the bottom.

DIY flat wallet

Step Three:

Flip the bunting over while keeping it folded. Draw a line to mark where the edges overlap.

leftover bunting


Step Four:

Cut the bunting on the lines you marked.

DIY flat wallet

Step Five:

Line up your wallet how it will lay when complete. Line up where you want your snap to be.

DIY flat wallet

Step Six:

Line up your first snap and sew the snap down to the wallet body (not the flap).

DIY flat wallet

Step Seven:

Pin the edge of your wallet for sewing and sew.

DIY flat wallet

Step Eight:

Attach the second snap to the interior of the flap.

DIY flat wallet

Step Nine:

Begin to attached your embellishments/ charms/ decor/ or embroidery to your wallet. Use a needle and thread or a hot glue gun.

DIY flat wallet

Fin!

repurpose leftover bunting

Air Plant/ Succulent Holder

The second cute way to repurpose leftover bunting is to turn it into a cute geometric planter. You can hang it on the wall or put it on a shelf. I used basically the same process for the dimensions as the wallet, the only difference is that instead of cutting the extra from the sides. You bring the edges pictured with the pink markers together and top stitch to create a tiny planter.

I used a few items in the creation on my Air Plant/ Succulent Holder:

  • Burlap bunting
  • Scissors
  • Sewing machine (although you can hand stitch or use a glue gun instead)
  • A piece of coral I found on the beach in Bali
  • Neon Green Thread

reuse leftover bunting


Once you’re done with the stitching you can add some stitches in a cool color, or add fabric to the front. I even considered using paint or dip dye on mine. Have fun with it!

reuse leftover bunting

reuse leftover bunting

I hope you enjoyed these ideas on how to repurpose leftover bunting!