Browsing Tag

recipes for the lazy

Recipe

Chicken or Veggie Tikka Masala

Chicken or Veggie Tikka Masala

As we approach the first official day of Fall, I’m beginning to roll up my sleeves to dive into some of my favorite fall dishes. Hearty stews and roasted vegetables rule the season. This Chicken or Veggie Tikka Masala is an excellent stand-alone staple for your recipe book. When I first began making this dish I used this recipe from Bon Appétit. Over the years I’ve modified the recipe to what I’ll share today.

My Veggie Tikka Masala tends to be on the spicier side. As such, feel free to decrease the red chili flakes as needed to suit your tastes. As a general rule, Chicken Tikka Masala should have some kick to it though. If you don’t care about the carbs and choose not to do a cauliflower rice a Basmati rice would be a great traditional option to serve with this dish. You could even put a European twist on it by serving it over mashed potatoes. However, you choose to enjoy this dish, make sure to make enough to share!

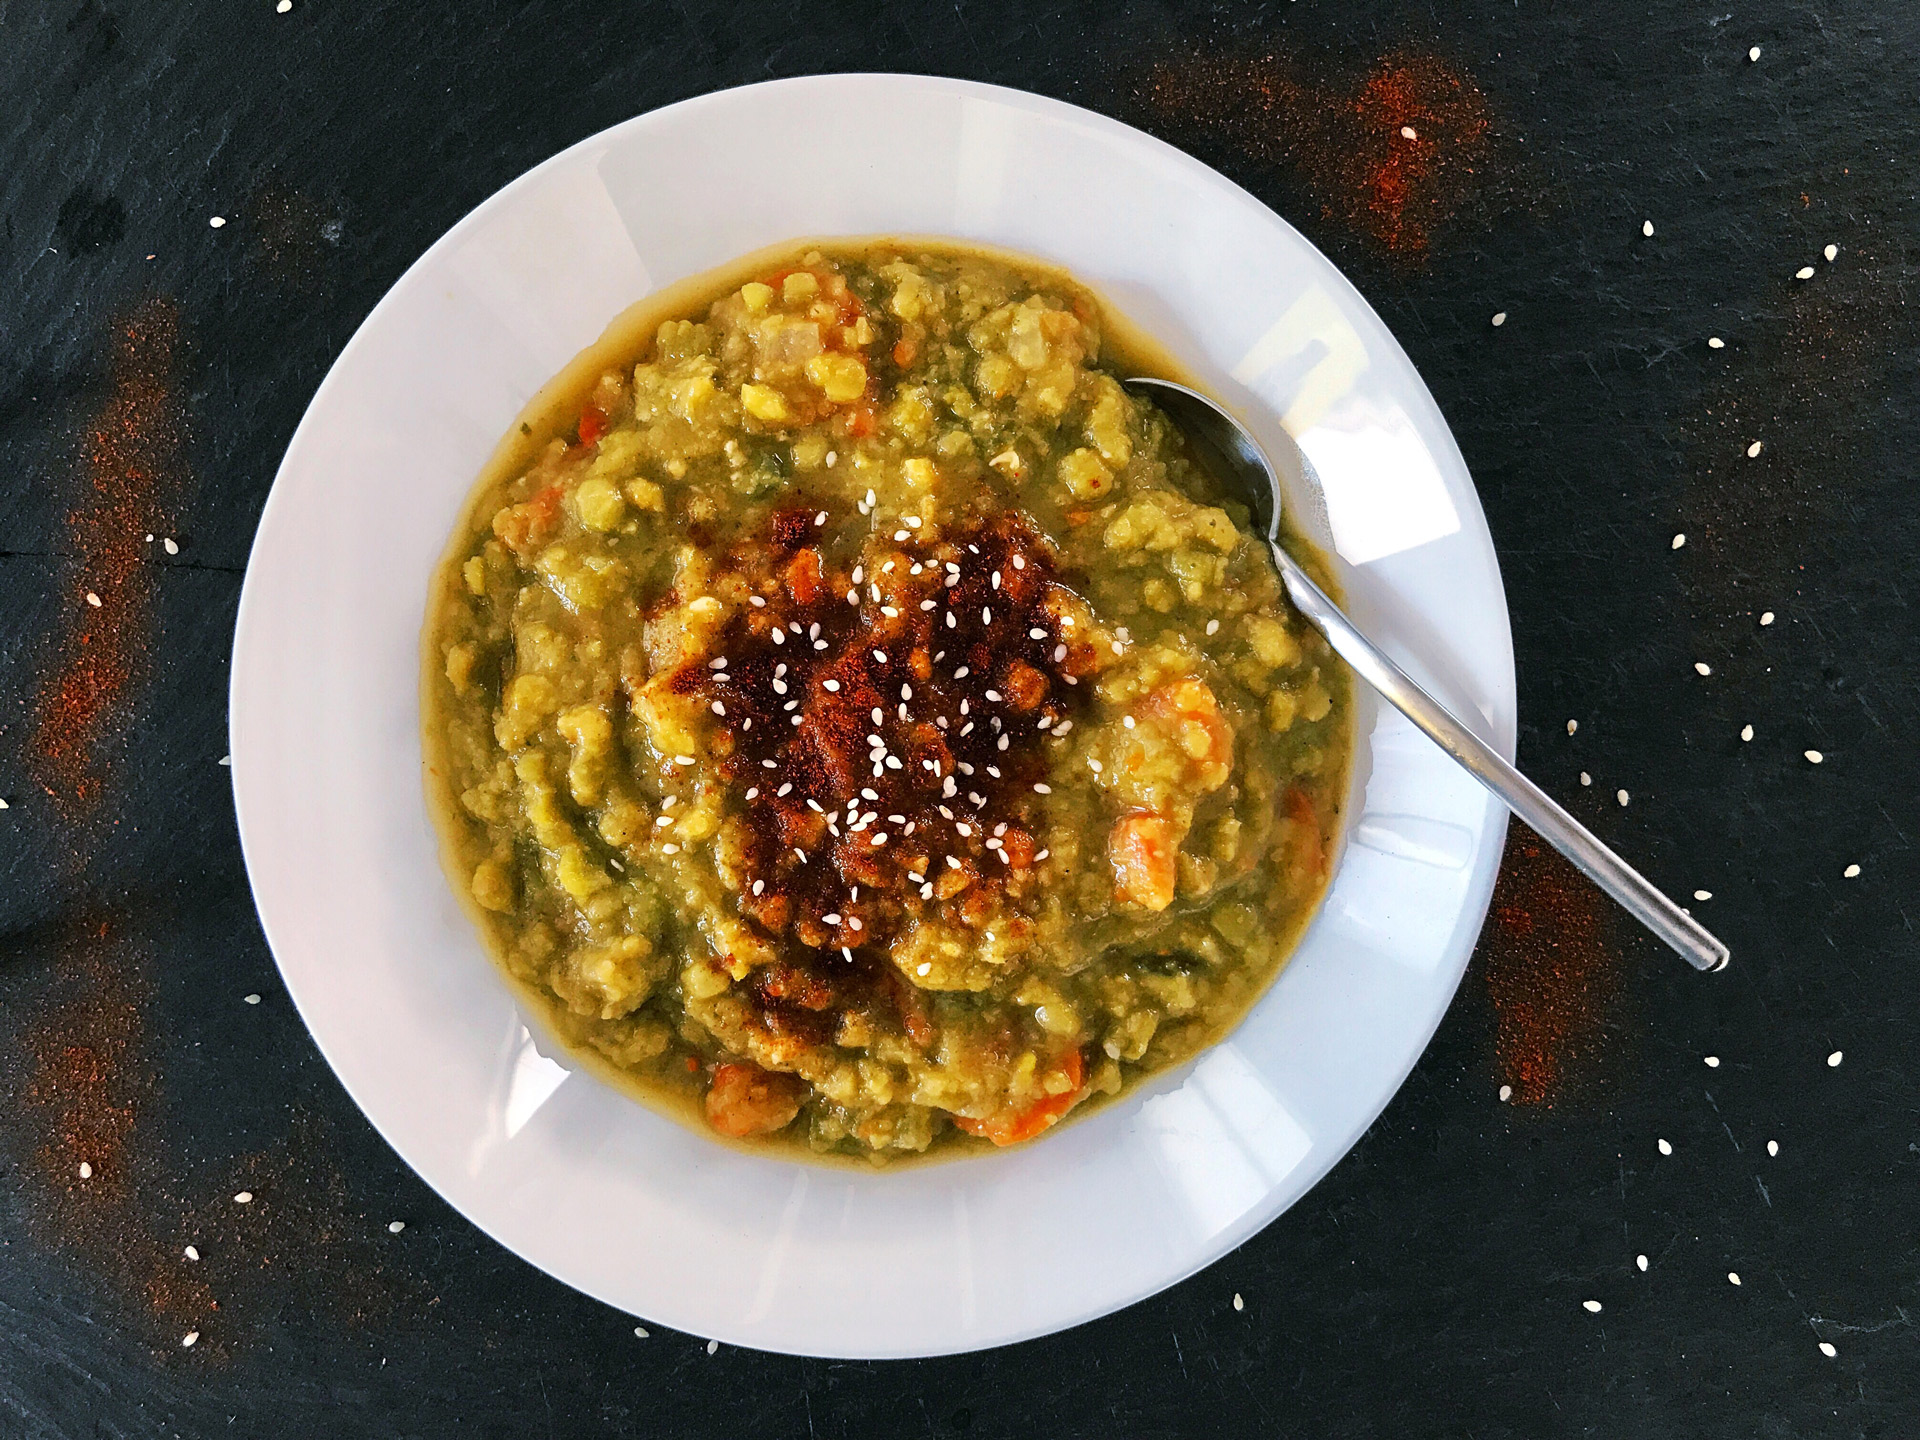
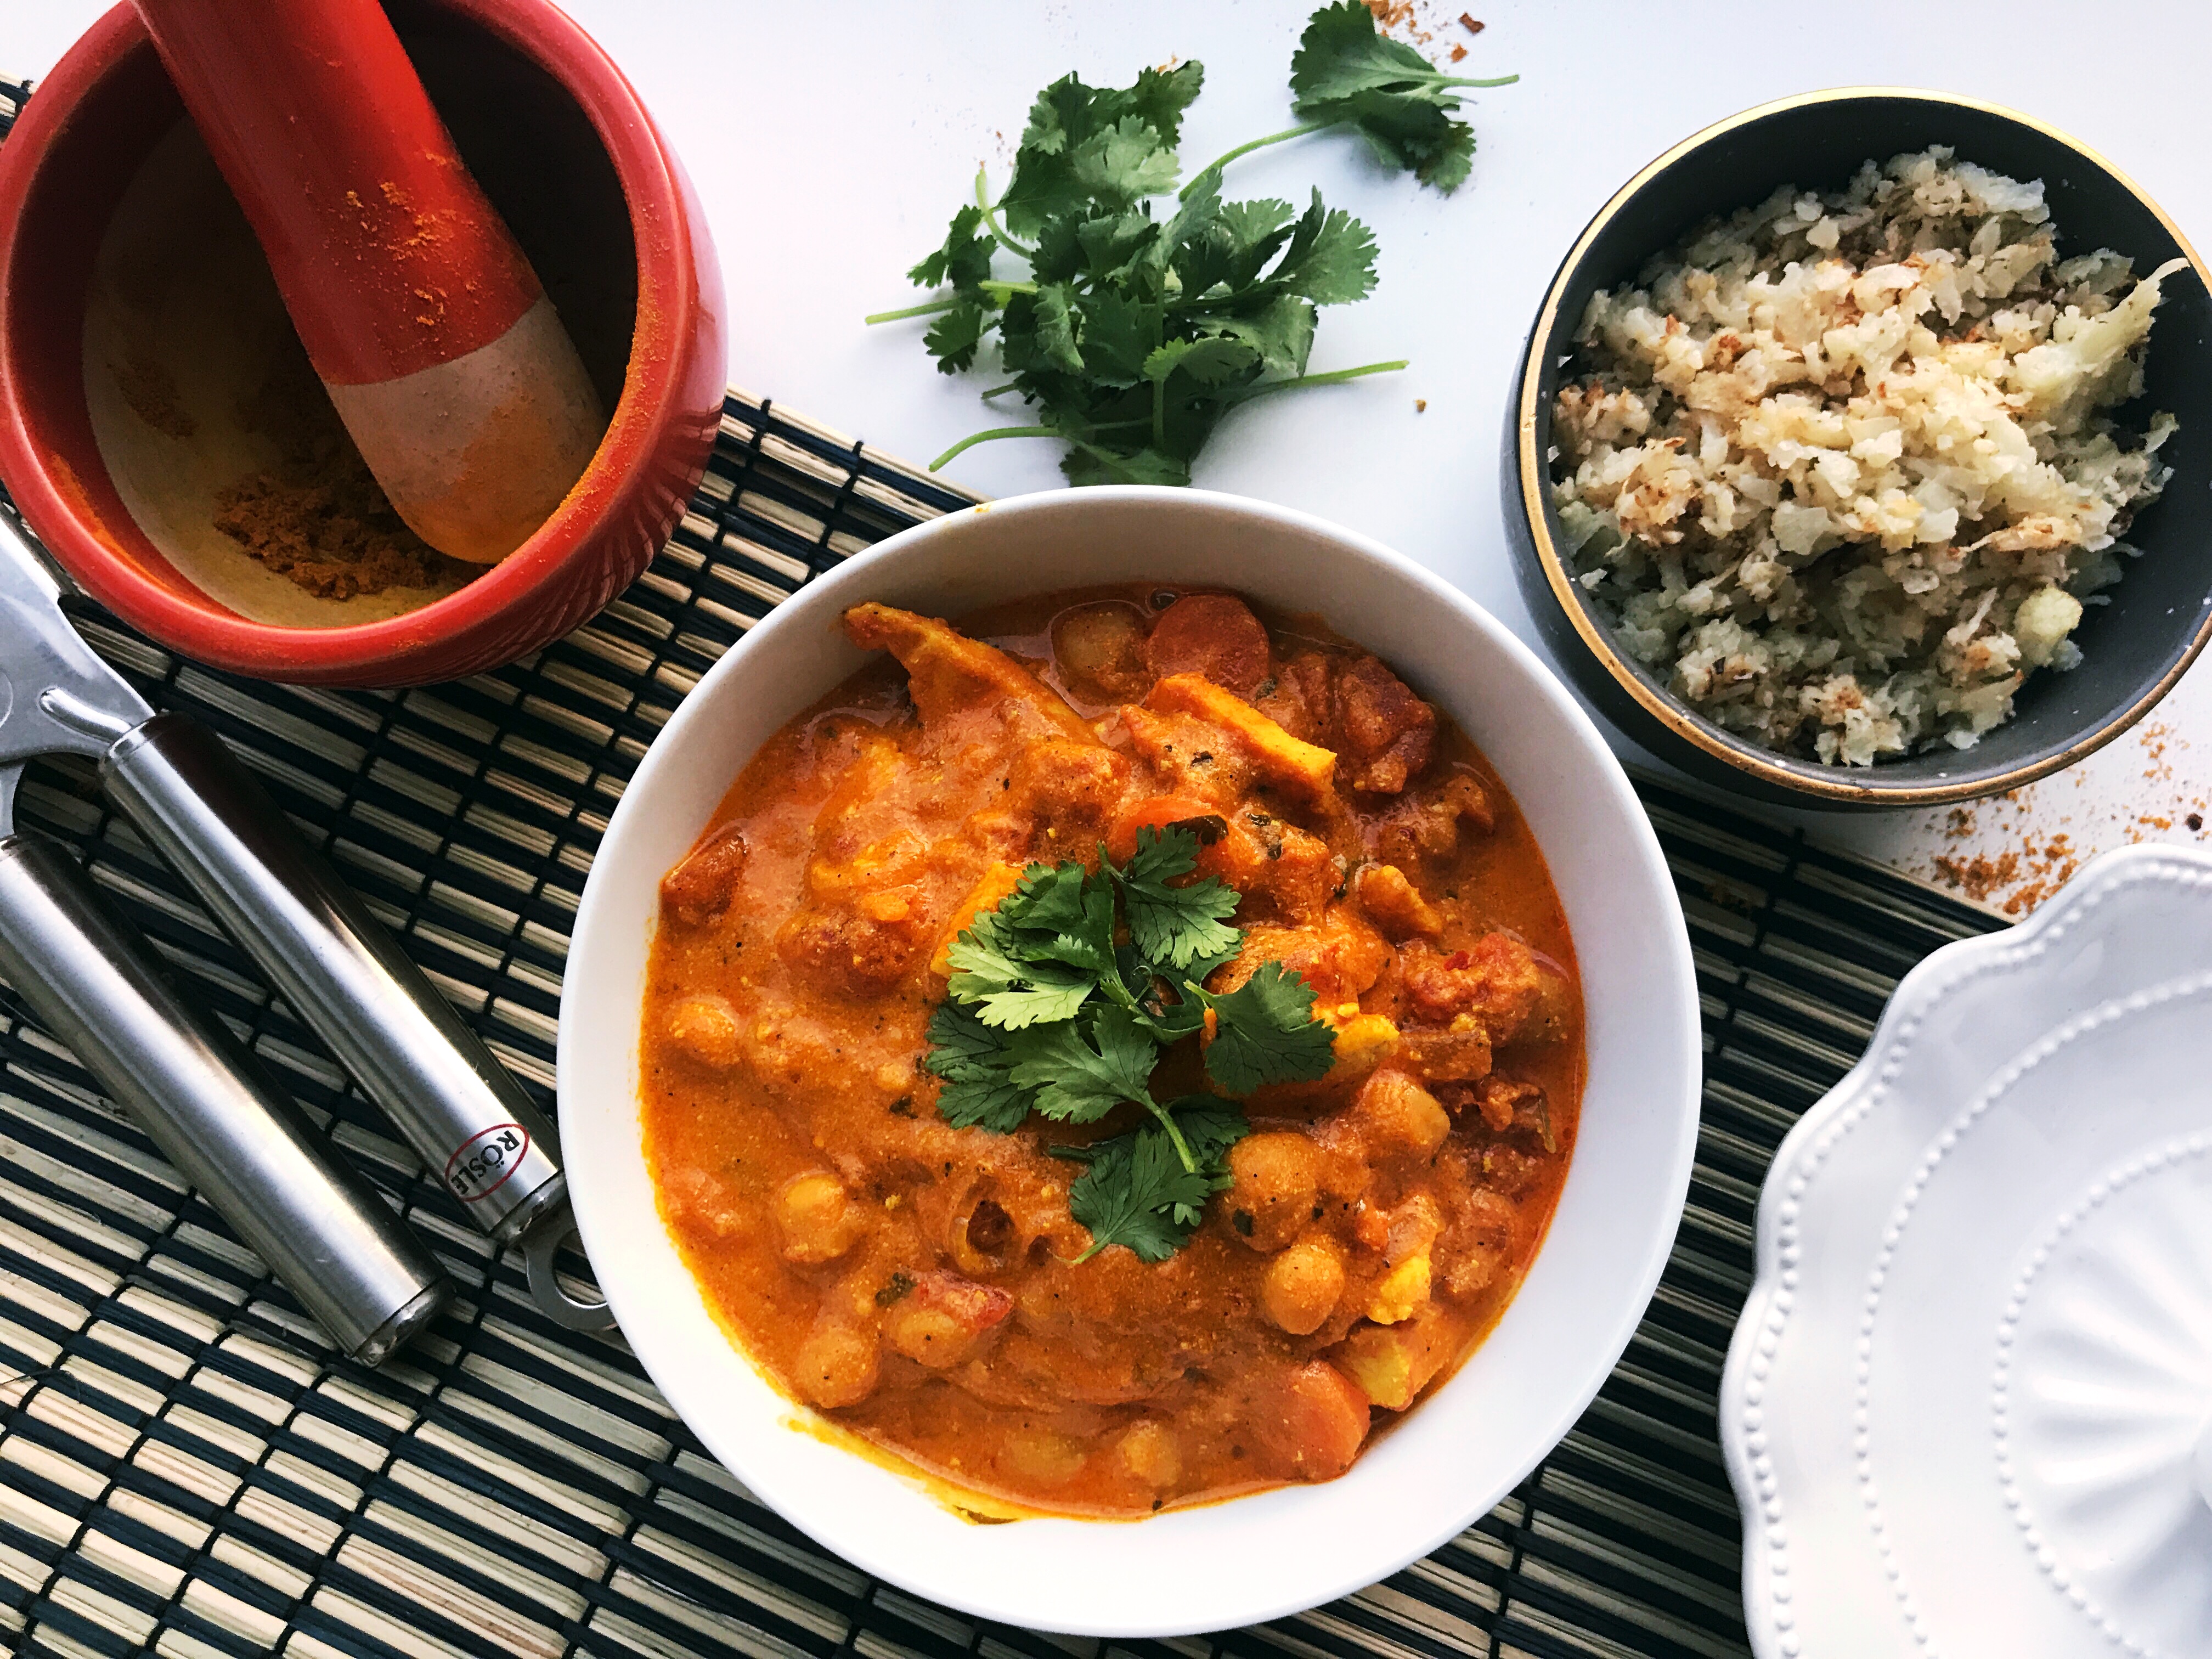
Enjoy this Veggie Tikka Masala!

Chicken or Veggie Tikka Masala

Print Recipe
Serves: 6-8 Cooking Time: 1-1.5 hours

Ingredients

  • 3 tbsp. minced garlic, finely grated
  • 3 tsp. finely grated ginger
  • 2 tsp. ground turmeric
  • 2 tsp. garam masala
  • 1 tsp. ground coriander
  • 2 tsp. ground cumin
  • 1½ cups regular yogurt
  • 3 tbsp. salt
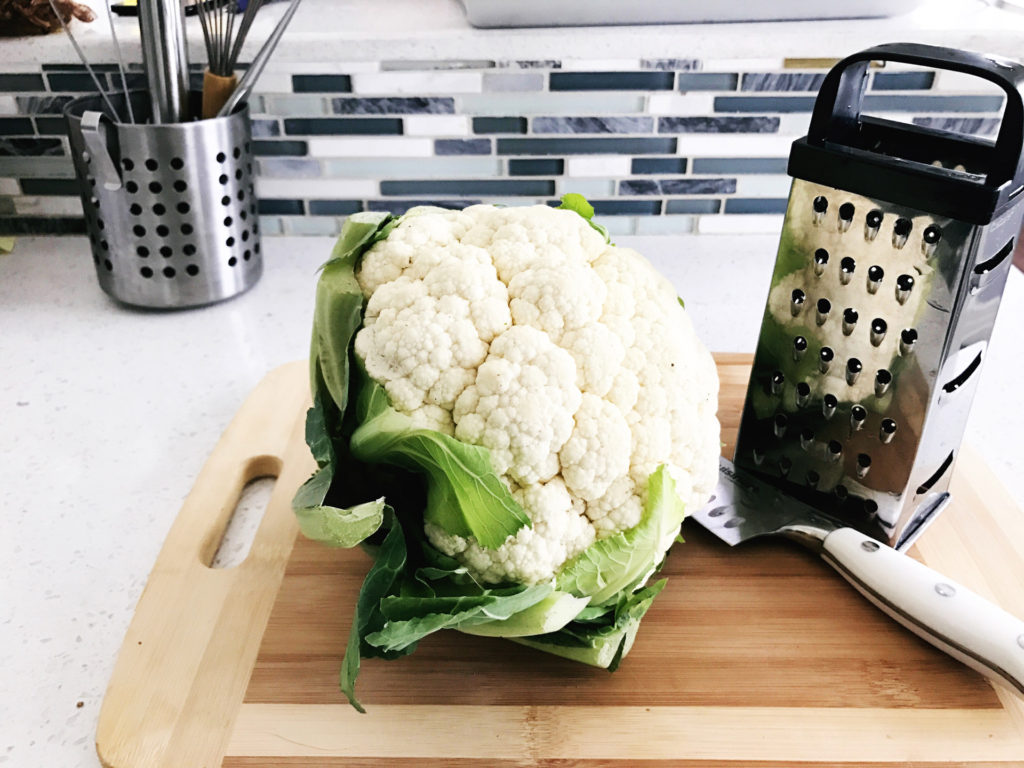
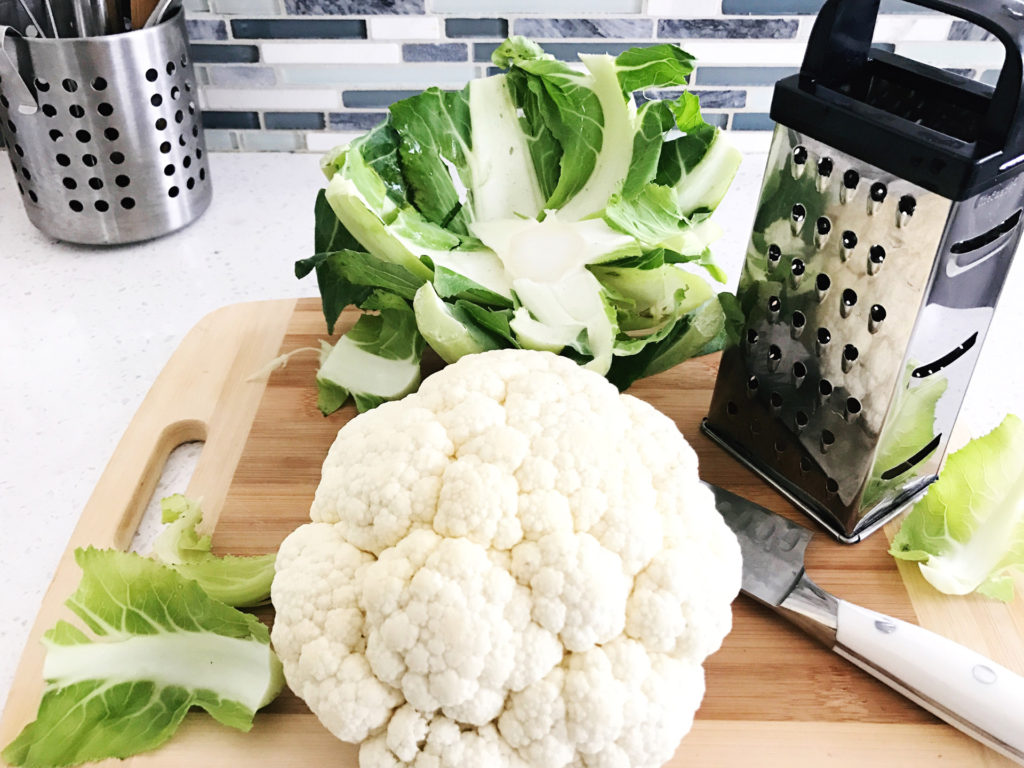
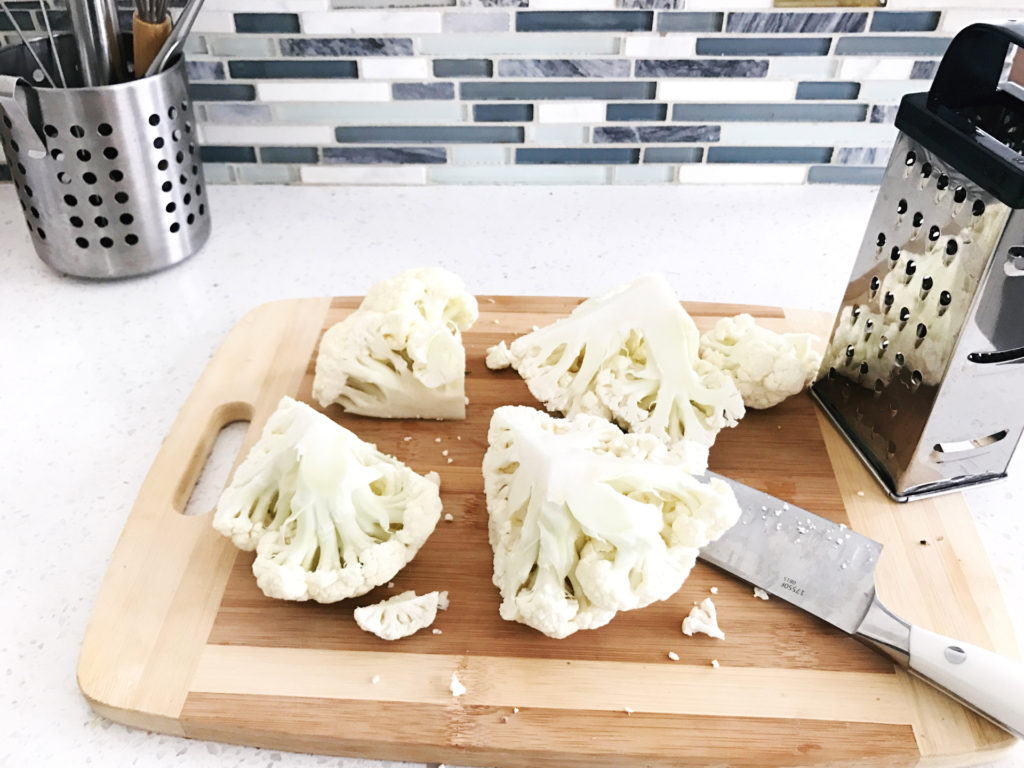
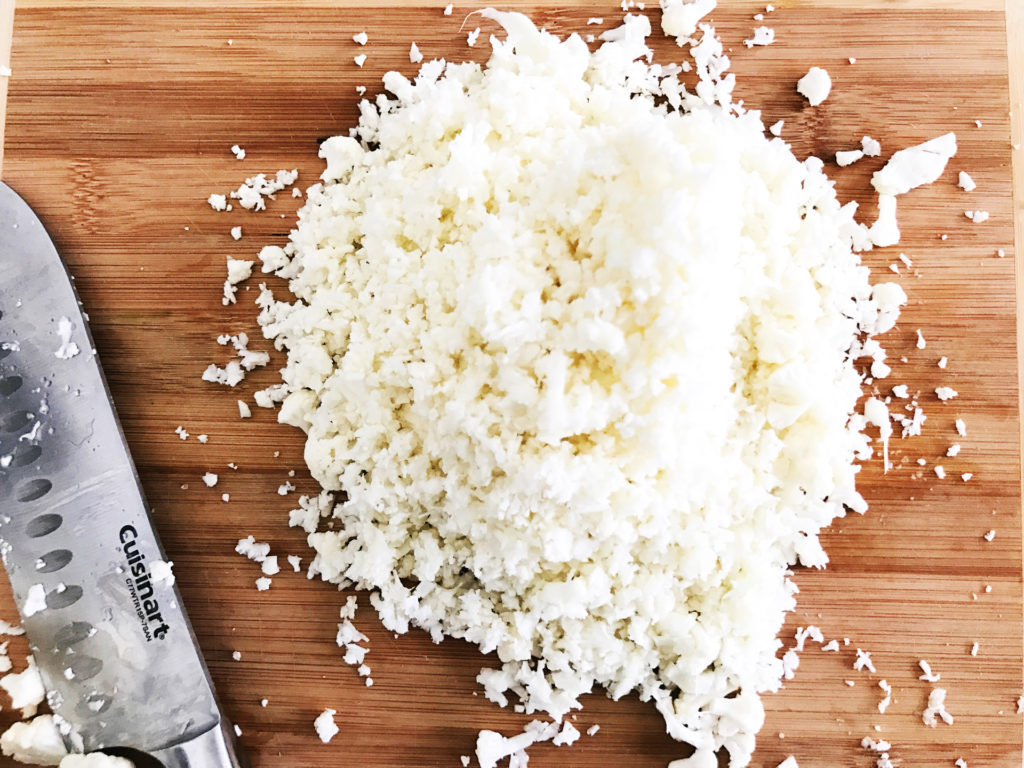
  • 2 pounds skinless, boneless chicken breast pieces and/or two heads of cauliflower (one head you'll use for a low-carb rice which will serve about two people. I recommend making new cauliflower rice as opposed to reheating it).
  • 3 tbsp. unsalted butter
  • 1 small onion, thinly sliced
  • 3 large carrots, sliced
  • 1 28-oz. can of garbanzo beans, drained
  • 1/3 cup tomato paste
  • 1 tbsp. crushed red pepper flakes
  • 1 tbsp. curry powder
  • 40 oz. diced canned tomatoes
  • 1 cup heavy cream
  • 1 cup greek yogurt
  • ¾ cup chopped fresh cilantro plus sprigs for garnish

Instructions

1

Mix all of your spices together, omitting the curry powder and leaving 2 tbsp. salt to the side for later. Add your ginger and garlic and mix well.

2

Dump half of your spice mixture into a medium bowl, add the 2 1/2 cups of regular yogurt and mix well.

3

Add your chicken and/ or cauliflower to the marinade, coating both sides. Chill in the fridge for 5 hours. Chill the other half of the spice mixture as well.

4

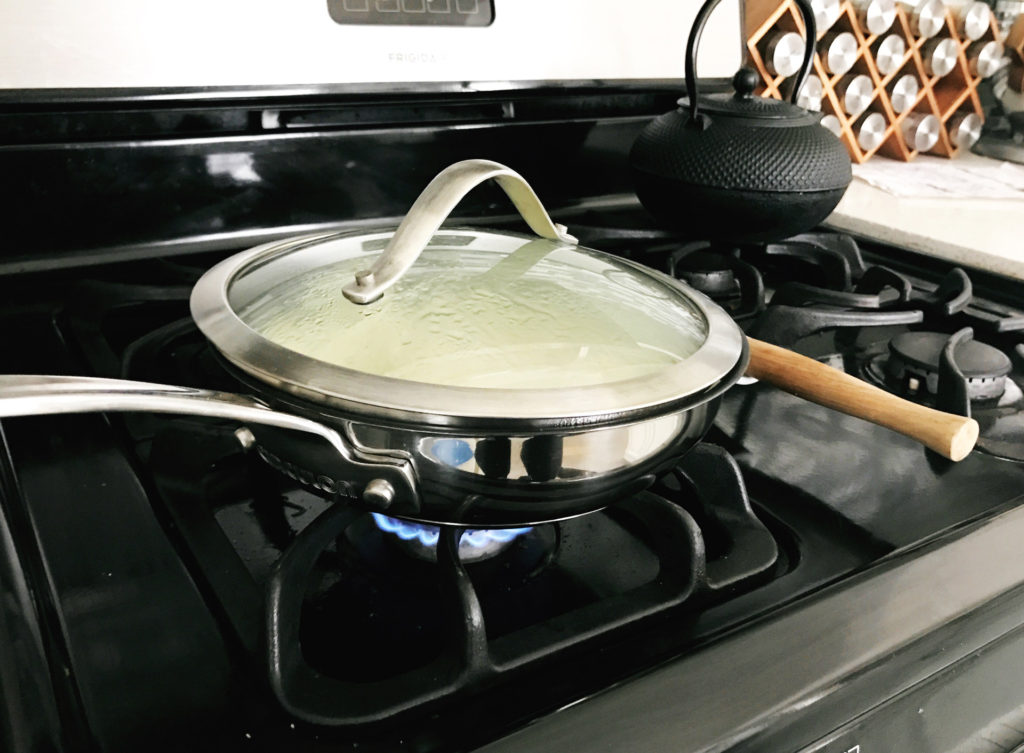
Heat your butter over medium-high heat, adding the onion slices, carrots, and tomato paste. Stir regularly for 5 minutes.

5

Add the canned tomatoes, the spice mixture from the fridge, your curry powder, and the crushed red pepper flakes. Boil and reduce to a simmer for 5 minutes.

6

Add the garbanzo beans along with the heavy cream, greek yogurt, 2 tbsp. salt, and cilantro. Simmer for 30 minutes.

7

Broil your chicken or cauliflower for 10 minutes. Check regularly or leave the oven light on to make sure you aren't burning the cauliflower.

8

Once done broiling your chicken, cube it and add it to the pot to finish cooking, about 10 more minutes. If you've substituted cauliflower here you can add the florets directly into the pot.

9

Garnish with cilantro and serve over cauliflower rice.

Notes

*This recipe can be made vegetarian by substituting small Cauliflower florets for the chicken.

Lifestyle Recipe

Quick and Easy Vegan Split Pea Soup

vegan split pea soup

These days, meal prep is king. While everyone tries the latest and greatest life hacks for efficiency, few can argue that prepping your week’s meals in advance can save a lot of time and headache. Whether you’re living the single life with three jobs or a stay at home mom, everyone can benefit from prepping some grab-and-go meals to use throughout their week. I’ve done a quite a few one pot recipes in the past to save time on meal prep, but I’d never done a vegan split pea soup until now.

My mom used to cook split pea soup from scratch. I have vivid memories of the aroma of ham and peas wafting through the house to greet me after school. For this recipe, I decided to do a kind of smokey vegan take on mom’s traditional split pea soup. I’ve been craving spicy food like crazy so I implemented some paprika and hot sauce to add some heat to the recipe. I love this vegan split pea soup because it’s really nutritious and high in fiber so it’s filling as a stand-alone entree and can be taken as leftovers for lunch super easily.

Actually, I have this amazing tiny crock pot that I take to work. It holds probably 16 oz. or so and I love it. I just plug it right in when I get to work and by lunch time the contents are hot! I haven’t tried cooking in it but it’s amazing for heating leftovers.

I hope you enjoy this recipe for Vegan Split Pea Soup!

Vegan Split Pea Soup

Print Recipe
Serves: 8 Cooking Time: 1 hour

Ingredients

  • 8 celery stalks, diced
  • 4 medium carrots, diced
  • 1 large onion chopped (yellow or white)
  • 6 cloves of garlic minced (or 2 tbsp, jarred minced)
  • 2 lbs. of split peas (this is usually two bags, don't forget to rinse!)
  • 2 tbsp. paprika (or more to taste)
  • 3 tbsp. of a hot sauce like Tapatio (or more to taste)
  • 7 pints of water (or 14 cups)
  • 8 vegan bouillon cubes
  • *You can substitute a vegetable stock for the water and bouillon cubes if desired
  • Garnish: Paprika, sesame seeds, caramelized onions

Instructions

1

In a large pot sauté your carrots, celery, garlic, and onions until the onions are soft and translucent

2

Add your water and bouillon or vegetable stock, split peas, and any additional starches you intend to use. Bring to a full boil

3

Add your paprika and hot sauce if desired. Reduce heat and simmer for 45 minutes, stirring occasionally

4

Garnish with paprika and sesame seeds or caramelized onions if desired and serve!

Notes

If you have extra starches laying around you can add potatoes (cubed or diced) and rice or other grains like barley at the same time you add the split peas. This will add more bulk and calories but can extend the use of the recipe if you have a large family or are trying to budget extra for meals.

DIY Recipe

How To Make Your Own Granola

Make Your Own Granola

For breakfast, I’ve always loved granola. As a kid, I had an Uncle who kept granola in his pantry at all times. My home was usually stocked with Grape Nuts and skim milk, so granola with yogurt was a huge treat! Since then, I’ve almost always kept granola stocked in my kitchen as well. However, I can’t believe I’ve been paying for it all this time when it’s soooo simple to make your own granola! For the most part, granola only requires ingredients that you’ll already find in your kitchen cupboards. So, I decided to learn (and teach you) how to make your own! Get ready to level up your smoothie bowl and breakfast recipes!

Recipes for granola all are very versatile because the main component is rolled oats! I read that you won’t want to use quick oats because they don’t hold up as well after baking. This recipe is a great activity to do with family or friends and—perhaps even more so—it’s a quick and easy option to impress some early (or entirely unexpected) guests! Let’s not forget it as a budget option either since granola works as a meal or as a simple grab and go snack.

To make your own granola requires as little or as many ingredients as you’d like and only takes about an hour to make from start to finish.

For my granola, I wanted something that was tropical and kind of sweet. I knew I’d be putting it over plain Greek yogurt and wanted to include what I already had too much of in my pantry.

In this recipe, I added an egg white for added protein. However, granola only needs a ratio of around 1:6 wet to dry. You can make a simple syrup or use honey/agave, egg whites, and oil for your wet ingredients like I did. If you’re adding dried fruits like raisins, goji, apricots, etc., you’ll want to wait to add those until the mix is baked through and transferred to a bowl.

Make Your Own GranolaMake Your Own Granola

Make Your Own Granola

Print Recipe
Serves: 10 Cooking Time: 1 hour

Ingredients

  • 2 cups rolled oats
  • 1 cup of extra-finely shredded coconut
  • 1/2 cup of pepitas
  • 1/2 cup of crushed almonds
  • 3 tbsp. bee pollen
  • 1/3 cup honey/ agave
  • 1/3 cup warmed coconut oil
  • 1 egg white
  • 1 tbsp. vanilla extract
  • 1 tsp. salt
  • dash of cardamom
  • dash of cinnamon
  • 1/3 cup green raisins
  • 1/4 cup goji berries
  • 1 packet of Mango Açaí fruit snacks

Instructions

1

Pre-heat your oven to 300°F

2

Mix the oats, seeds, nuts, and other dry ingredients in a bowl

3

Add your spices and salt to the dry mix and combine thoroughly

4

Stir in your wet mixture until all the ingredients and coated

5

Spread your mix on a parchment lined baking sheet

6

Bake for 40-60 minutes, stirring every 10 minutes

7

Transfer your mix to a bowl and add your berries and dried fruits

8

Serve!

I hope you enjoyed learning how to make your own granola! Check back often for more recipes and kitchen tips Xo.

Recipe

Breakfast Burrito With Rice Paper

burrito with rice paper, Breakfast Burrito with Rice Paper

I order spring rolls pretty much every time my husband and I go out to Thai food. I love the chewy texture and vibrant colors that peak through the veil of rice paper. I’m a big fan of mochi and rice noodles as well! After one of my recent visits to a sushi place, an idea struck me: What if I made a breakfast burrito with rice paper??! Holy shit, am I some breakfast genius?

I did some googling, and it turns out a breakfast burrito with rice paper has been done before.

However, it’s received way less attention than I would think. I’ve seen fruit and floral spring rolls trending on Instagram lately, which I still want to try. This time, however, it was a matter of what was available to me, so I was inspired to create a colorful breakfast burrito with rice paper.

The great thing about this recipe is how versatile it is. Rice paper is naturally gluten free, which is a huge plus! That opens the possibilities to an even larger and more diverse group. I’m always on the lookout for easy and quick meal options for my husband, as well as any guests that grace our doorstep.

You could incorporate fried tofu, sweet potato, hash browns, cheese, veggies, or nearly anything else that belongs with breakfast. I’d love to try both a tofu scramble and breakfast oats in some rice paper soon.

For the sake of simplicity—and what I had in my fridge—I used egg, avo, and goat cheese for my recipe today. I also purchased rice paper on Amazon ahead of time in preparation.

I hope you enjoy this recipe for a Breakfast Burrito With Rice Paper!

Breakfast Burrito With Rice Paper

Print Recipe
Serves: 1 Cooking Time: 5 minutes

Ingredients

  • 2 eggs scrambled (or 1 cup of cubed tofu, scrambled)
  • 1/2 small avocado
  • 2 oz. goat cheese
  • 2 sheets of rice paper
  • Sriracha

Instructions

1

Scramble eggs until fluffy

2

Cut and cube avocado

3

Soak each sheet of rice paper in warm water for 5 seconds (or per manufacturer instructions) and place on a plate

4

Put all ingredients on the rice papers, distributing evenly, and roll.

5

Serve with ketchup, hollandaise, hot sauce, or whatever!

Recipe

Vibrant Roasted Red Beet Hummus

Roasted Red Beet Hummus

The first time I had roasted red beet hummus, I was a total stranger to all things beets. As a teenager, I worked at a Round Table Pizza (if you don’t know what that is, you aren’t missing much). I had to work the salad bar basically every shift. These duties included refilling the various toppings. One of them—you guessed it—was beets. I’m sure the beets were canned or something, but the smell of 3 gallons of beets in juice was enough to make my stomach turn.

It took me exactly fifteen years to get over my repulsion, and it was roasted red beet hummus that did the trick!

The gorgeous color of this mysterious dip captivated me the first time I had it at a party. Once I learned it was beet hummus, I was disgusted (of course) but I didn’t want to be rude, so I tried it. It was delicious! The essence of beet was still there, but it was leveled out by the chickpeas and garlic. I was in love! This led to me eventually trying beet in my juices and now I really love it.

This roasted red beet hummus is a beautiful addition to any table. Hummus is already a healthy dish. Beets enhance it as a great source of folate (vitamin B9), fiber, manganese, vitamin C, potassium, and iron.

Roasted Red Beet Hummus

Print Recipe

Ingredients

  • 2 medium sized beets, roasted
  • 1 can of chickpeas (drained and rinsed)
  • 2 heaping tbsp. of tahini
  • Juice of 2 lemons
  • Zest of 1 lemon
  • 3 cloves of garlic
  • 1/2 tsp. salt
  • 1/4-1/3 cup of olive oil

Instructions

1

Preheat your oven to 425 degrees F

2

Rub beets with a little olive oil and wrap individually in foil, place on a baking sheet and roast for 1-1.5 hours

3

Allow beets to cool, then cut them into 1" cubes for blending

4

Place all ingredients into a blender and blend until smooth. Add water if you need to thin it out

5

Refrigerate at least 2 hours before serving (I just like cold hummus)

Recipe

Simple 4 Ingredient Recipe for Vegan Parmesan

Recipe for Vegan Parmesan

A recipe for vegan Parmesan is a must in any vegan kitchen! After all, one of the things that turns a lot of people away from veganism is the lack of cheese. I’m not vegan anymore, but when I was considering trying it years ago, I couldn’t picture myself abstaining from parmesan on my pasta or pizza. Vegan cheese has come really far since the 90’s, I mean cashew cheese like changed everything. Meltable vegan cheese?? Yes, please!

Oftentimes with veganism the thing people miss is the consistency or texture that comes from cheeses and creams. Furthermore, in a lot of cooking cream based sauces can be a vehicle for other spices and flavors. Vegan cheeses with a cashew base have revolutionized raw and vegan cooking. This recipe for vegan Parmesan is no exception!

Use it to top salads, rice bowls, pasta, and in your raw vegan creations! I love to use it on a vegan Caesar or even to garnish a soup. Again, the possibilities are endless.

Wow your naysayer guests with this recipe for vegan parmesan.

Recipe for Vegan Parmesan

Print Recipe
Serves: 4 Cooking Time: 5 minutes

Ingredients

  • 1 cup of raw cashews
  • 4 tbsp nutritional yeast
  • 3/4 tsp salt (add more for taste, start slow if you don't enjoy saltiness)
  • 1/3 tsp garlic powder

Instructions

1

Add all ingredients to a blender or food processor until it's super fine and resembles Parmesan cheese flakes. You're done!

Recipe

Cauliflower Rice for Lazy People

cauliflower rice

Do you ever look at a complicated recipe and just say “fuck it,” and order pizza instead? Been there…many…many…times! But it doesn’t have to be that way! Cooking can be easy, fun, and no longer something you dread. With this in mind, I bring you, Cauliflower Rice for Lazy People!

When I first heard of cauliflower rice and cauliflower mash, it involved a lot of boiling and steaming.

It was just too much, and I feel like I always ended up with a watery, piss poor excuse for my favorite starches. This Cauliflower Rice can be used as a rice replacement in almost any rice dish. You can add butter, cheese, or a vegan alternative like nutritional yeast to flavor it.

This is such a fantastic option because it’s a simple way to take in fewer calories and carbs. Especially serving it at night, it’s hugely beneficial to lower your carb intake after 3:00 pm or so. I for one always feel like total shit if I eat something heavy for dinner. My husband and I eat at like 7:00 pm usually and it’s close enough to bedtime to make me feel like crap, plus I hate sleeping on a full stomach. You can incorporate this recipe for cauliflower rice into most fad diets! Keto or Atkins, add some butter! Eating “clean,” don’t add a thing! I’m sure even your Weight Watchers coach would approve!

cauliflower rice

cauliflower rice

cauliflower rice

cauliflower rice

cauliflower rice

Cauliflower Rice for Lazy People

Print Recipe
Serves: 1 Cooking Time: 10 minutes

Ingredients

  • 1 head of cauliflower
  • 1 tbsp. of oil
  • Cheese Grater (boxed is best)

Instructions

1

Wash the cauliflower

2

Dry if off as much as you can

3

Remove the greens and any large stem from the bottom

4

Quarter it lengthwise down the stem

5

Grate the cauliflower like you would cheese

6

Saute it, covered, over medium heat with the oil for about 7 minutes. Stirring occasionally

7

Season it however you want. I use salt & pepper, you could also add cheese or nutritional yeast.


Recipe

Roasted Root Vegetable Over Cauliflower Rice

Roasted Root Vegetable Entrée Over Cauliflower Rice

I’ve been playing around with basic rice bowls and root vegetables lately. If you’ve seen my recipe for Butternut Squash Soup then you know I’m pretty much obsessed with fall foods and roasted veggies. Don’t get me wrong, I love a fresh summer salad, but Fall will always have my heart.

This Roasted Root Vegetable Over Cauliflower Rice is quick and breezy to prep. I love the ease of walking away from a meal, cooking it that is. Especially relevant, roasting is great for the house person or stay-at-home mom/dad because it allows you the freedom to do a ton of other stuff as you wait to plate. Furthermore, seasonal veggies are so accessible to almost any region. Hit up your local farmers market and see what they have seasonally. Many of the proprietors will be able to tell you what they stock, and when, so you can prepare menus a couple weeks out.

Cauliflower rice is simple and quick to make. Once you get these simple steps down, the possibilities are endless. Most of all, food in bowl form is such a relief. It plates beautifully and it’s often the easiest style to prepare.


Roasted Root Vegetable Entrée Over Cauliflower Rice

I hope you enjoy this recipe for Roasted Root Vegetable Entrée Over Cauliflower Rice.

Roasted Root Vegetable Entrée Over Cauliflower Rice

Print Recipe
Serves: 6 Cooking Time: 1 hour

Ingredients

  • 3 Large carrots, cut into 1" pieces
  • 2 Sweet potatoes
  • 2 Golden beets
  • 2 Large beets
  • 1 Large red onion
  • 1 Acorn squash
  • 6 cloves garlic
  • 3 tbsp. Olive oil
  • Salt & Pepper to taste

Instructions

1

Preheat your oven to a roasting temp of 425 °F

2

Cut all your veggies. Wash and scrub the beets and dice into 1" cubes, quarter the onions, slice the peeled and deseeded squash into 1/2" slices, slice or cube the sweet potatos, and dice the carrots

3

Toss the veggies in the olive oil, spread on a foiled rimmed baking sheet. I did two rounds (2 sheets) at 45 minutes each. Make sure to toss/ turn over your veggies halfway through

4

Remove from oven and serve over a rice, quinoa, or cauliflower rice. Try it with my Dill and Parsley Cashew Sauce!

Notes

This recipe wins for meal prep because—if it's just you and a roomie/ spouse—this can be lunch for a week! Bring it to spice up your bland side-salad at the office! I absolutely love sending my husband to work with additions like these. A side of roasted veggies can go a long way, and your pocketbook will notice too! Waaaay better to spend $6 on lunch every day than $15!

Recipe

Dill and Parsley Cashew Sauce

This Dill and Parsley Cashew Sauce will save almost any meal.

It’s so tangy and herby it will literally make dry toast taste good. I love to do special sauces because usually, they’re so quick—like throw a bunch of shit in a blender—quick! Furthermore, they can take a dish from basic to extraordinary.
So often with cooking, the thing people are missing is seasoning or sauce. I didn’t use a pinch of salt in anything until I was 25 and it opened up my eyes to the endless possibilities in my kitchen. This Dill and Parsley Cashew Sauce is great as an addition to a Meatless Monday, or anywhere you find the need for some tangy, herby goodness.

I usually use this Dill and Parsley Cashew Sauce in a rice bowl recipe. It’s great over roasted root vegetables, rice, or even (especially) tacos! Just imagine this delicious mix on a veggie taco with some mango, um…yes, please?!? Here’s a link to a recipe I featured using this Dill and Parsley Cashew Sauce.

I love this recipe for Dill and Parsley Cashew Sauce because it’s so easy to make.

Furthermore, if you’re used to cooking vegan like I am, you know to keep cashews on hand. The great thing about this Dill and Parsley Cashew Sauce is that it’s also raw. Your omnivore guests would never guess this scrumptious, creamy sauce was vegan.

You can substitute lemon if that’s what you have on hand, you do you. Honestly, any variation of this sauce is gonna be delish.


I hope you enjoy the versatility of this vegan Sauce!

Dill and Parsley Cashew Sauce

Print Recipe
Serves: 8 Cooking Time: 5 minutes

Ingredients

  • 1/2 onion, chopped
  • 1 cup of cashews (preferably soaked for 2 hours, but honestly it's whatever). If you DO soak, don't presoak a lot cuz they WILL mold
  • 1/2 cup water
  • Juice from 2 limes
  • 1/2 cup loosely packed chopped parsley
  • 1/2 cup loosely packed dill
  • 2 cloves of garlic, peeled
  • Salt & Pepper to taste

Instructions

1

Chop yo shiiiiit. That's the 1/2 onion, dill, and parsley

2

Put the 1 cup of cashews in the blender, followed by your liquids (lime juice and water), then comes the 1/2 onion, garlic, and the herbs.

3

Blend it ALL

4

Throw in some salt n' pepa and blend again

5

Serve