Lately, my husband and I have been putting a lot of focus on making our porch and back patio more comfortable for entertaining. This has included a lot of things, such as purchasing new patio furniture and an ivy trellis, which I’ll feature in another post. Something I’ve always really wanted was a porch swing. I find something romantic in the safety and coziness of a good porch set-up. An ideal place to sip wine or coffee while cozied up to loved one. So after shopping some things online, I decided it would be best for me to learn how to build a porch swing.
I viewed lots of tutorials and different DIY porch swing options. There are quite a few beautiful tutorials on how to build a porch swing, but they aren’t accessible for the average person. Most people don’t have every type of saw available to them. Furthermore, even some of the more basic models needed pocket holes, which are great but I didn’t want to fork out extra money for a Kreg jig. I wanted to design something that was functional, cute and—most of all— one that required as few tools as possible.
I have a lot of experience with basic woodwork because of building frames, mural panels, and wall jacks for festivals I work. If there’s enough lumber available, I can build anything. However, you don’t have to have previous experience to build a porch swing.
When you build a porch swing, it’s of the utmost importance that it’s safe. Most of all, no one wants the embarrassment of having their swing collapse on a guest or family member. Trust me; my brother has had two hammock swings collapse on him at my place (I didn’t make those, though, and was using a Husky brand velcro strap to hang).
Before you tackle this instructional on how to build a porch swing, read through everything first to ensure you don’t have to re-do steps.
Release of Liability:
These instructions and guidelines are provided as a resource and general advice/ recommendations regarding installing a porch swing. Each situation is unique, and it is your (the reader’s) responsibility to ensure the safe installation of any porch swing in and out of your home.
This notice serves as a release of liability for thornandthimble.com and Sionann Ghahremani.
How to Build A Porch Swing
SUPPLIES USED
- Tape measure
- Drill
- 2.5″ Wood Screws
- 1.5″ Wood Screws
- 2″ Finishing nails
- Hammer (or nail gun if you’re lucky)
- Sand paper/ Electric sander
- Exterior paint
- Safety glasses
CUT LIST
- (2) 2′ x 4′ @ 55″ (base frame)
- (5) 2′ x 4′ @ 21″ (base frame)
- (3) 2′ x 4′ @ 27″ (back supports)
- (12) 1′ x 3′ @ 55″ (seat and back slats)
- (2) 1′ x 4′ @ 25″ (I accidentally miscalculated and did 24″, whoops)
- (2) 1′ x 4′ @ 13″
HANGING MATERIALS
- (2) Packs of 15′ chain link (zinc coated) for 340 lbs, working load
- (4) 1/4″ quick links with 880 lb, working load
- (4) Nylon lock nut, coarse
- (2) 5/16″ x 4″ Screw hook lag thread
- (8) Fender washers 1.5.”
- (4) 5/16″ x 4″ Eye Bolt with Nut
The entire project cost me about $90.00, but if you need to purchase essentials link screws, wood glue, etc., you may end up paying closer to $100.
Start with building the frame.
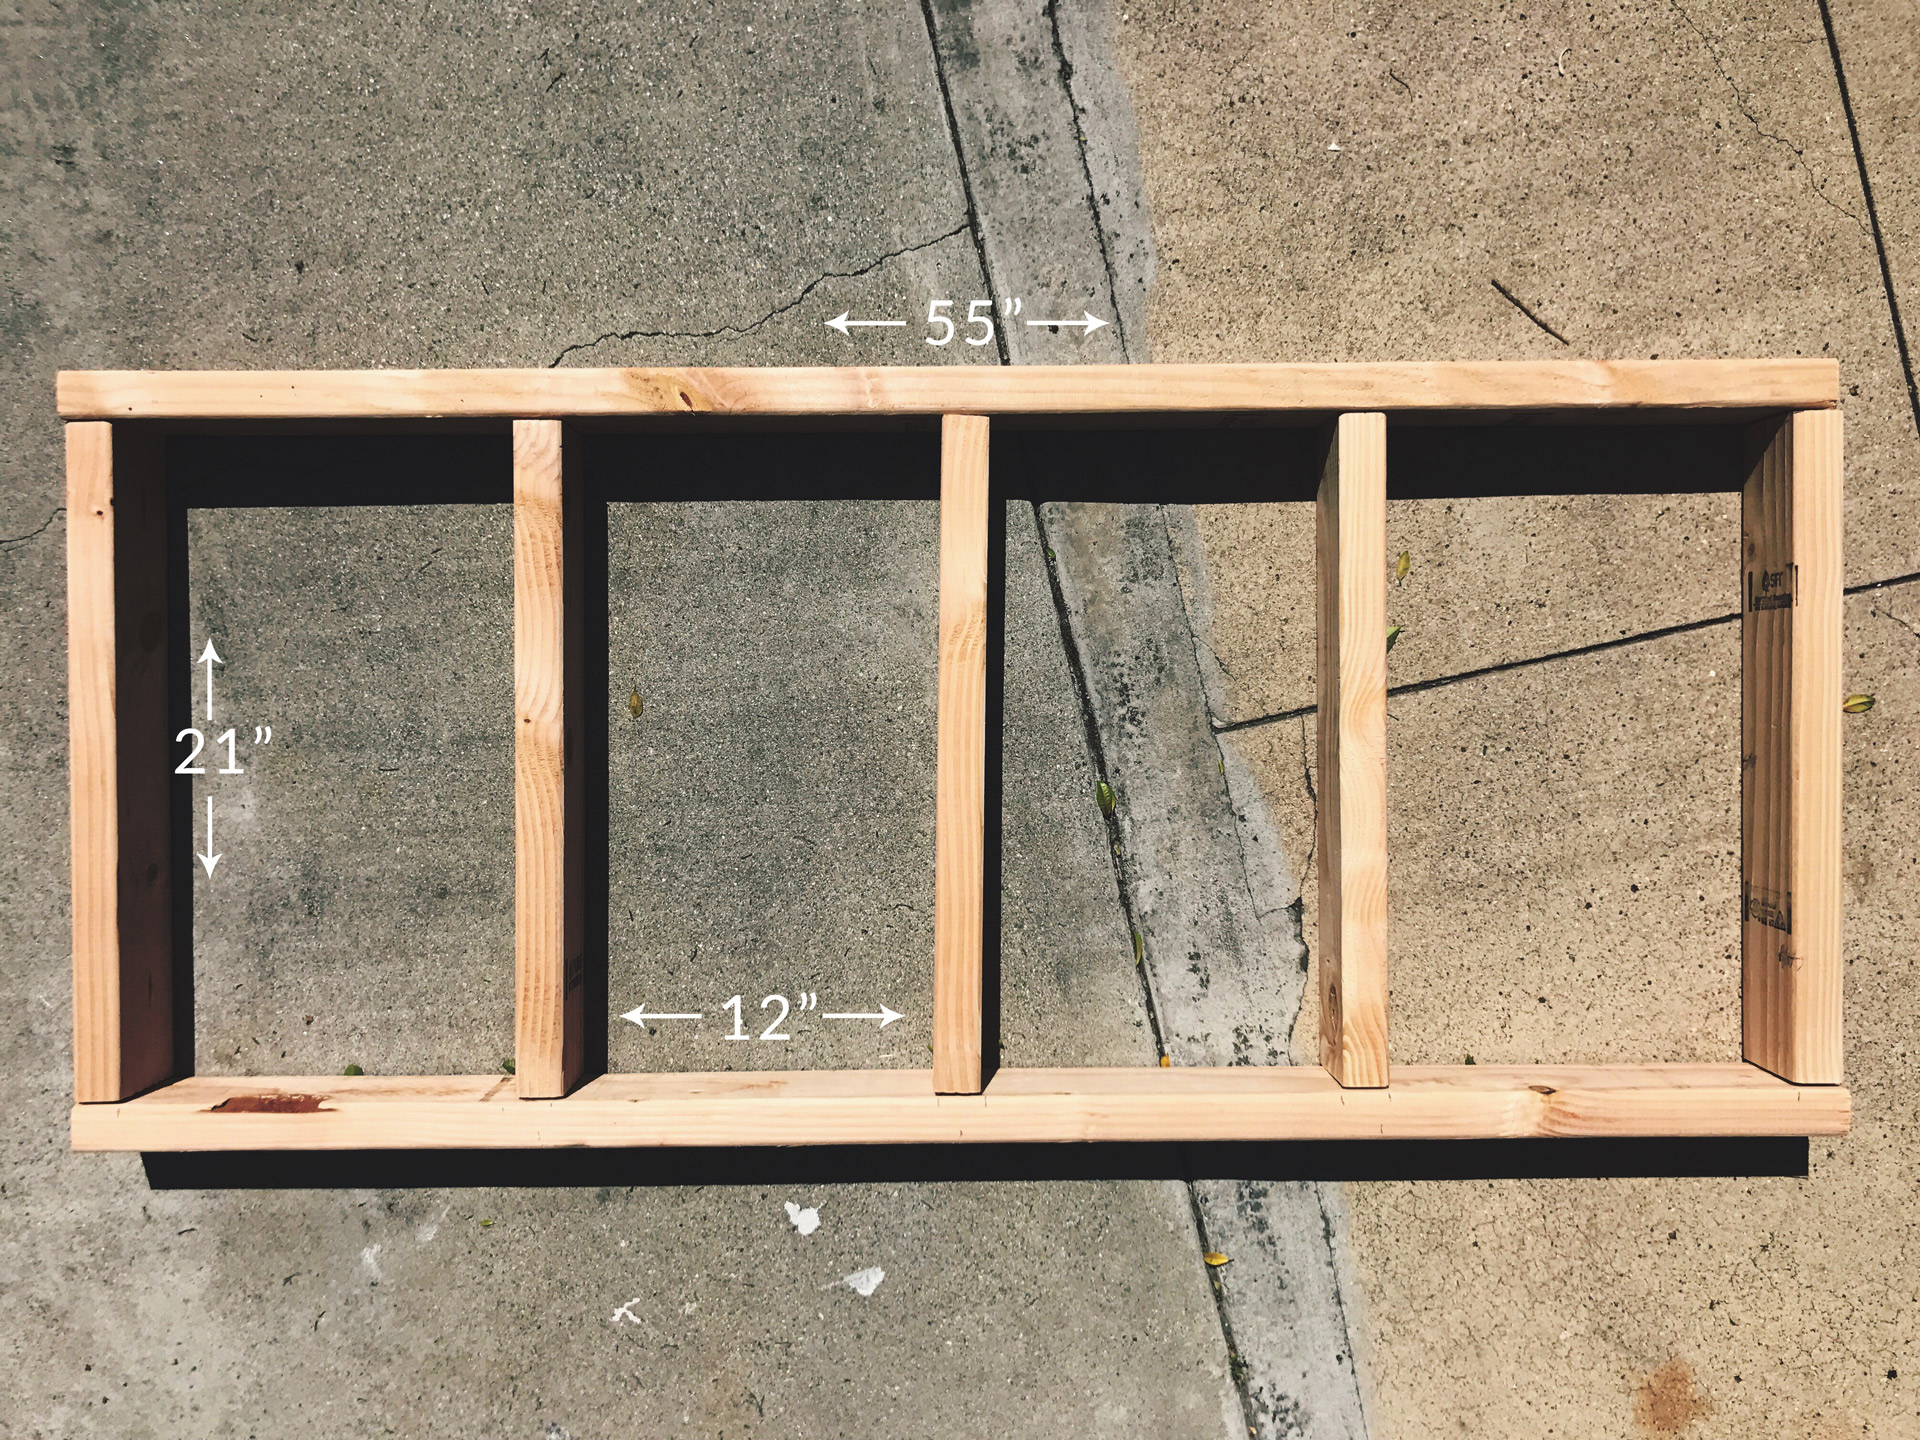
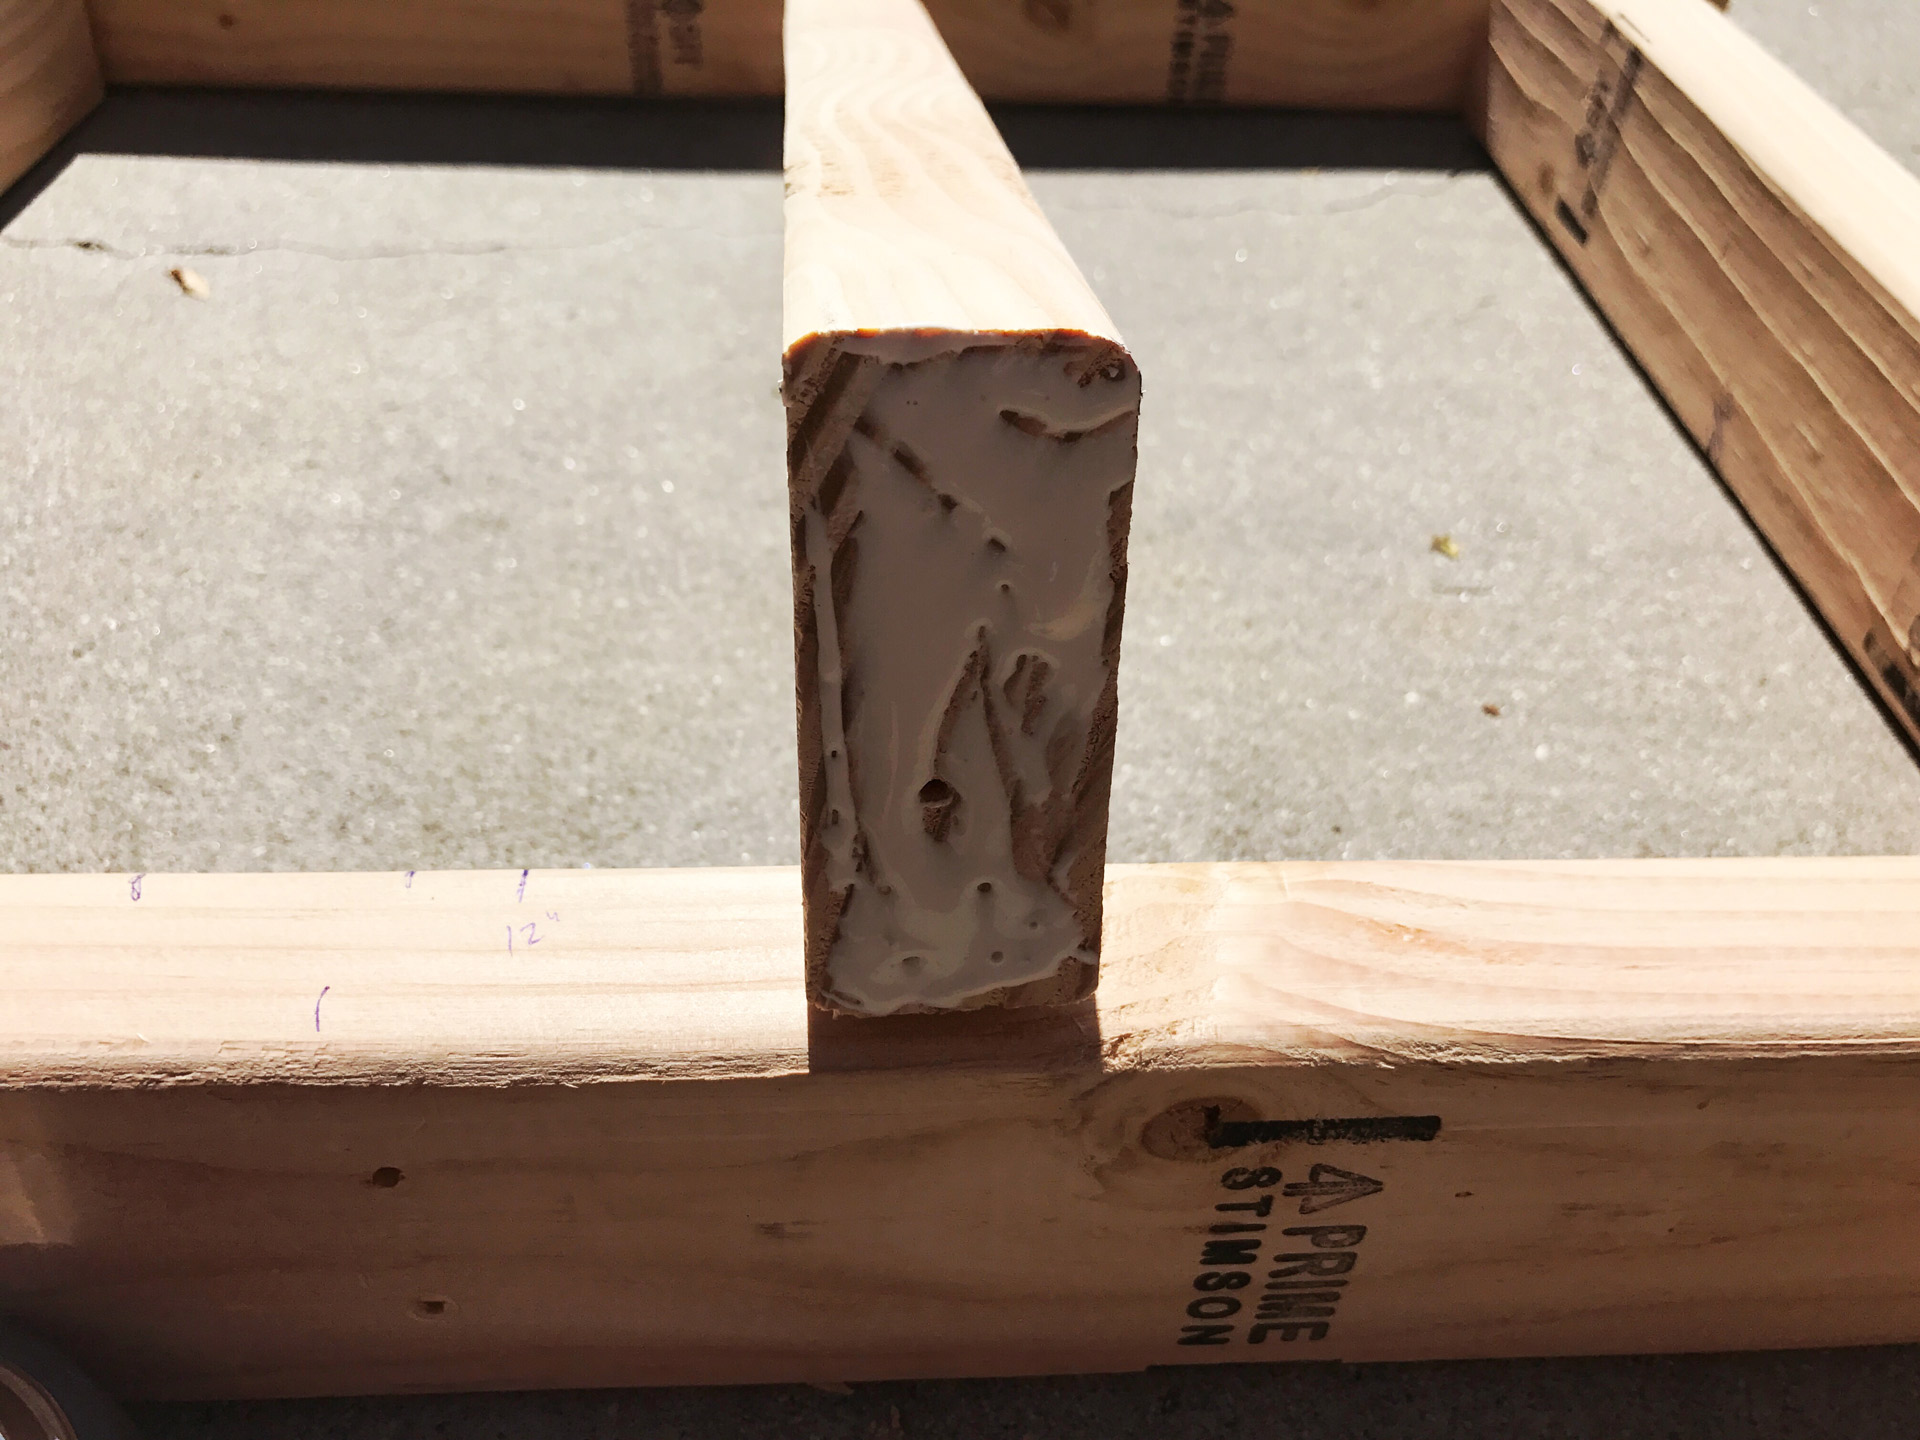
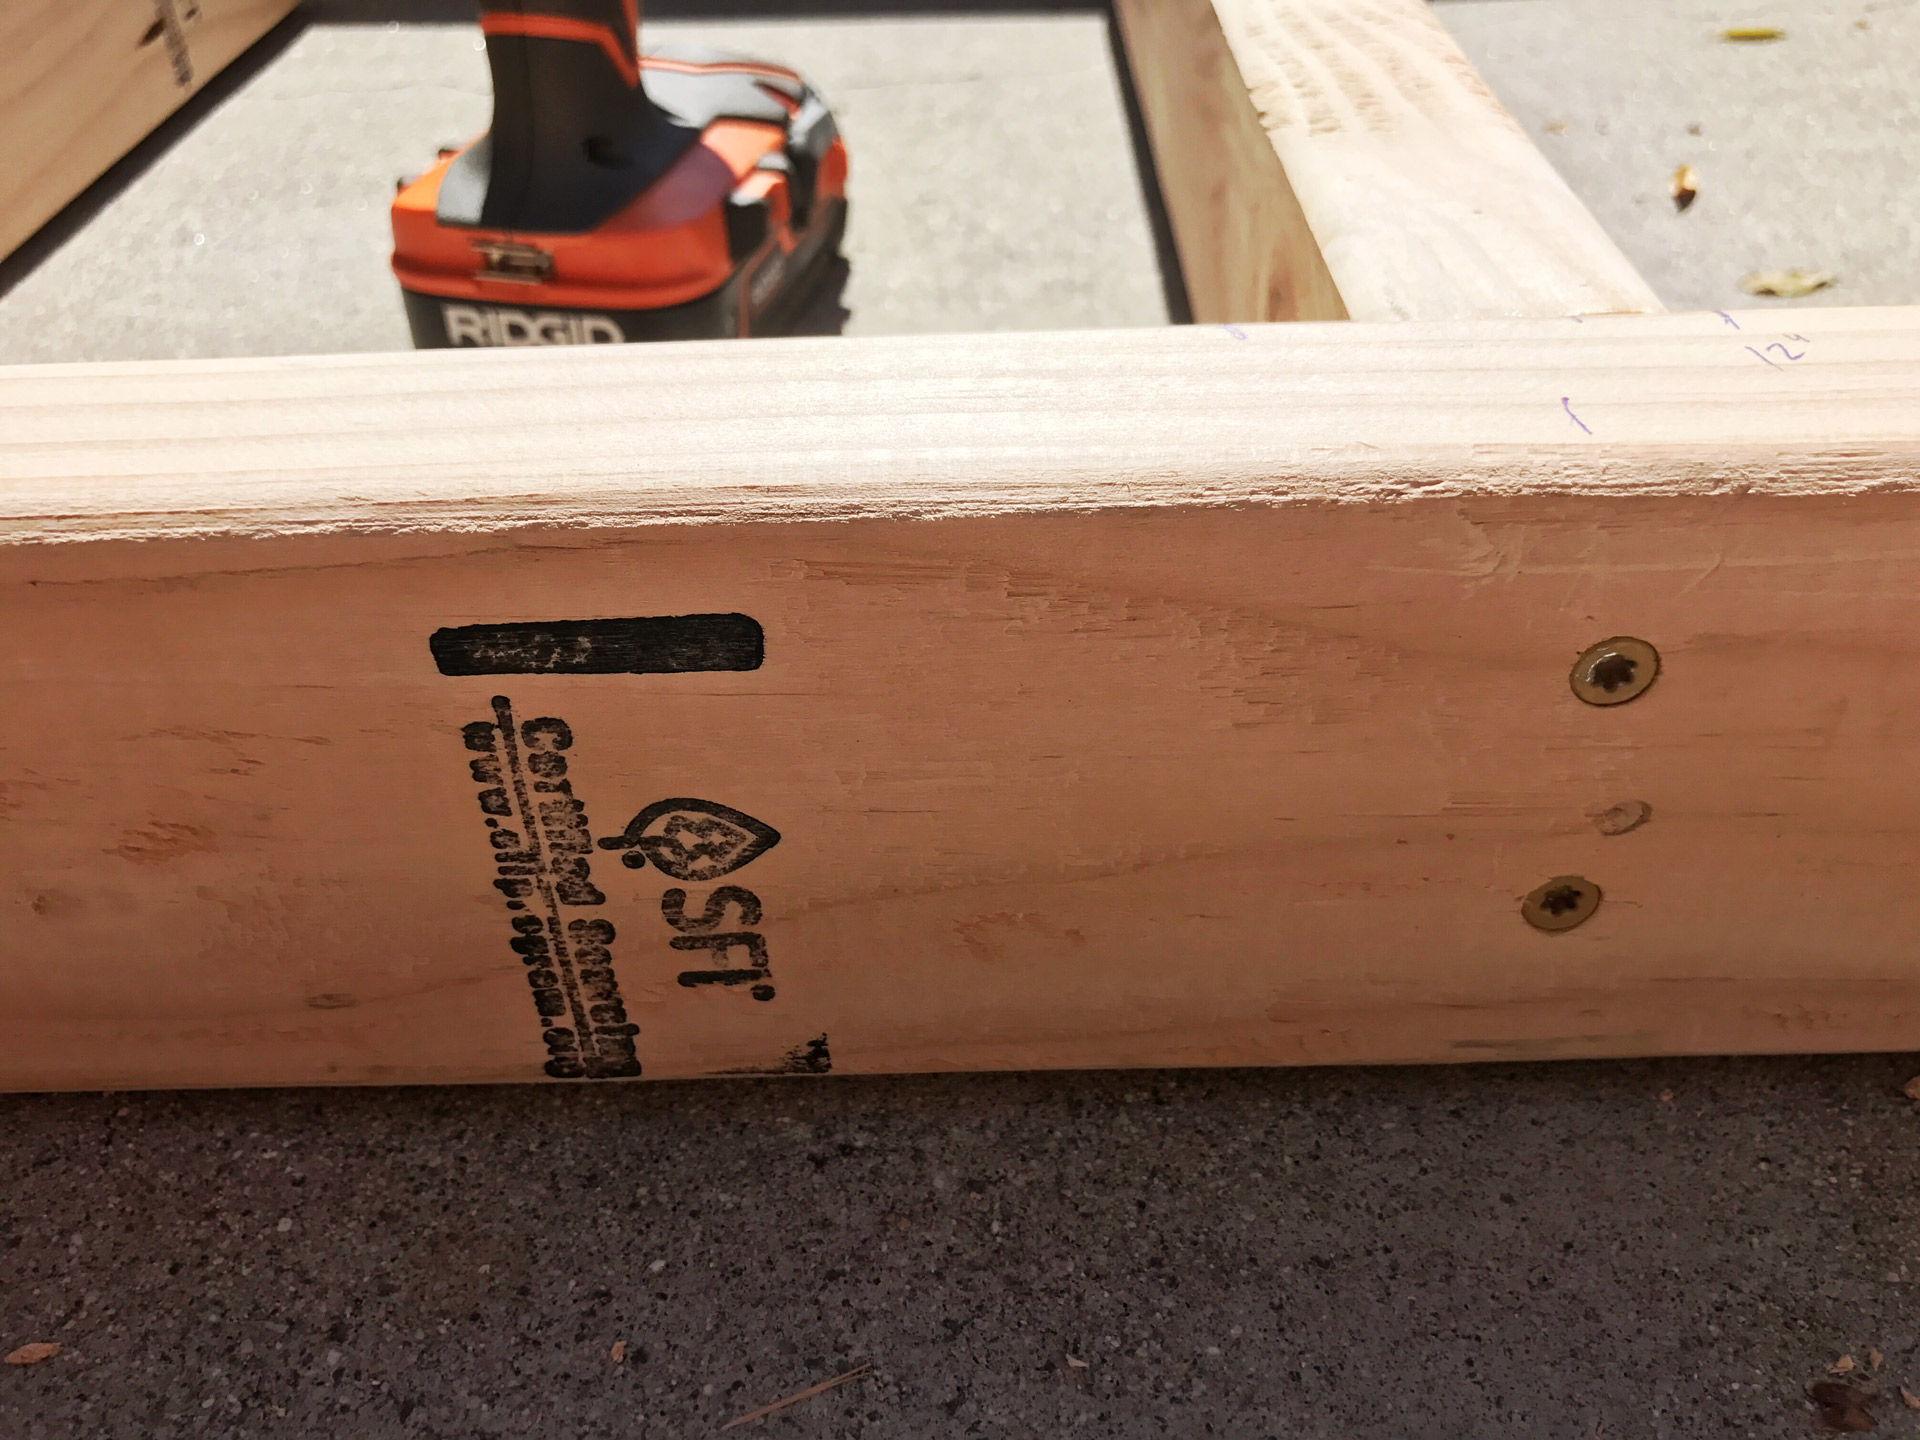
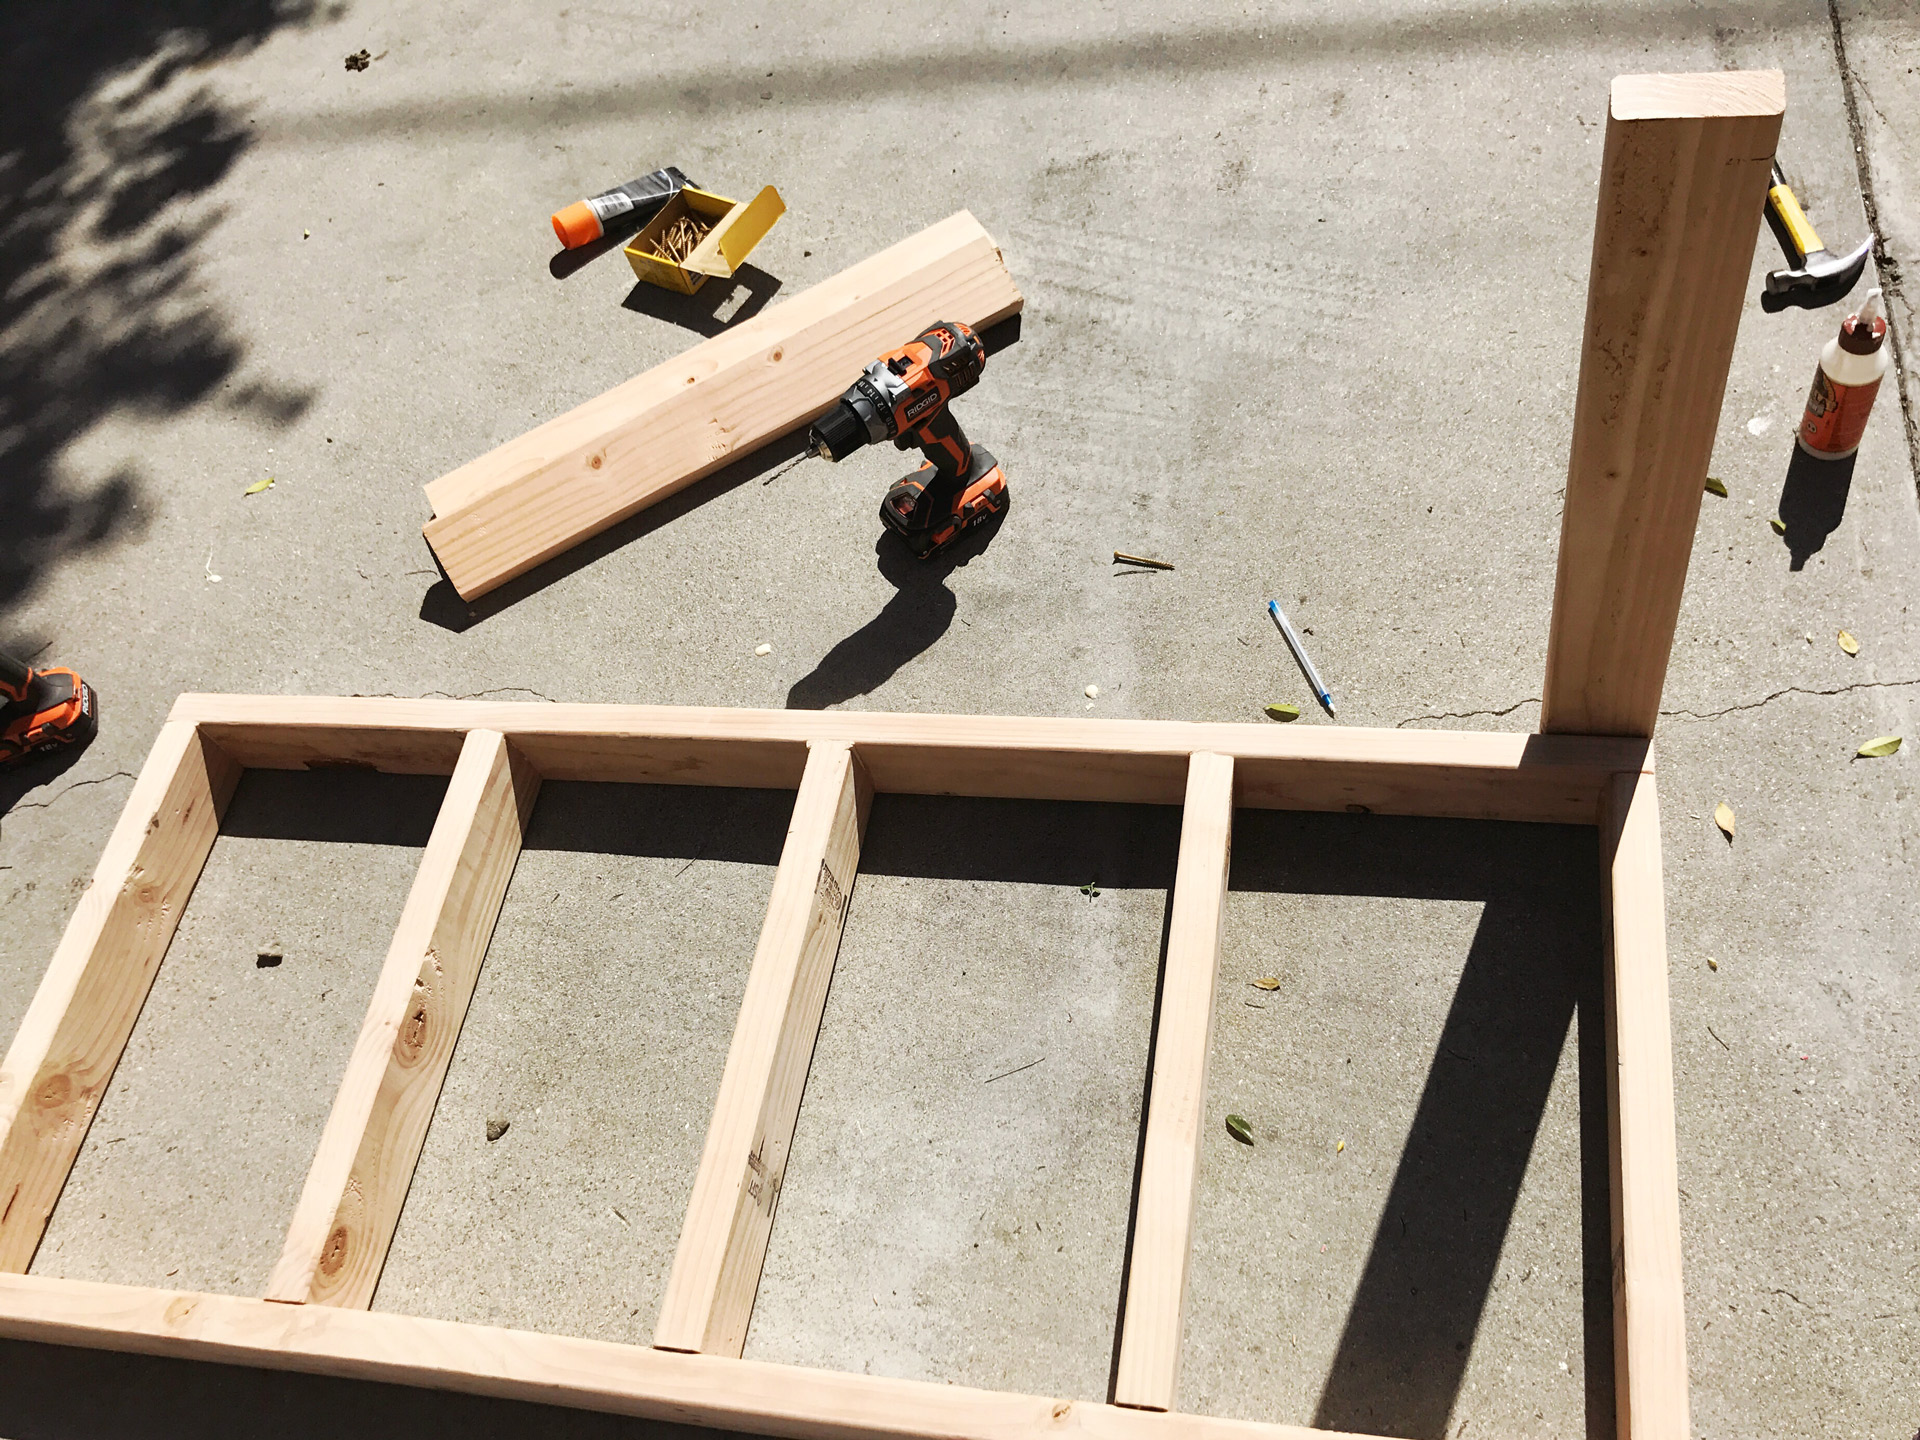
Your frame includes the (2) 55″ 2′ x 4’s and the (5) 21″ 2′ x 4’s. There will be exactly 12″ of space between each seat support and the next.
First, I drilled pilot holes before I began gluing or screwing. For pilot holes, your want to use a bit that’s at least as large as the smallest diameter of your 2.5″ screw. Once that’s all the way through both pieces, you should use a drill bit that is the same size of your screw to re-pilot the first piece of wood/ entry point for the screw. The wider pilot hole here will allow the screw to pull the piece you’re attaching tightly, this eliminates any gaping in the wood. You can read more about why to use pilot holes here.
Once the pilot holes were complete, I applied wood glue to the seat support end and attached the screws, 2 for each piece. Then I repeated it on the other side.
Begin attaching the (3) back supports.
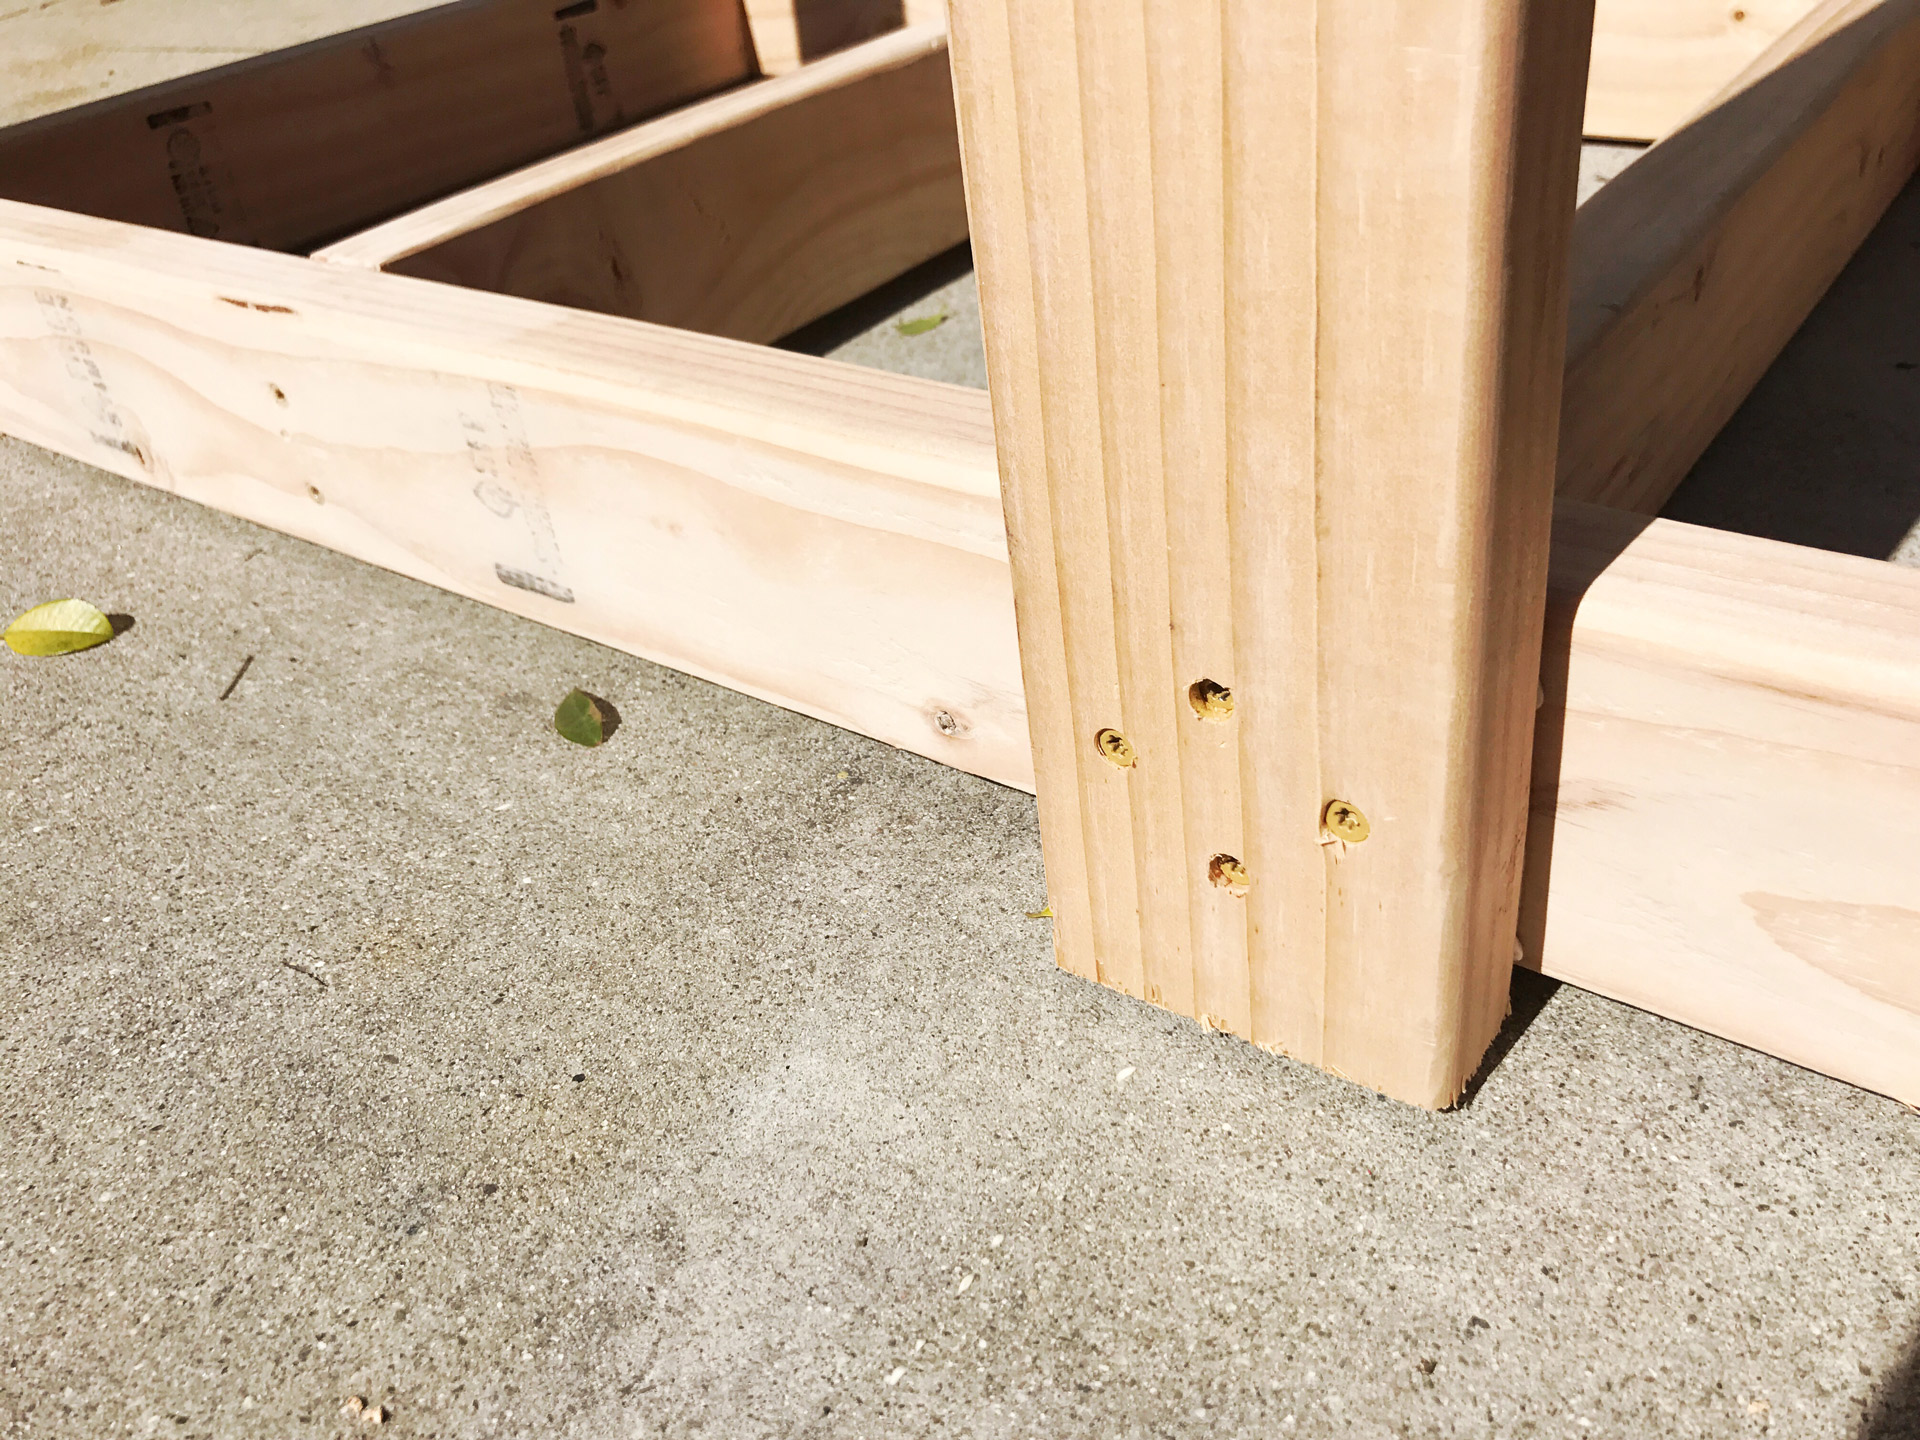
Now you’ll attach the (3) 27″ back supports. I used the same method of piloting, gluing and drilling here. Instead of (2) screws, I used (4) for each support.
Lay your swing on it’s back to attach the front armrest support.
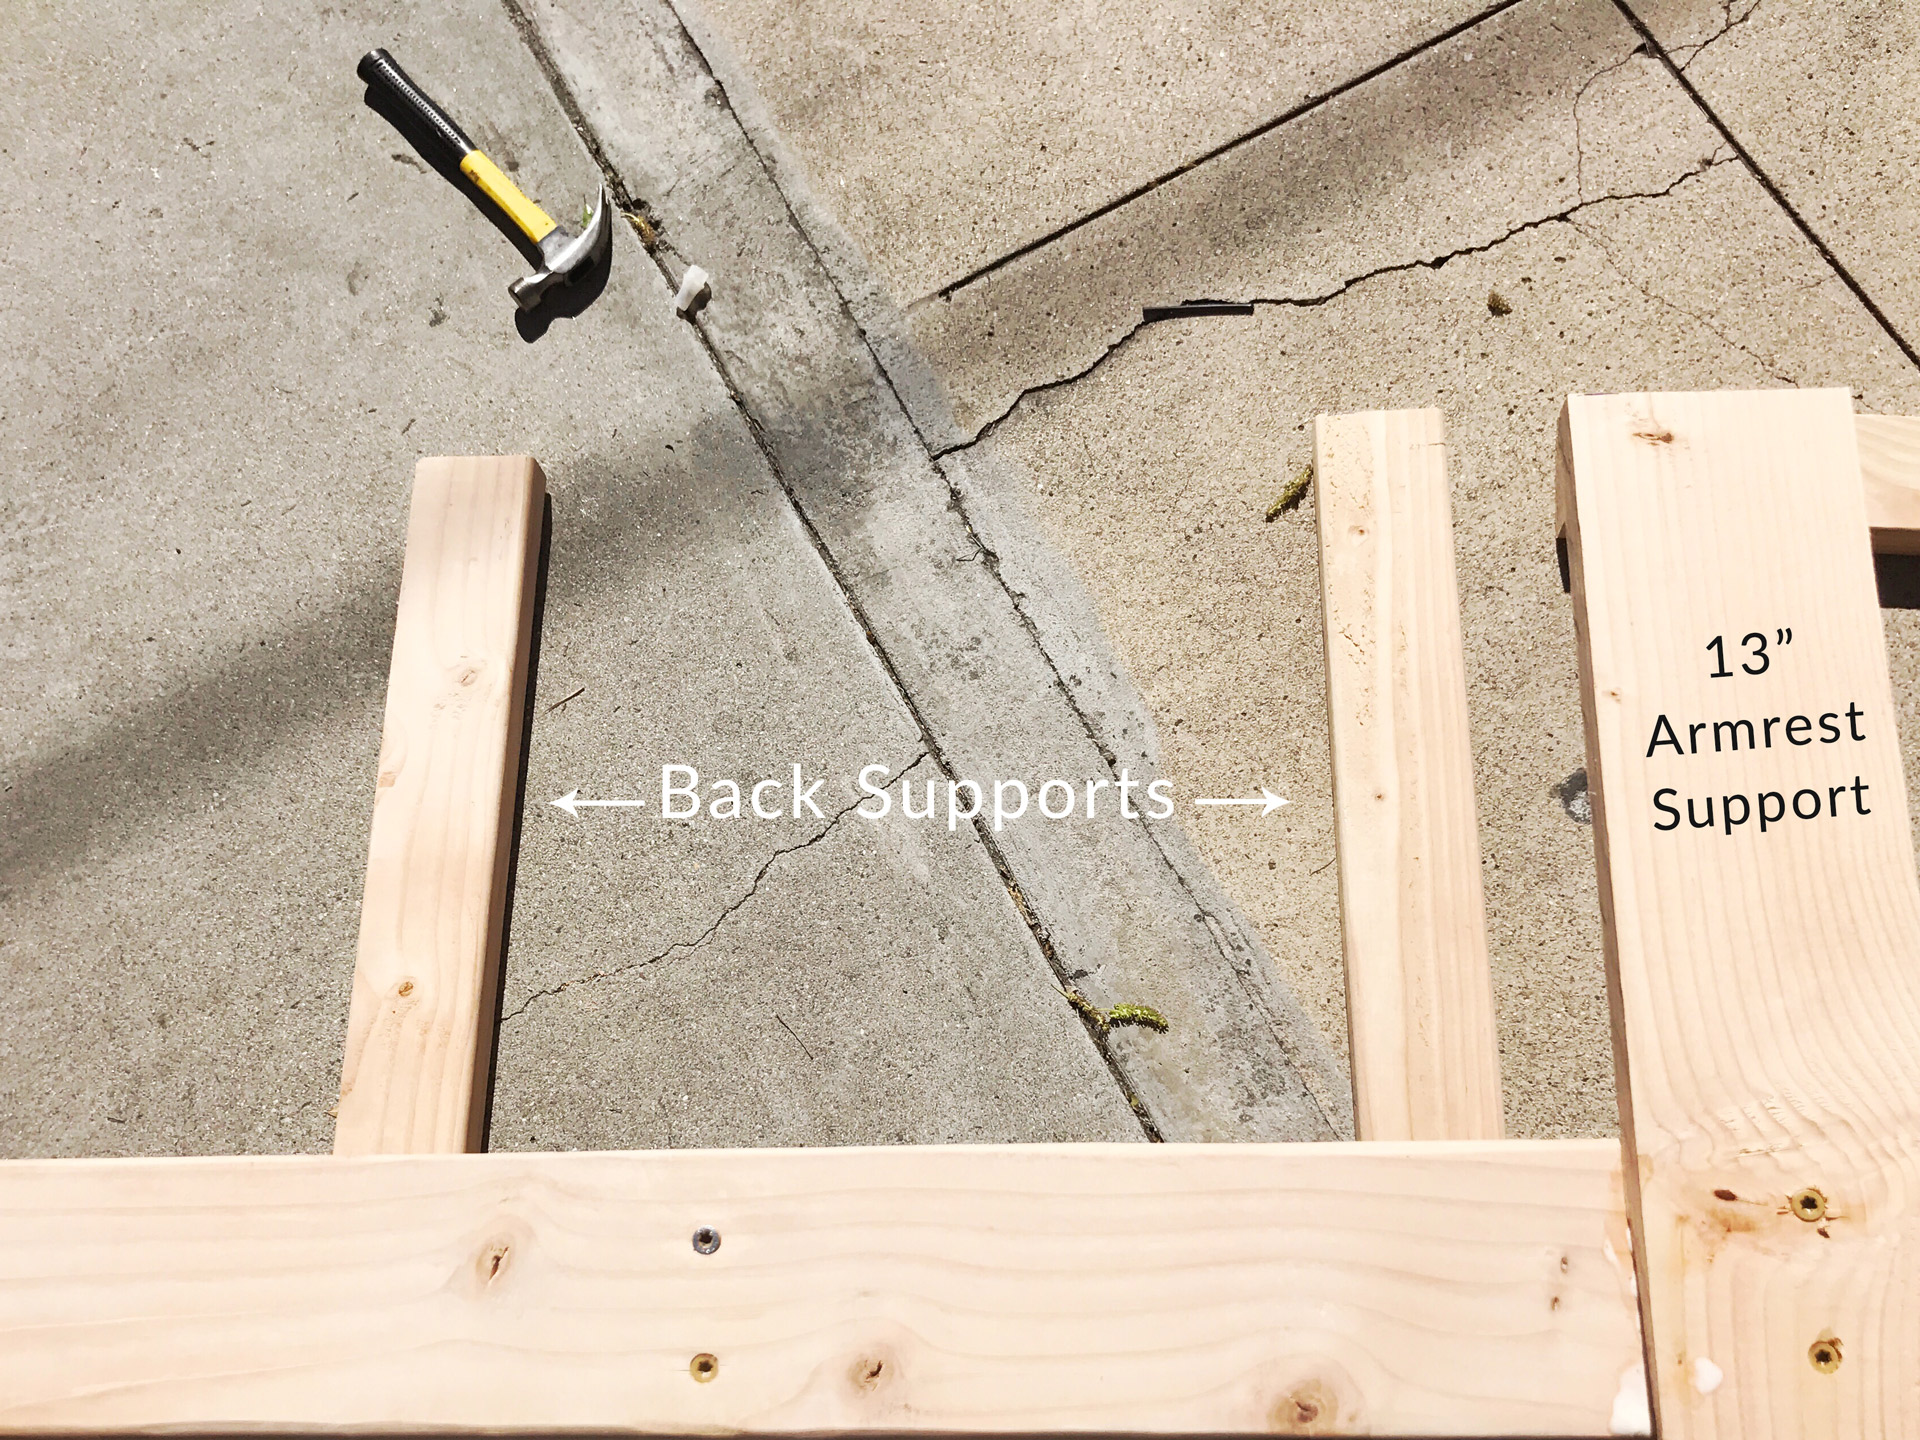
Next, I attached my (2) 13″ armrest pieces to the front of each side of the swing using (2) screws and wood glue. Make sure to use your smaller 1.5″ wood screws here to avoid hot-points.
Begin attaching (7) of the 55″ seat slats to your swing with the 2″ finishing nails.
You’ll nail them straight into all the base supports beneath them, being sure to keep the sides aligned neatly. I attached the back and front seat slats first, so each was flush with the back supports and front armrests, respectively. Then, I worked inward giving each slat a 1 1/4″ gap between them. I used (3) nails on the outside edges, and (2) nails per point of contact for the rest. Use your best judgment; things should be getting pretty sturdy by now.
Attach the 25″ armrest after nailing in the first two bottom (5) 55″ back slats.
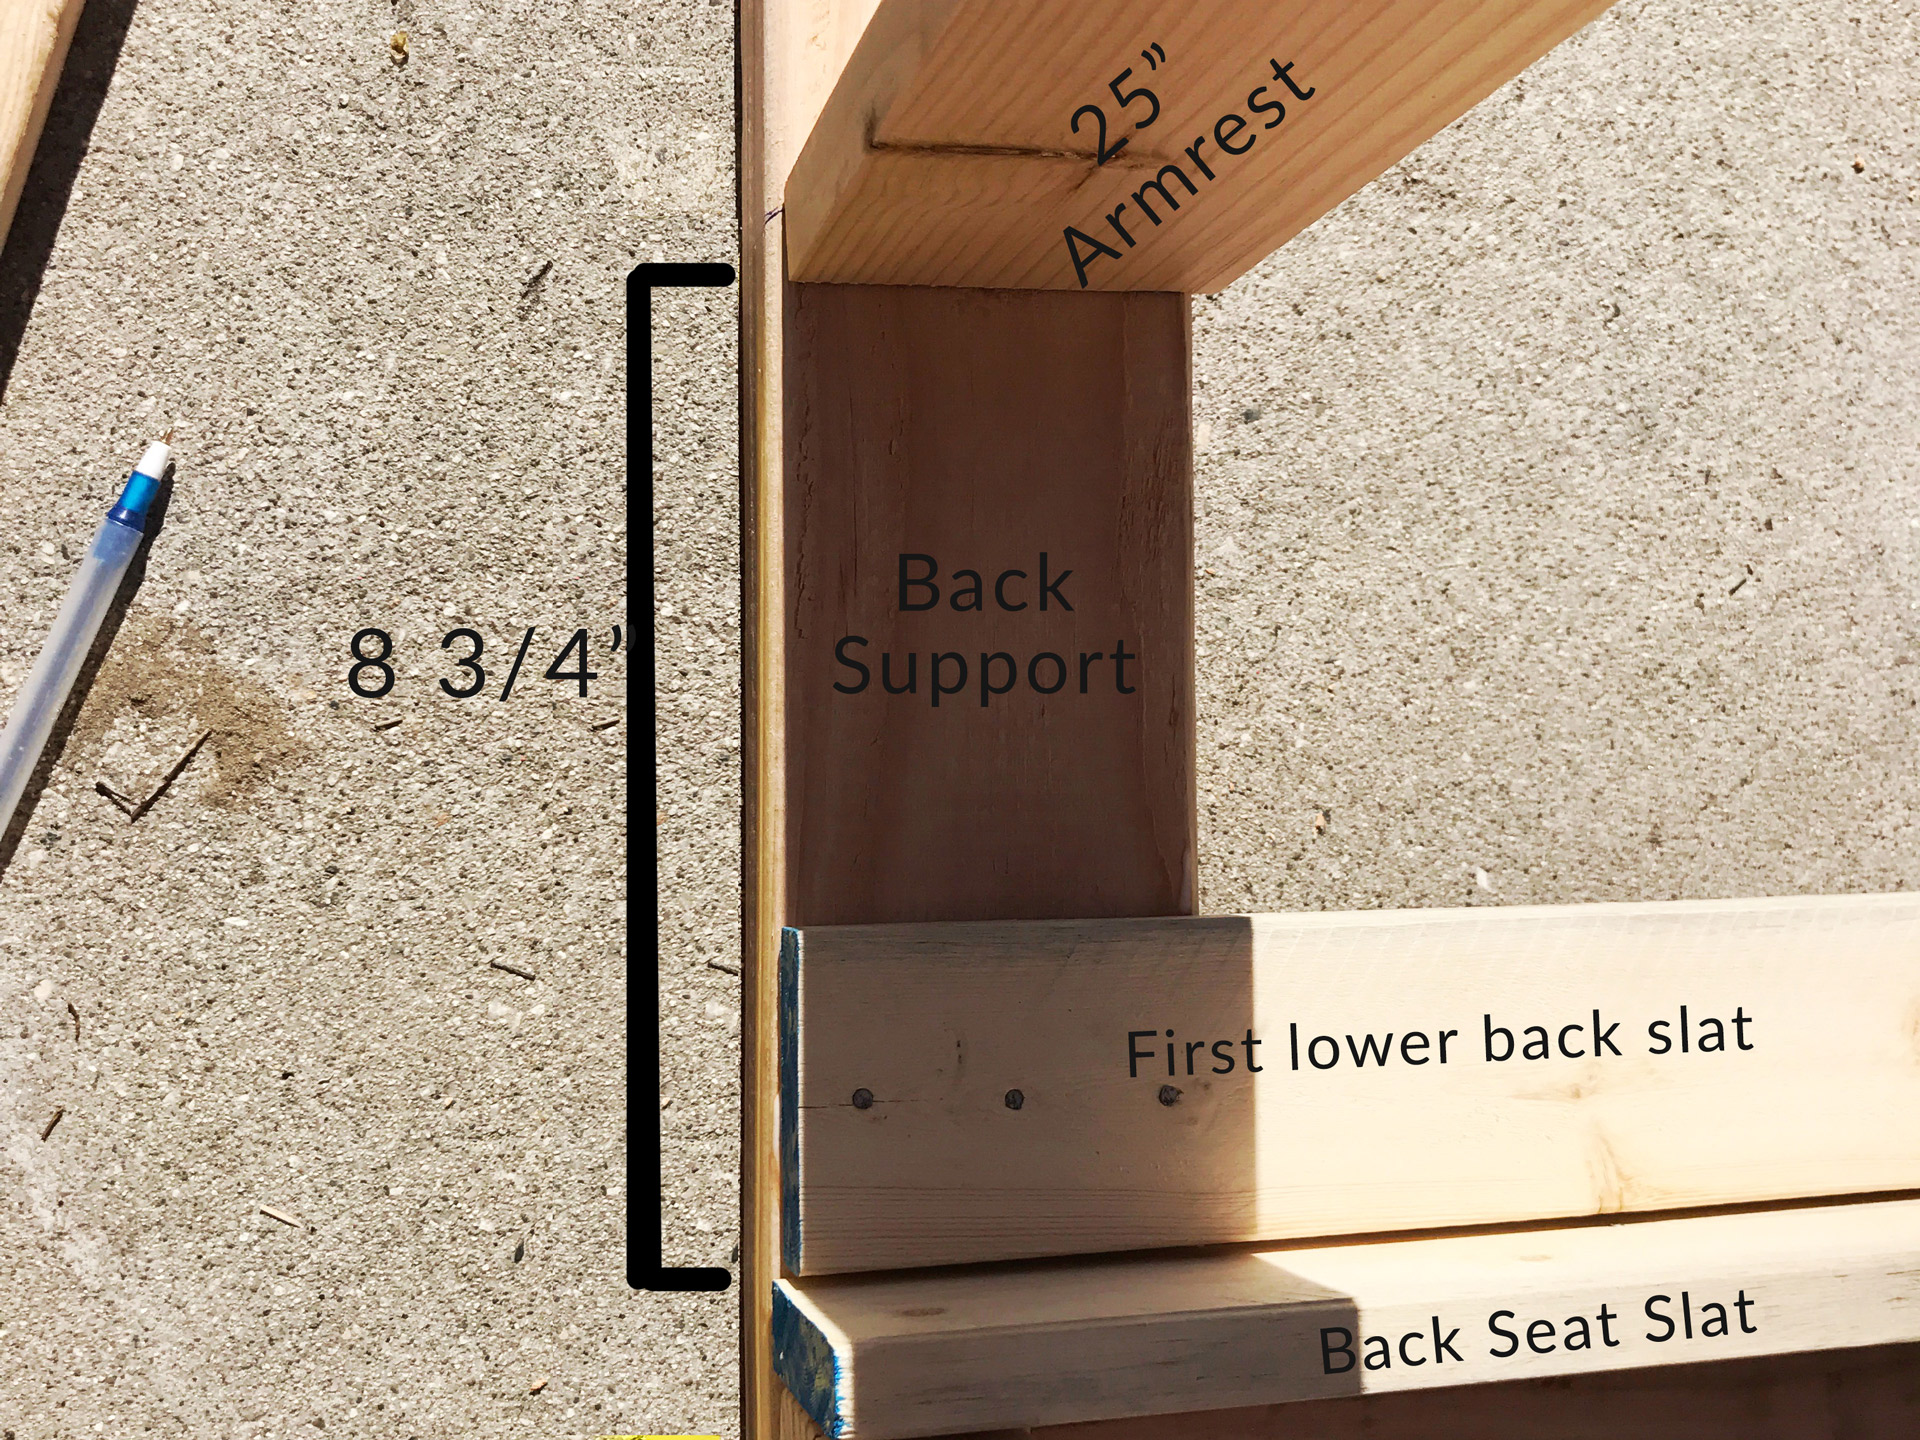
I started with doing the top and the bottom slats first again. The top slat should be flush with the upper/ top part of the back supports, and the bottom slat should be flush and on top of the back seat slat.
The top of the second back slat from the bottom should be at exactly 8 3/4″, this will allow your to rest your 25″ armrest perfectly on that second slat for support.
Once that 2nd back slat is in, attach the 25″ armrest using finishing nails. Continue connecting the remainder of your backrest slats with equal spacing.
FINISHING
Use a piece of sandpaper or an electric hand sander to sand down any rough edges or pieces of wood. You want your swing to be splinter-free.
Paint your swing with whichever color exterior paint you desire!
HANGING
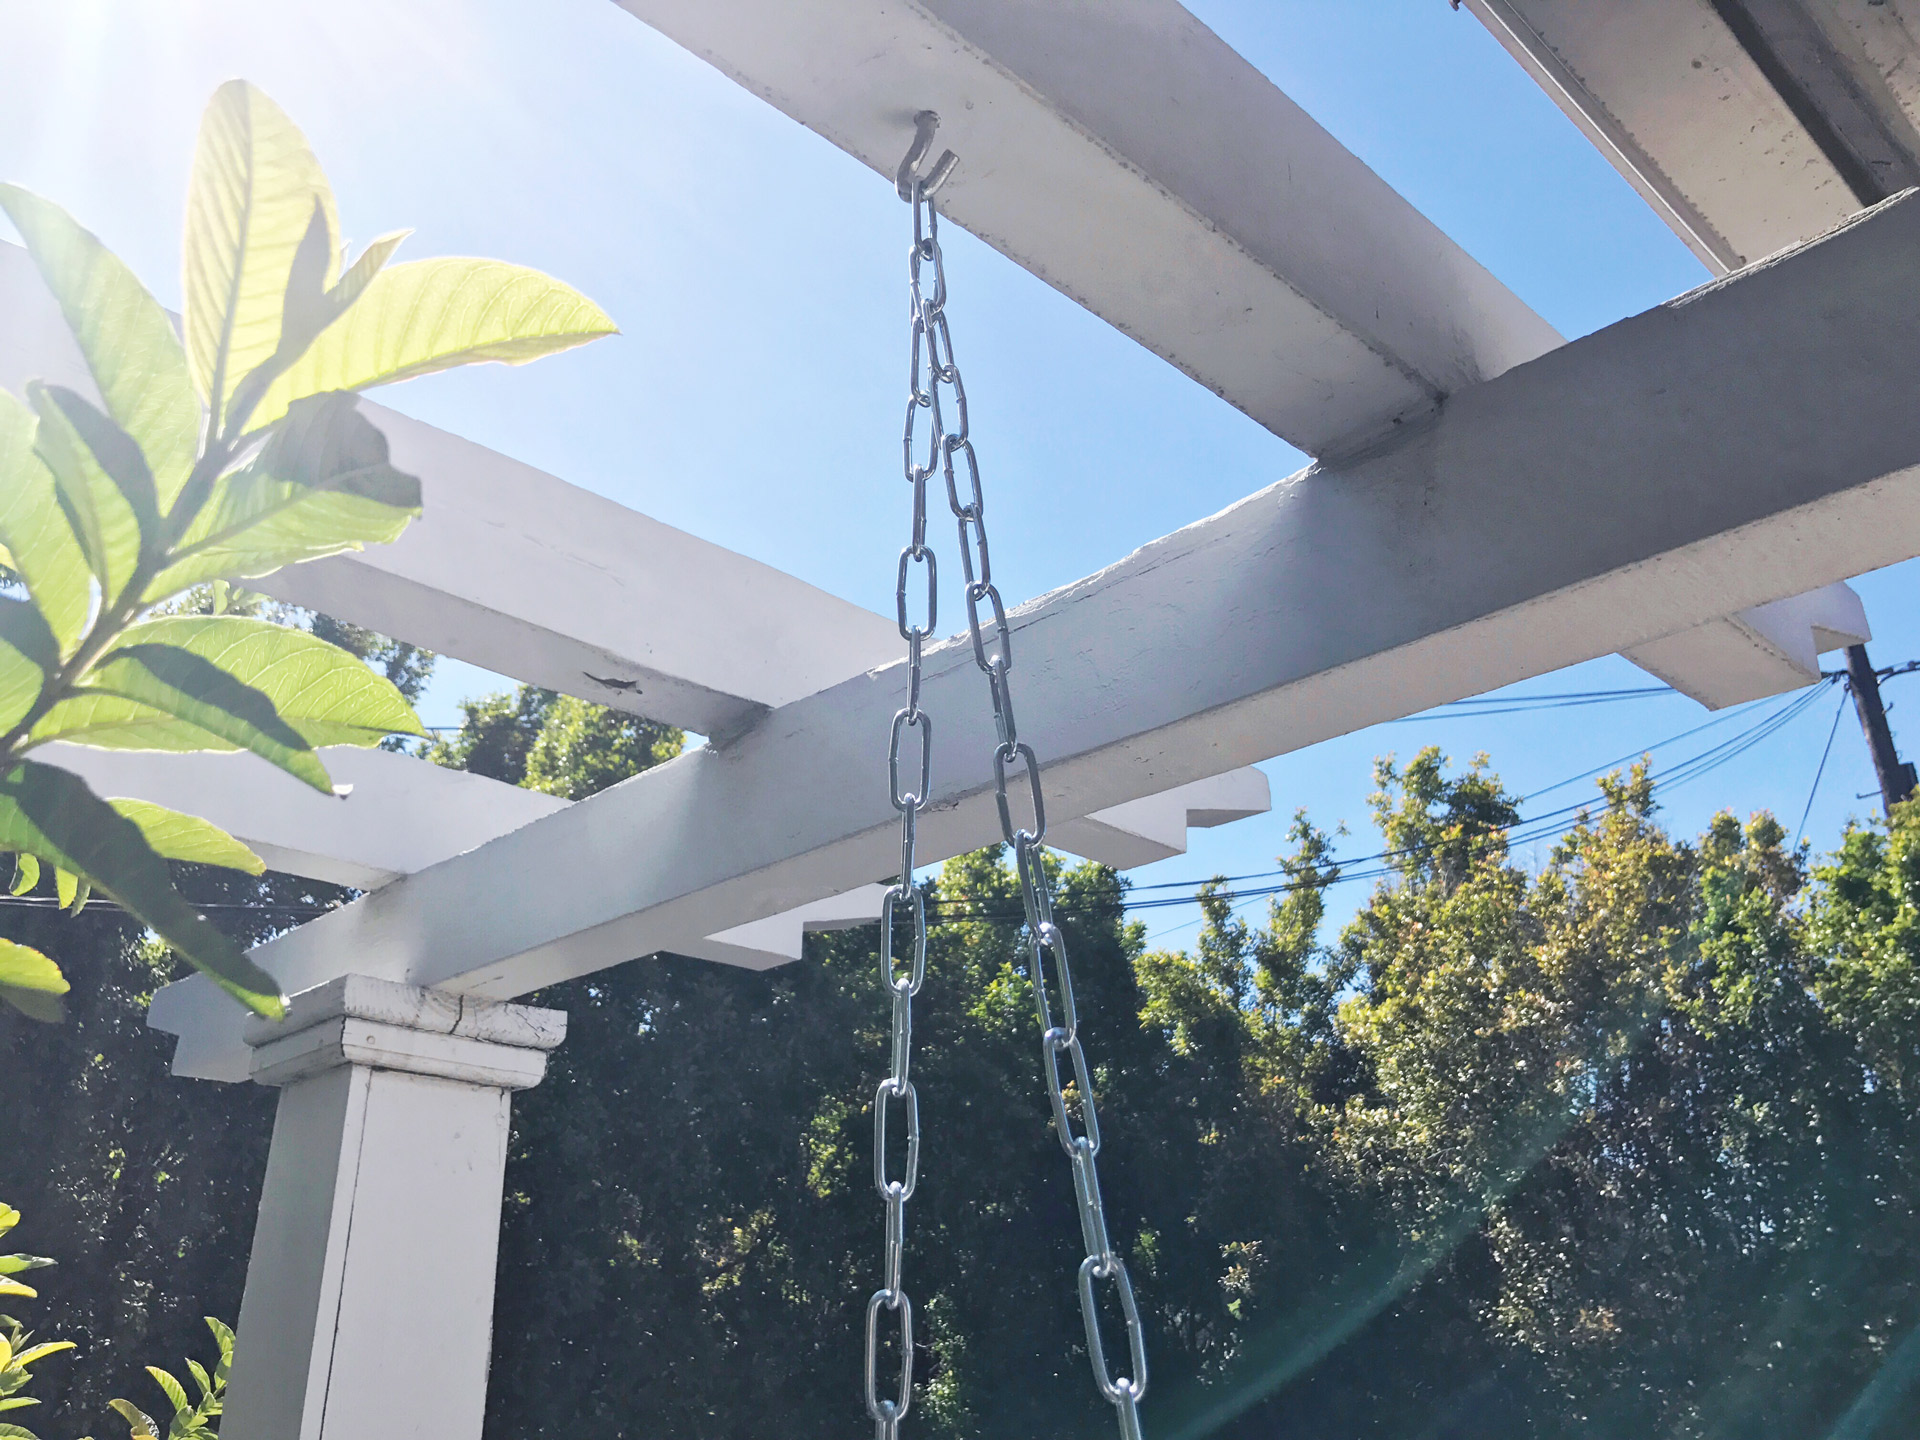
All of the swing hardware will attach to the swing itself except for the Screw hook lag thread, which will go directly into the ceiling/ beam you’re hanging from. If you’re drilling into a ceiling, make sure to use a stud finder. Measure your beam to allow at least 2 inches extra on each side of the swing to account for motion. So for a 55″ swing, you’d measure 59″ total. You’ll want to first drill a pilot hole that’s slightly smaller than your screw hooks threaded diameter. Then screw in the hook to complete.
For the hardware on the swing itself, you’ll want to use the same drill bit to create a pilot hole on the 21″ exterior of the swing base on each side. Use a washer as a guide to ensure the washers have room. Once the pilot holes are drilled, put a washer on your eye hook with the nut between the washer and hook, and screw in. You’ll cap the eye bolt with a washer and Nylon lock nut on the interior underside of the swing. Repeat on the other side.
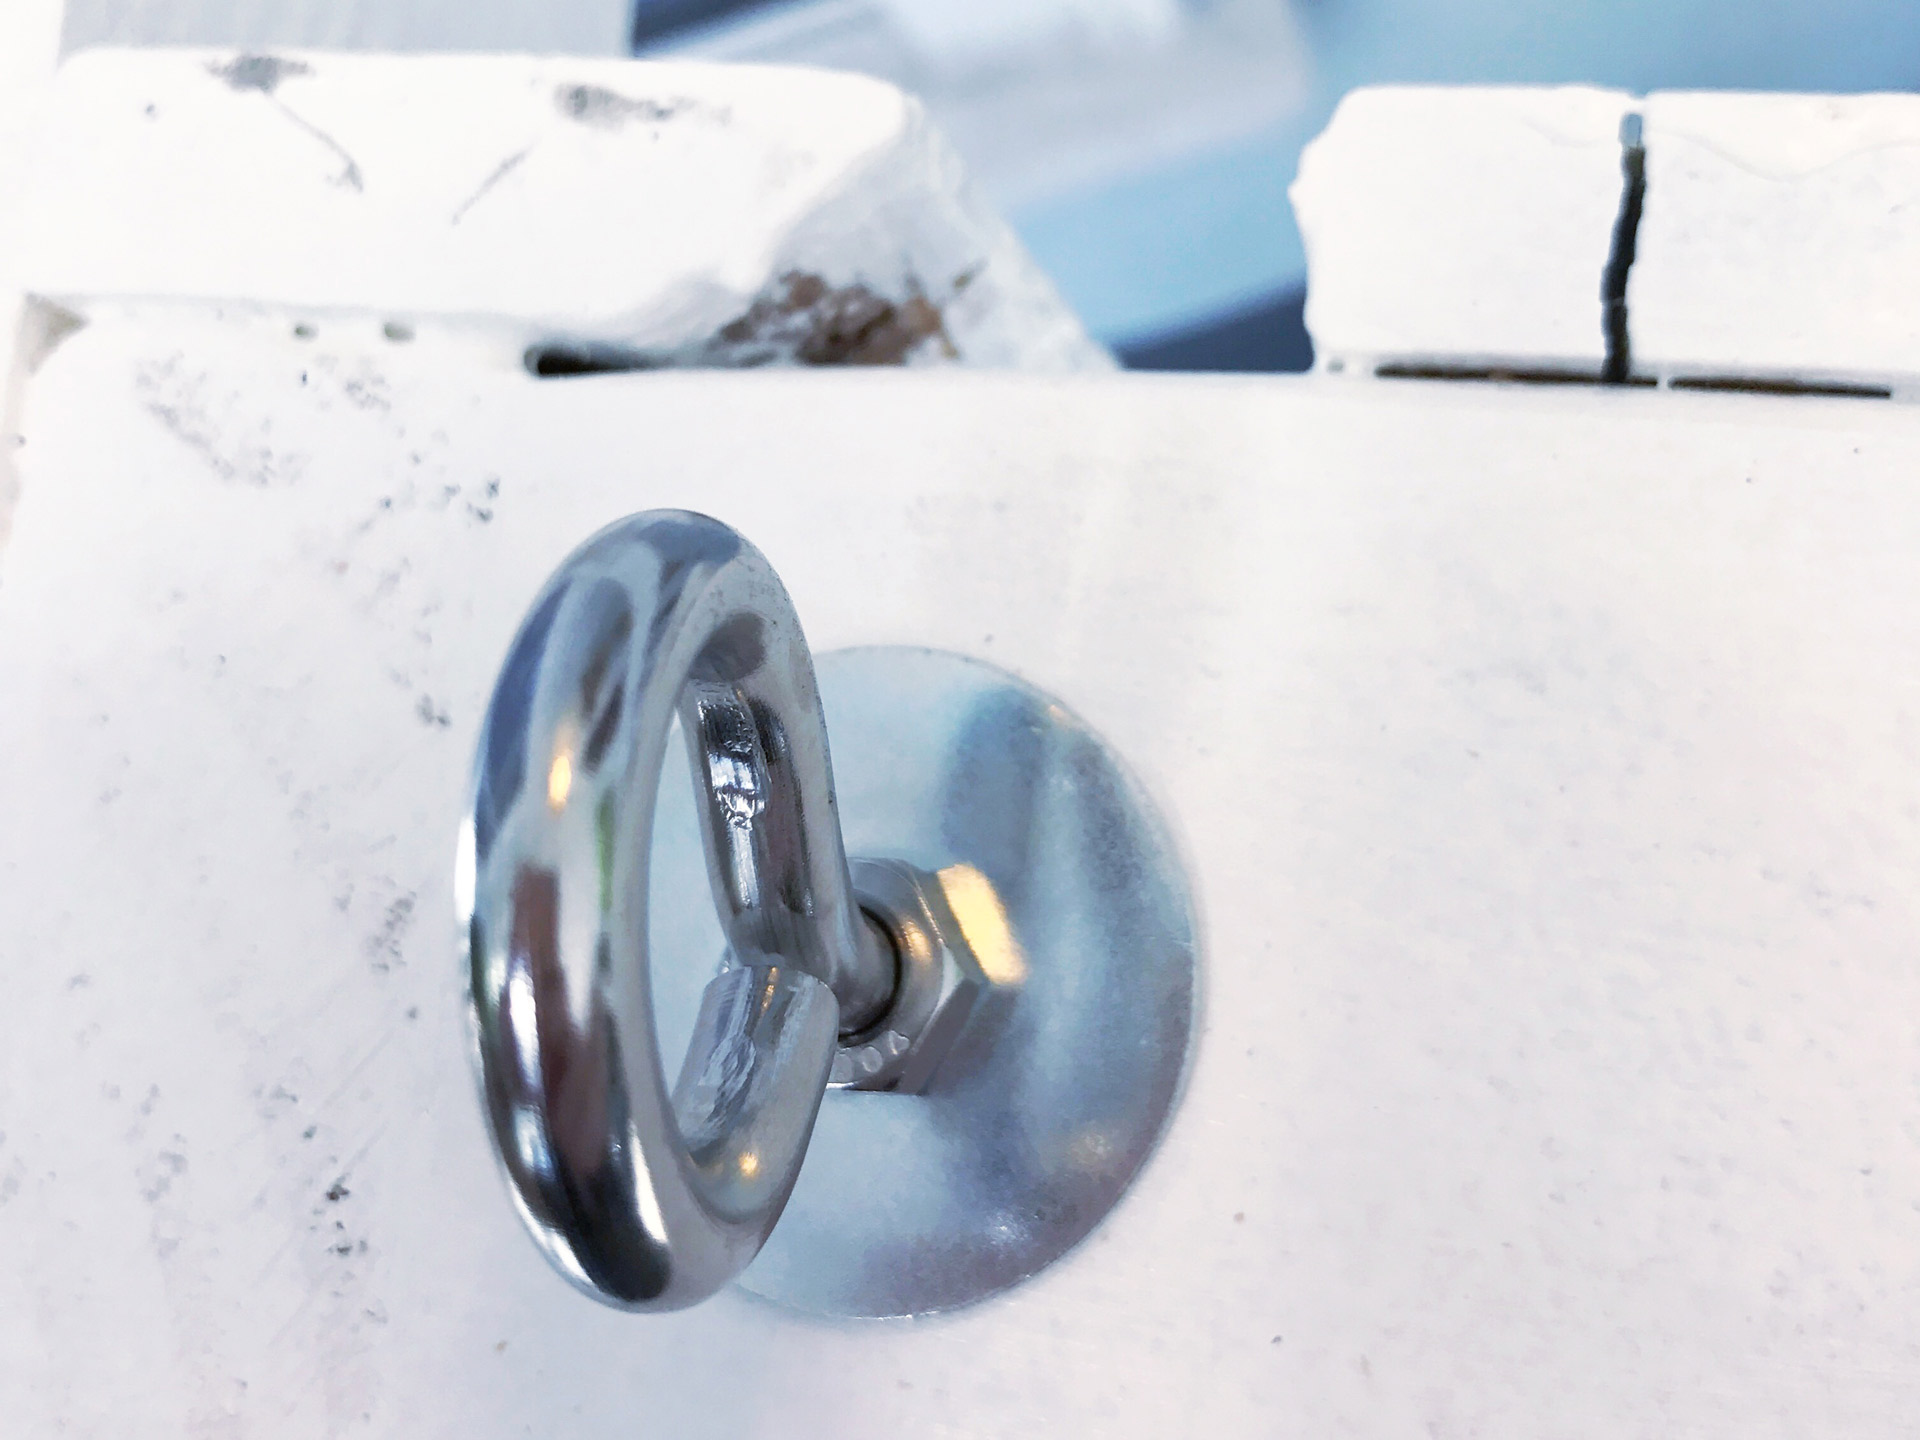
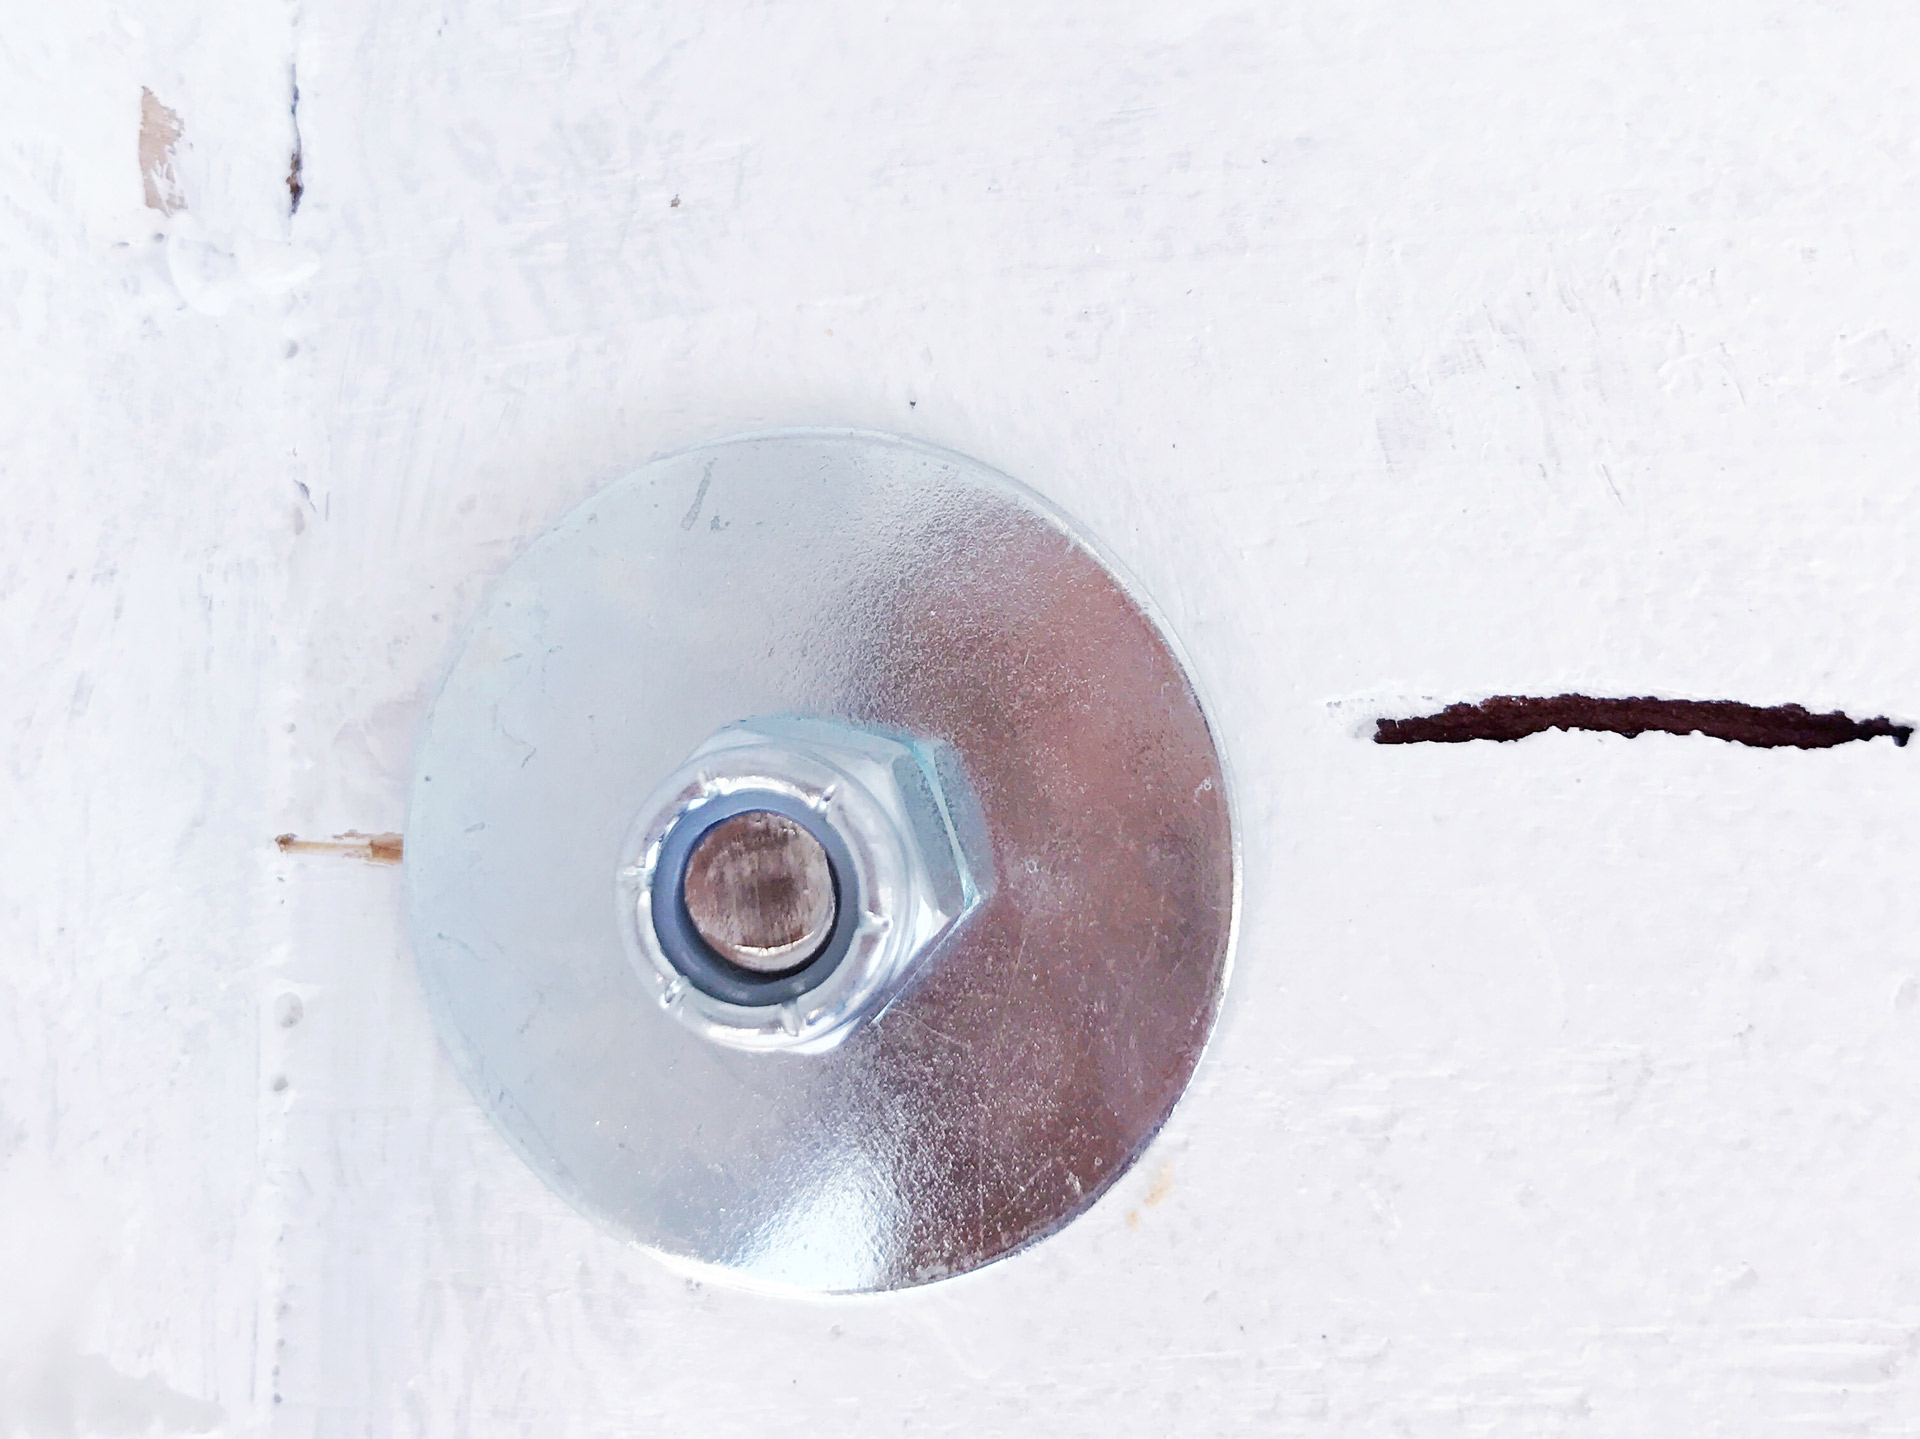
Attach one quick link to each eye bolt.
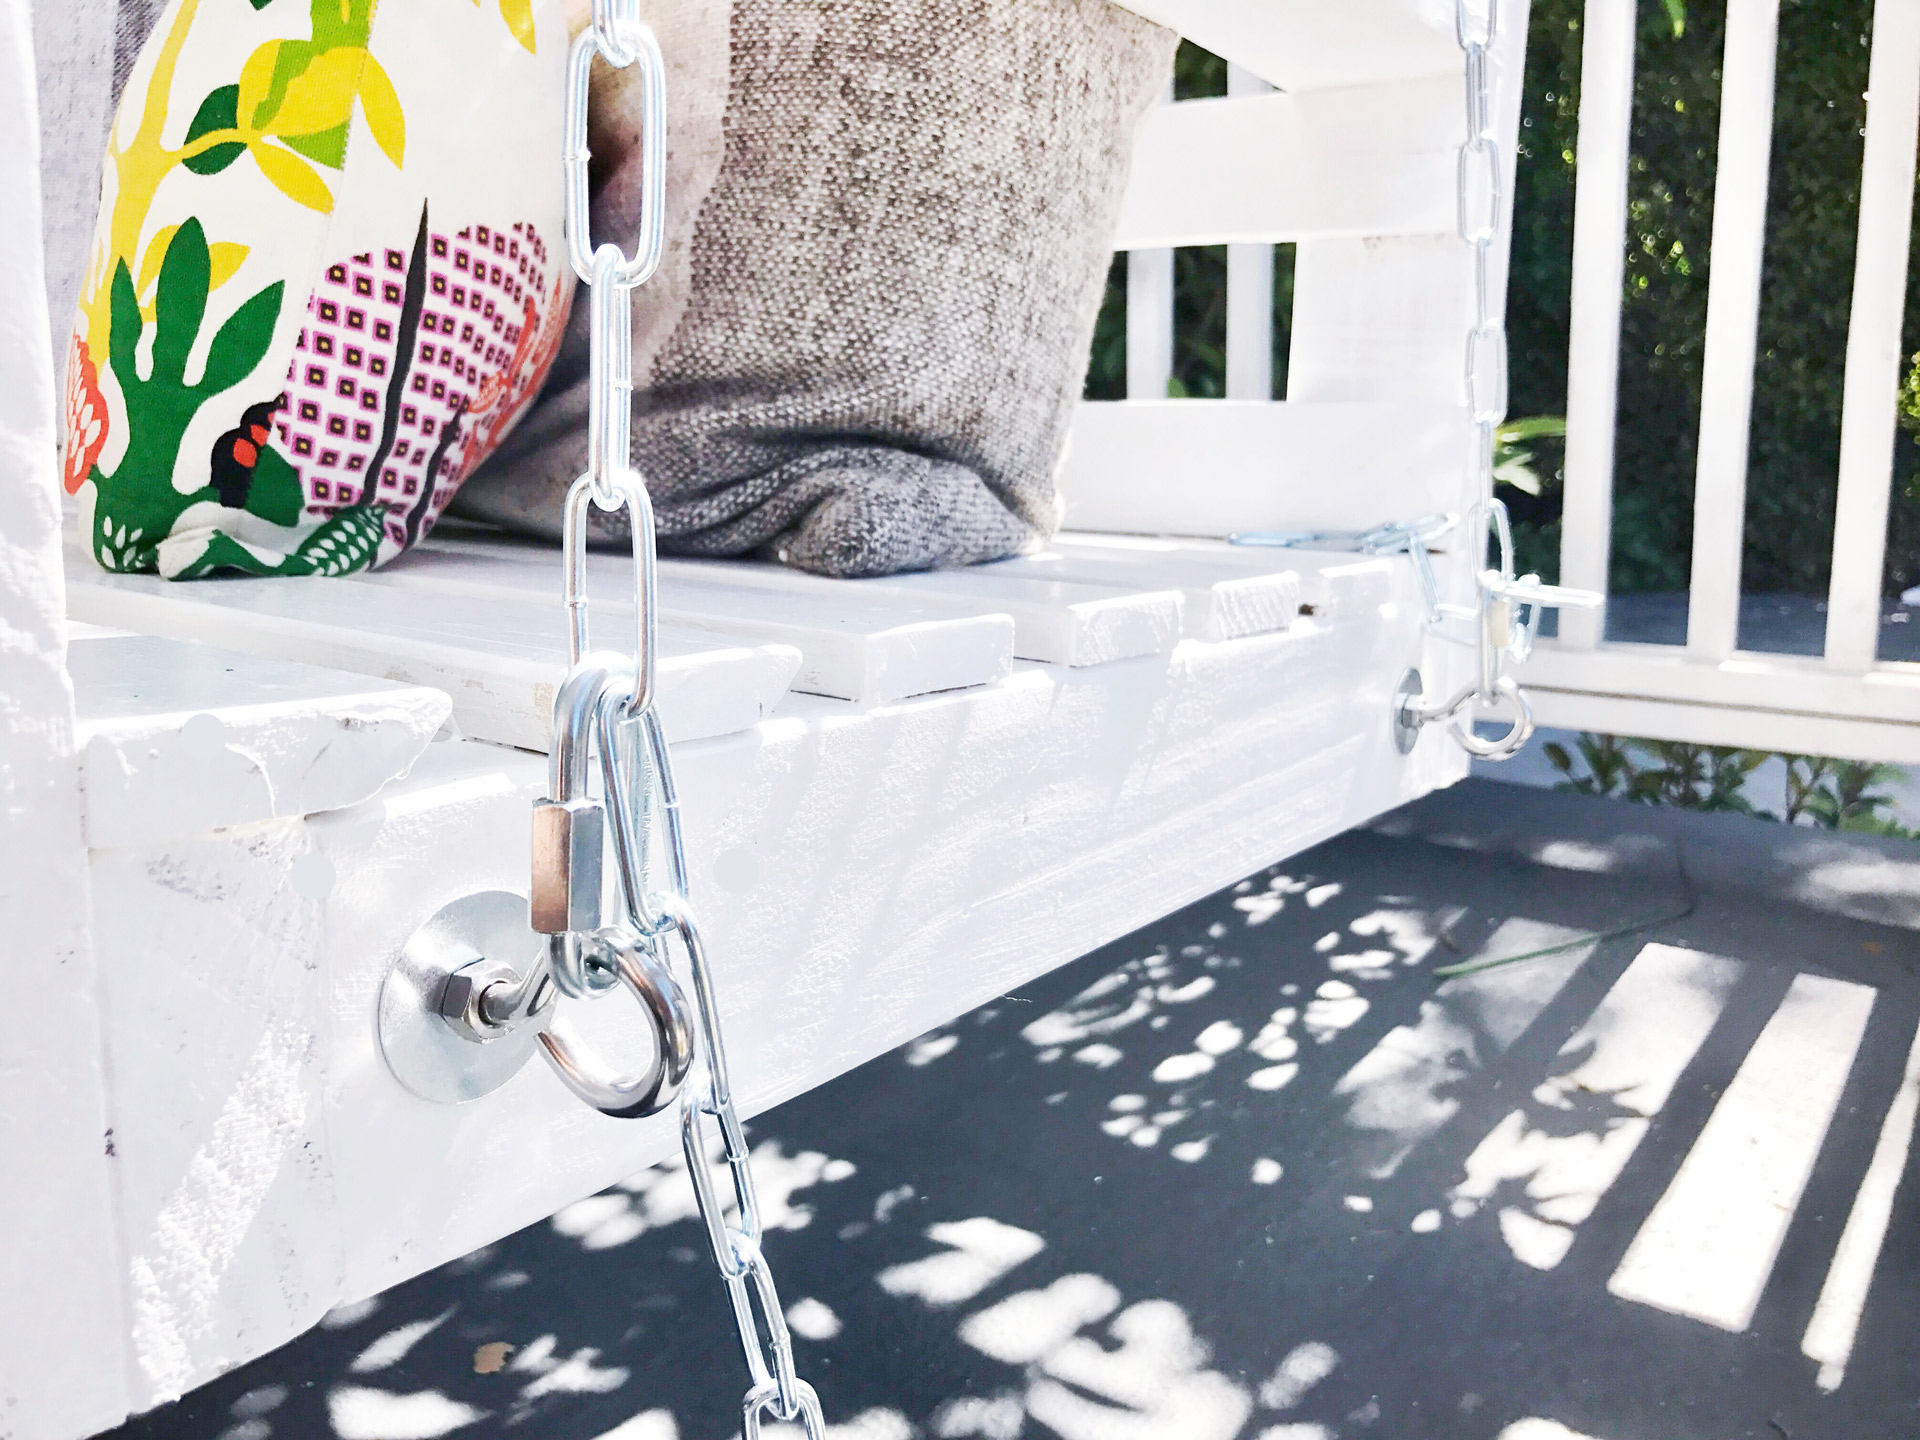
For the chain, I found the center point of each 15′ chain and hooked that link onto the Screw hook that I installed in my beam. This gave me two even sides hanging down. Attach the hanging link to your quick link at the desired height. For reference, the front of my swing is suspended one link higher than the rear, with 57 links on the rear and 56 links on the front.
